 3 minute read
Take a Wider View: Framing Panoramas
Get more in the frame by going panoramic. Here‘s how to do it well...
Ever wish you could get more in the frame? It can be hard to see a big landscape or intricate interior properly without having to physically turn your head. So how on earth do we go about photographing it?
All X Series cameras have a panoramic drive mode that stitches together frames as you swing your camera through an arc. The result is a long, narrow picture that takes in much more width than you’d usually get, even with a wide-angle lens.
Panoramic (a word first coined by painters in the 18th century to describe their very wide-angle paintings of landscapes) pictures work particularly well with landscapes, because they represent how we look at the world with our eyes – exploring left-to-right more than we do top-to-bottom. They look superb when printed and hung on the wall, too.
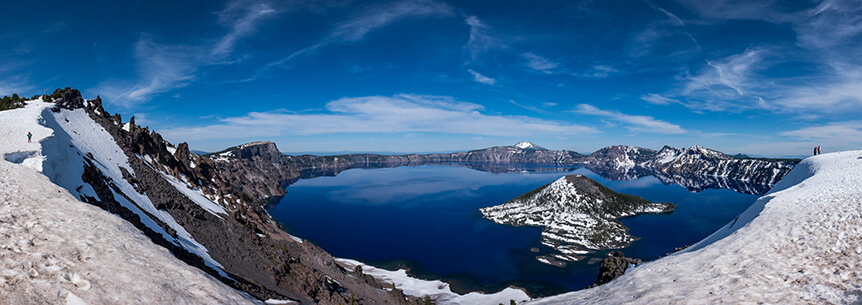
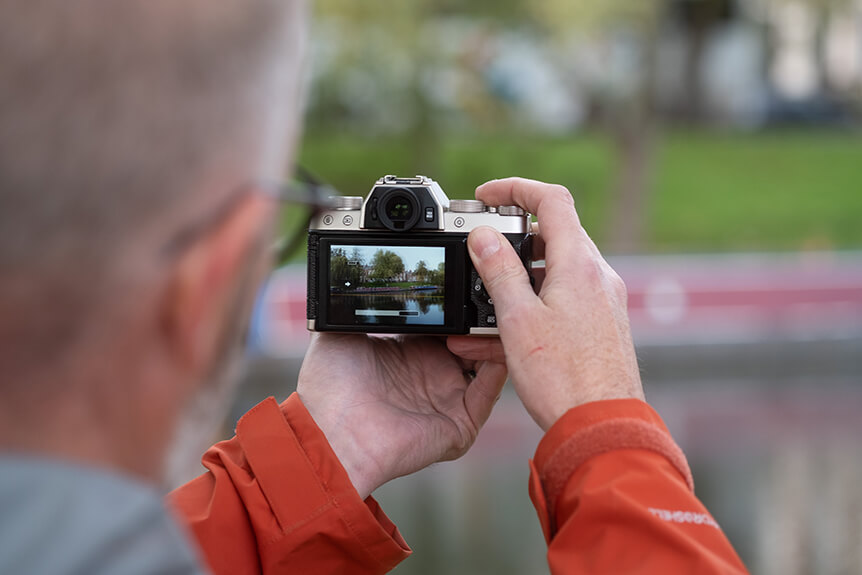
Photo © Jonathan Irish
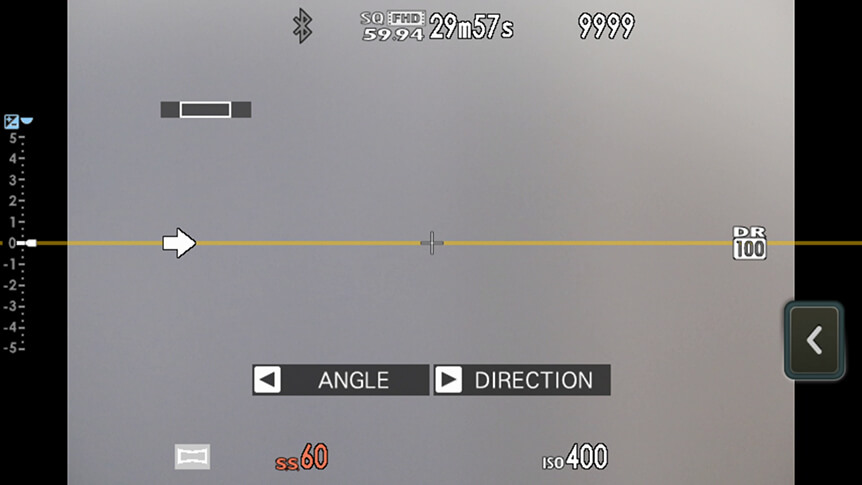
You can find panoramic mode either in your camera’s drive menu or on the drive dial, if it has one. When in this mode, you’ll see a white arrow indicating the direction the camera needs to move in, and a yellow line, which will help you keep things level. Note: there’s only one active AF point, which is indicated by a + in the middle of the frame.
To start photographing:
STEP 1 Begin at one edge of the scene.
STEP 2 Press the shutter release button.
STEP 3 Gently sweep the camera in the direction indicated by the arrow. Don’t go too fast.
STEP 4 Make sure the white arrow stays on the yellow line. If it goes upwards, angle the camera down. If it goes down, pitch the camera up.
STEP 5 As you pan the camera, you’ll see indicator guides at the bottom of the frame showing the progress so far. The camera finishes photographing automatically after it’s panned to the end of the guides and completed the sweep.
You can adjust the size of the arc the camera needs to be swept through by changing the angle setting. You can also change the direction of travel, which enables you to hold the camera vertically or start at the other end of the scene and sweep backwards. Changing these settings requires slightly different button presses depending on which X Series camera you’re using, but this will be indicated on the camera’s screen.
For the best results when creating panoramas:
STEP 1 Brace your elbows against your sides and move the camera slowly and steadily.
STEP 2 Keep the camera horizontal and be careful only to pan in the direction shown by the guides.
STEP 3 If you’re not completely happy, try photographing again, panning at a different speed.
Playing Back Panoramas
You can view panoramas on your camera just as you’d play back any normal photo, but the long, thin nature of these images can make them difficult to see in detail. Try pressing the down button (or moving down with the Focus Lever) to scroll over the panorama in detail.