


One of the great things about visiting a new city, whether you’re on holiday or just enjoying a day trip away, is the chance to explore the new architecture that goes with it. Many cities are famous for their urban landscapes and architectural styles – some iconic landmarks may even be part of the reason you visited in the first place.
There are many ways to photograph architecture and interiors, and it pays to mix up the ways in which you do this so your pictures don’t end up all looking the same. But perhaps the most difficult technique to master is using ultra-wide-angle lenses that let you get lost in the frame and create new and exciting perspectives.
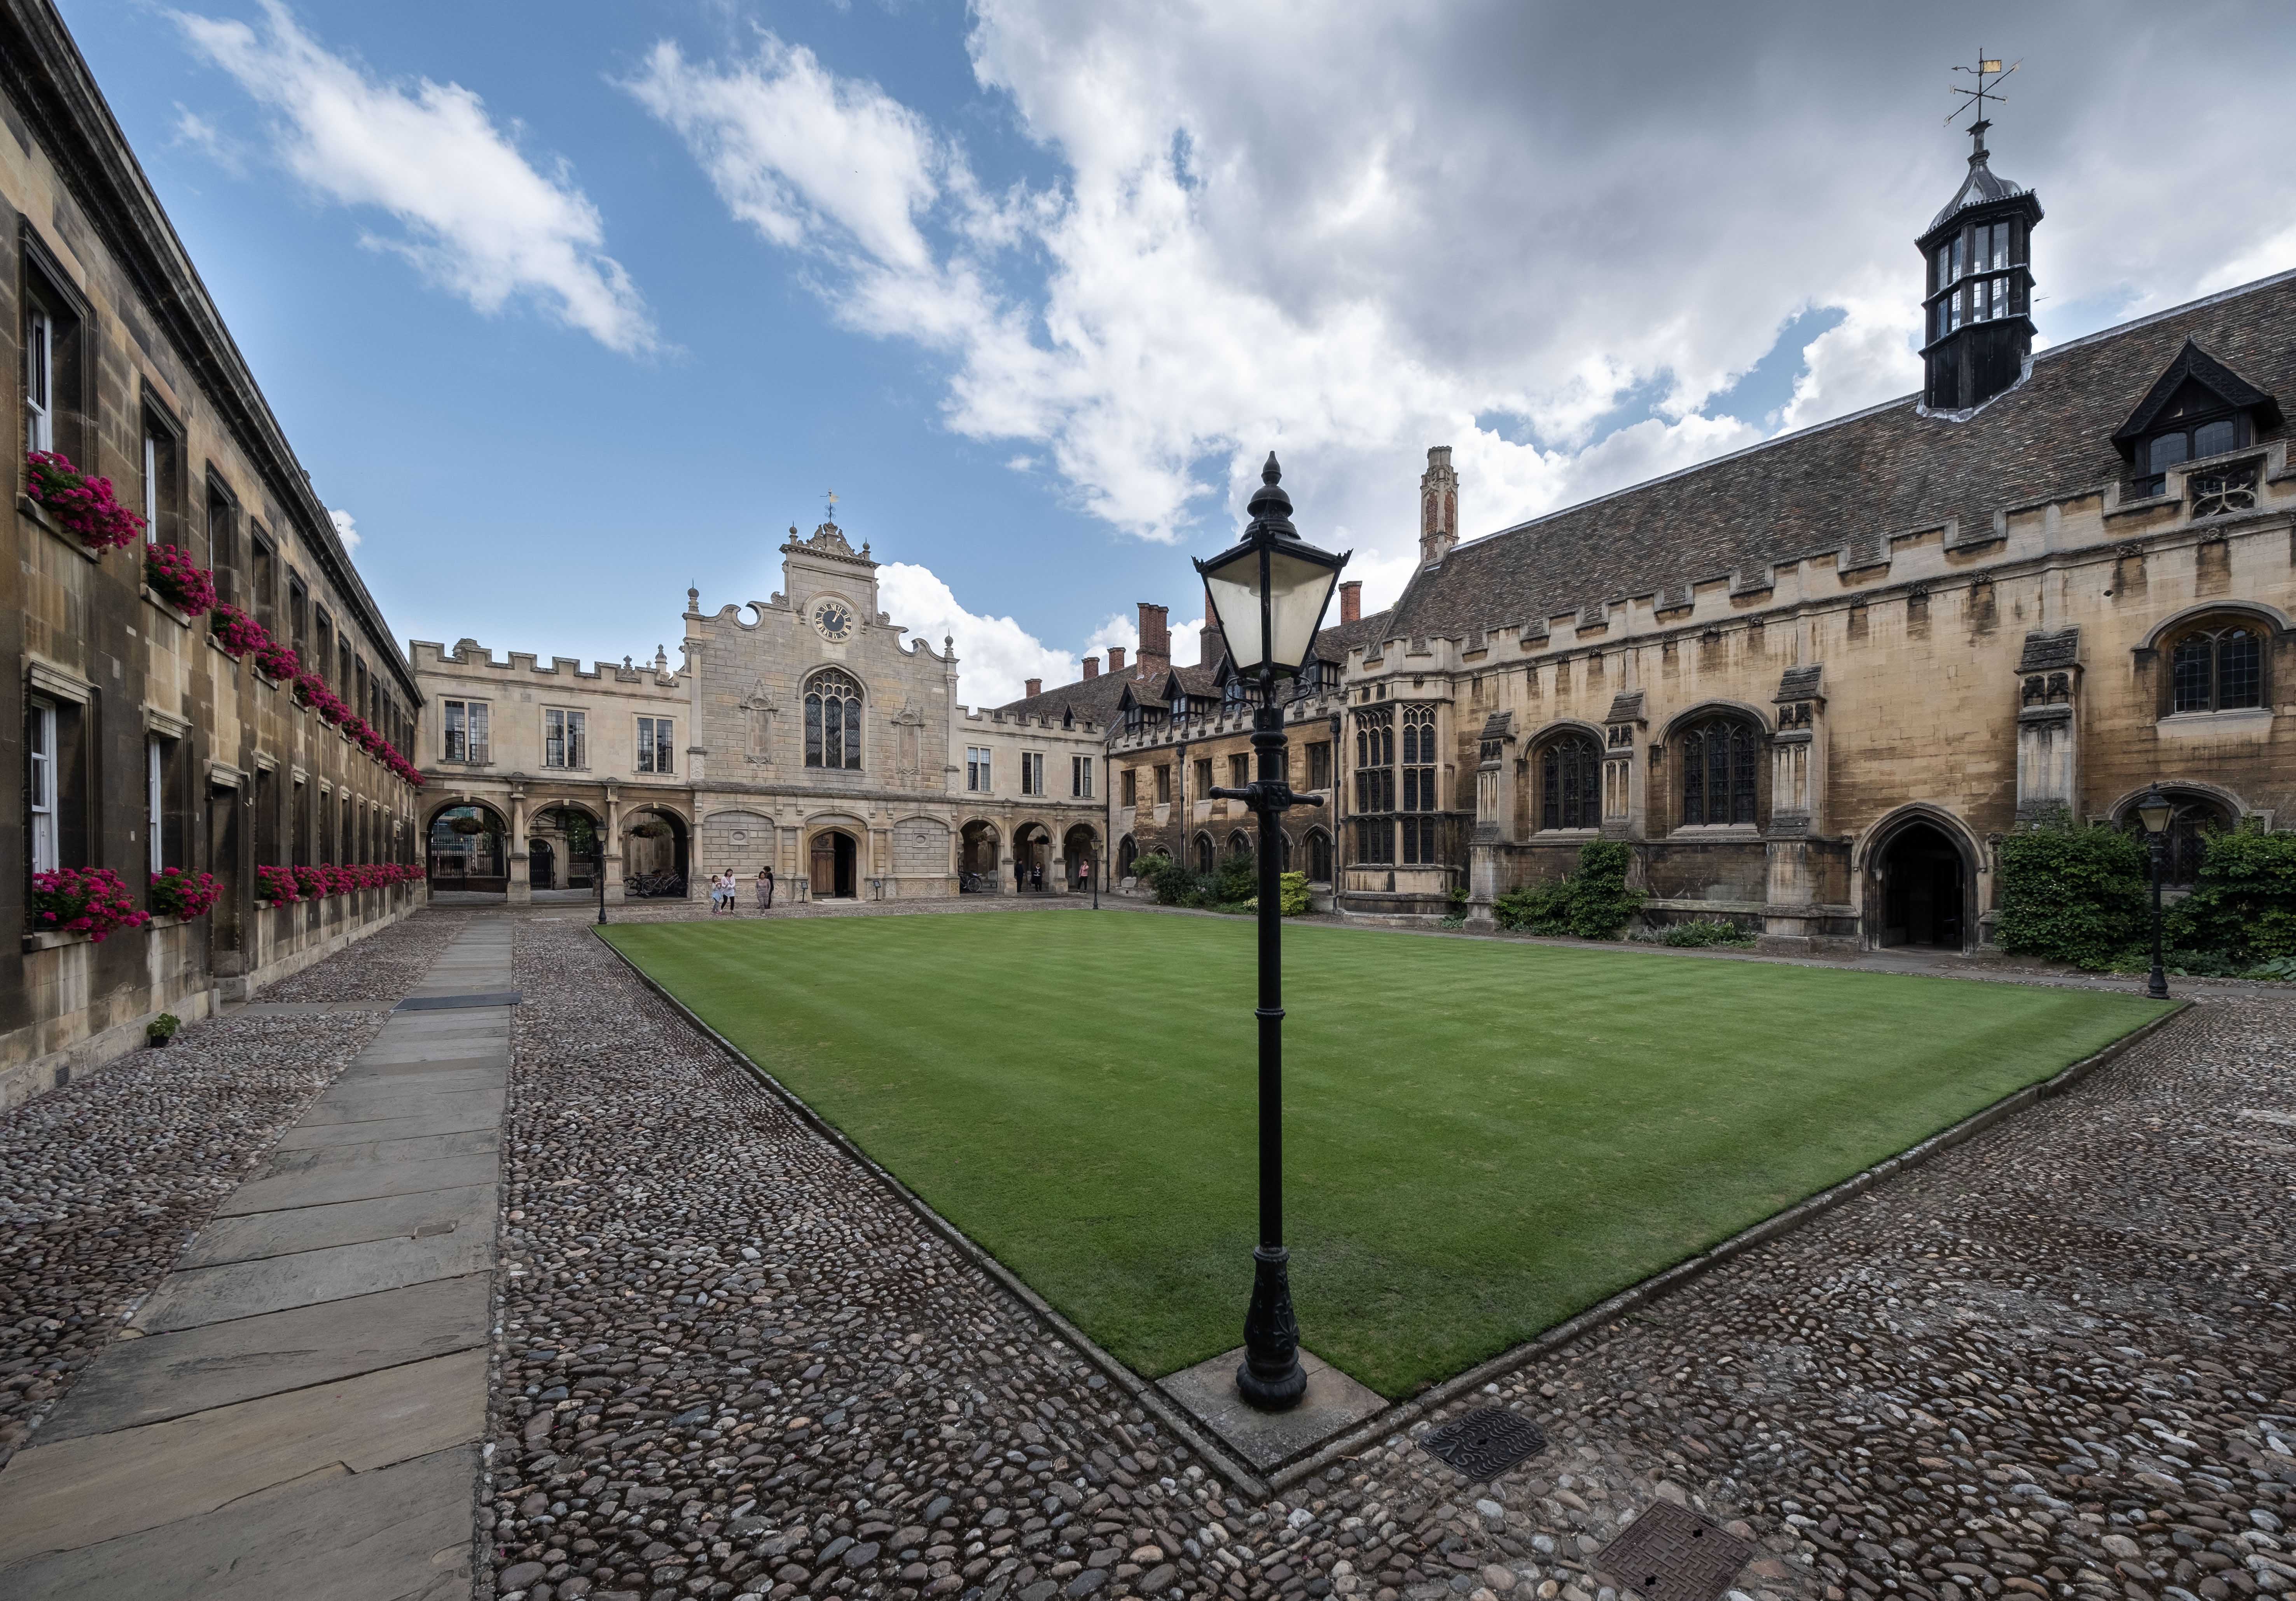
FUJIFILM X-T3 + XF8-16mmF2.8 R LM WR - 1/30 sec. at F5.6, ISO 800
There are a few ultra-wide lenses in the X Series, from the compact and versatile XF10-24mmF4 R OIS to the high-performance XF8-16mmF2.8 R LM WR zoom and XF14mmF2.8 R prime. All are good choices for architecture and interiors, not just because they let you get more in the frame, but because they exaggerate perspective and scale, and give your picture more visual drama.
But this exaggeration is also the reason that ultra-wide-angle lenses are some of the most difficult to use and take the most practice to master. Let’s have a look at some of the ways you can get the most from your ultra-wide lens the next time you’re on a trip.
Composition and framing
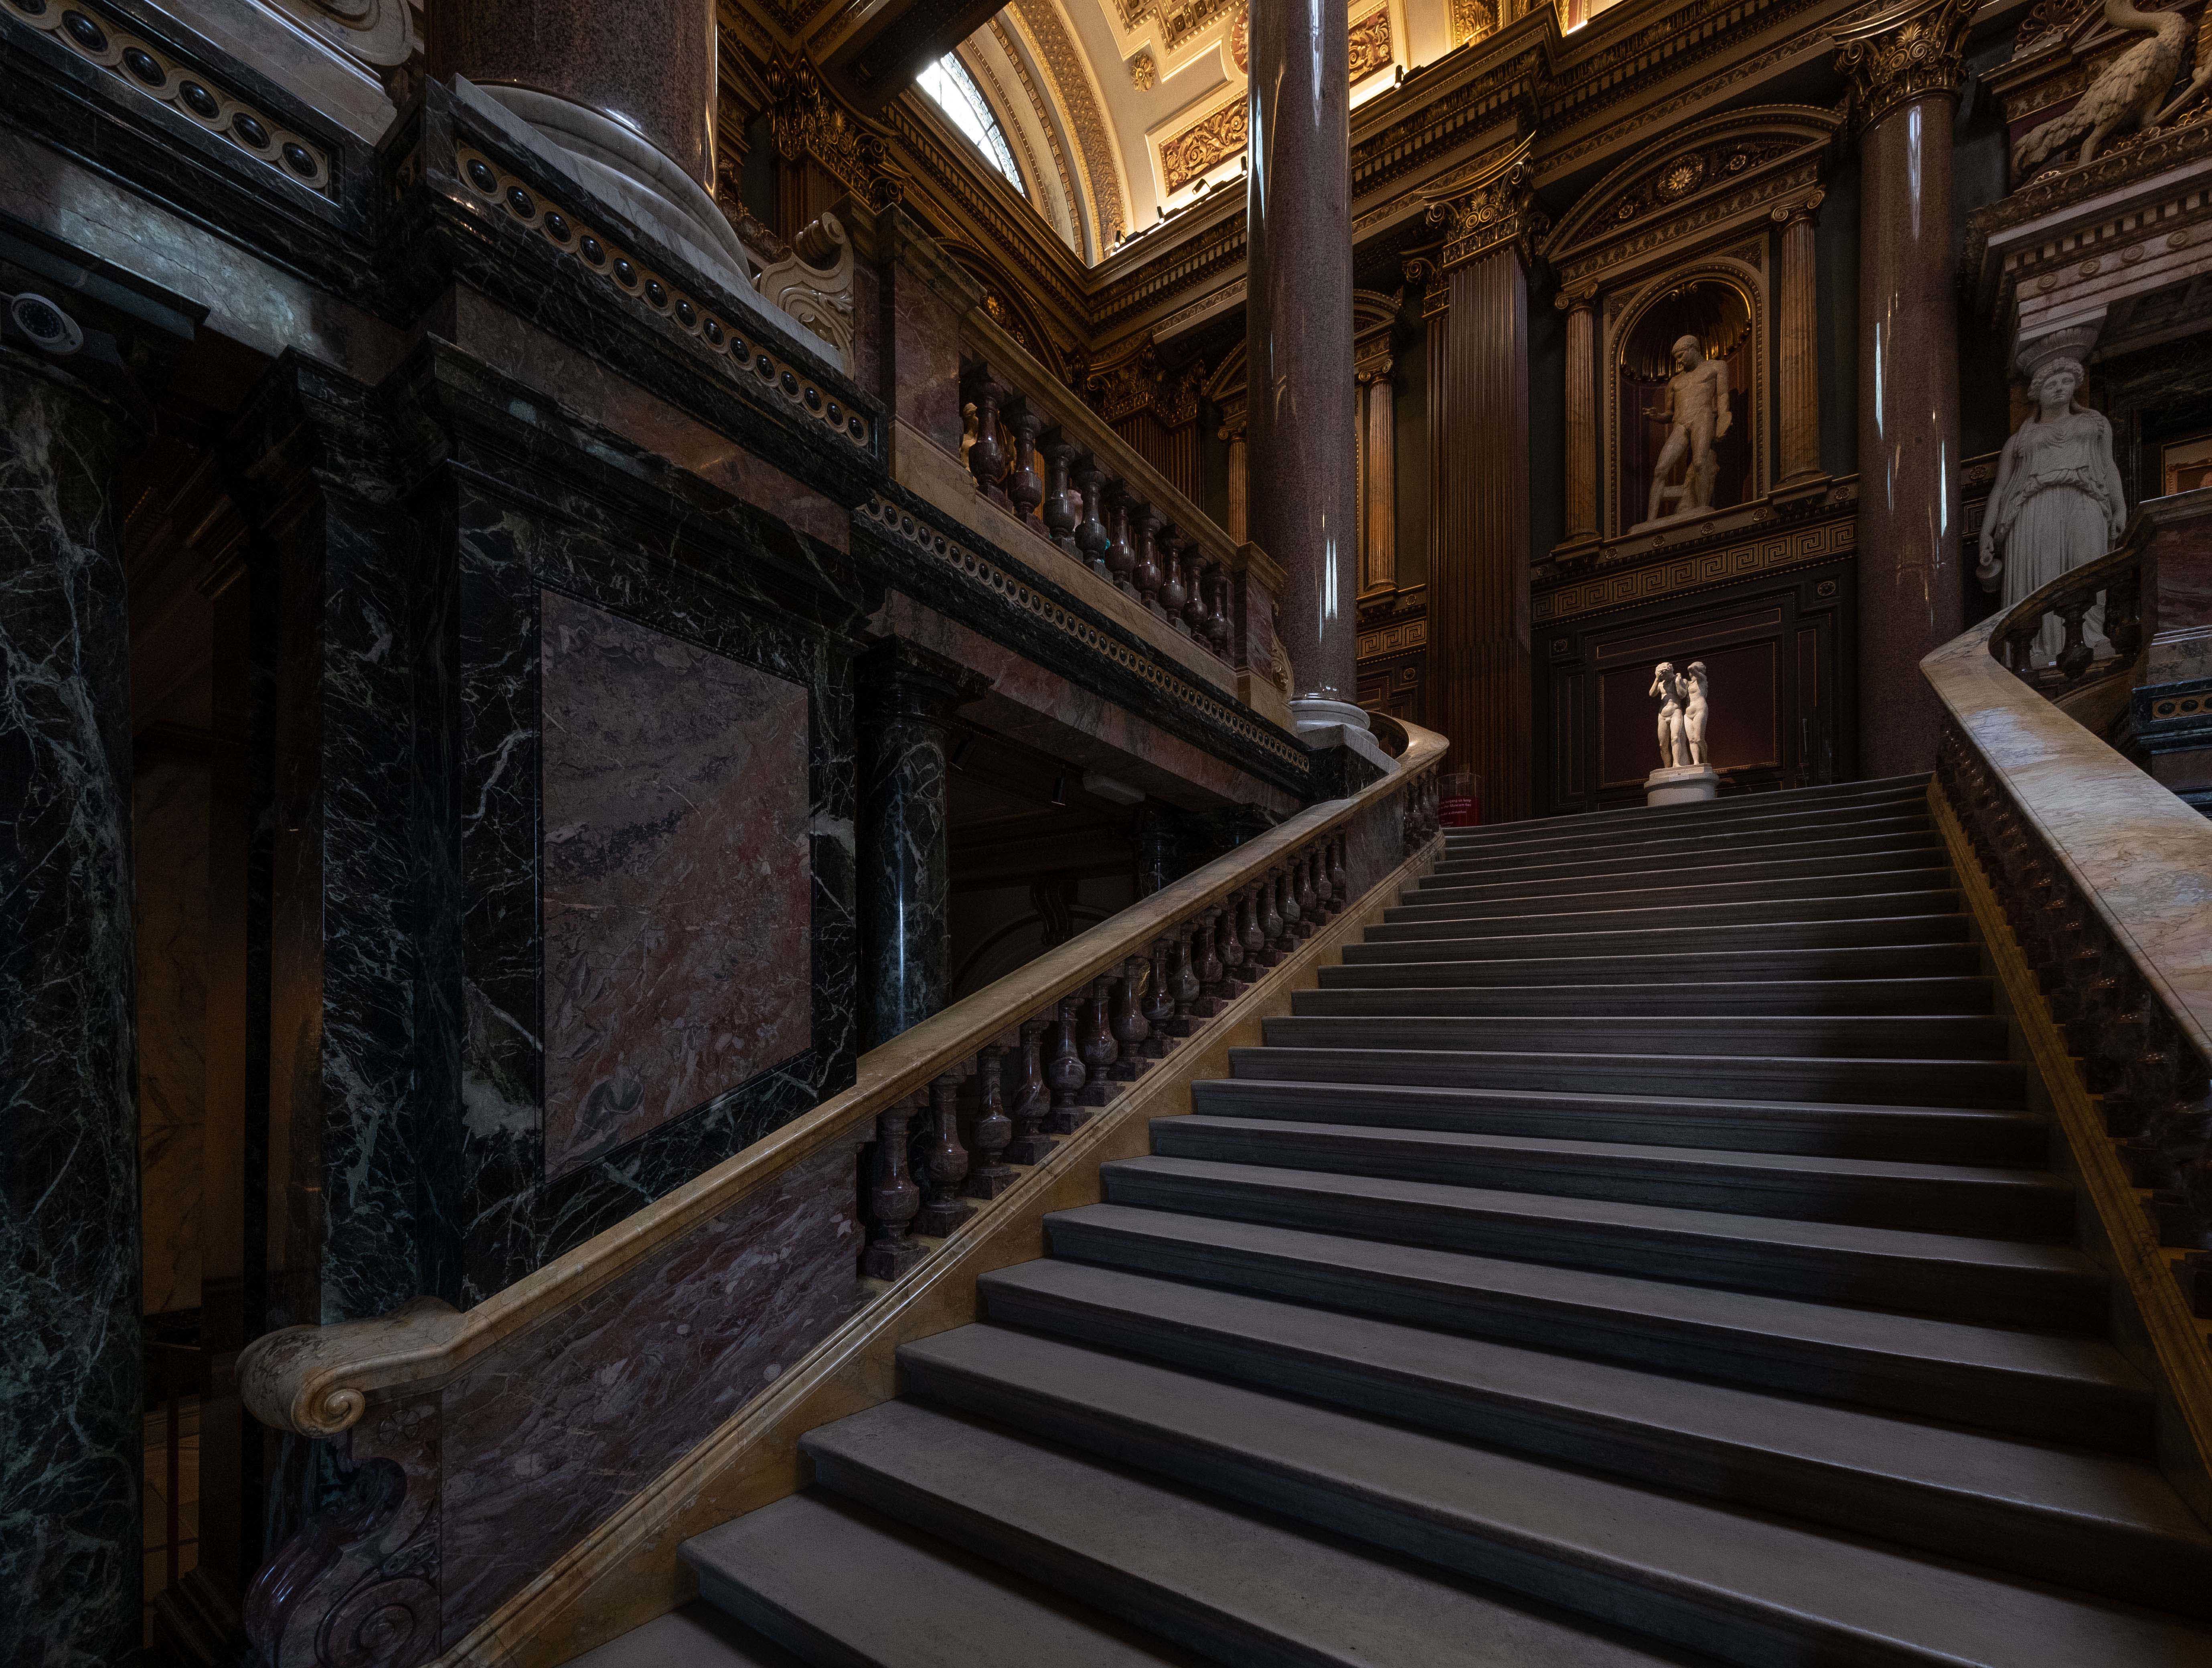
If you’ve never used an ultra-wide-angle lens before then – once you’re over the excitement of seeing the word in this way – the first challenge you’ll face is composition. When there is so much in the frame, it’s hard to exclude objects or be selective with your crop, and it’s very easy to get overwhelmed by all the elements in play.
So instead, aim to group objects together into layers that get progressively further away from the camera. Try to guide the viewer’s eye from the foreground layer to the background layer, taking in the middle layer on the way.

FUJIFILM X-T3 + XF8-16mmF2.8 R LM WR - 1/30 sec. at F8, ISO 1600
Try to make use of leading lines, too. Ultra wide-angle lenses exaggerate these and features like sweeping staircases and patterned tiled floors can help create some powerful compositions.
FUJIFILM X-T3 + XF8-16mmF2.8 R LM WR - 1/30 sec. at F6.4, ISO 800
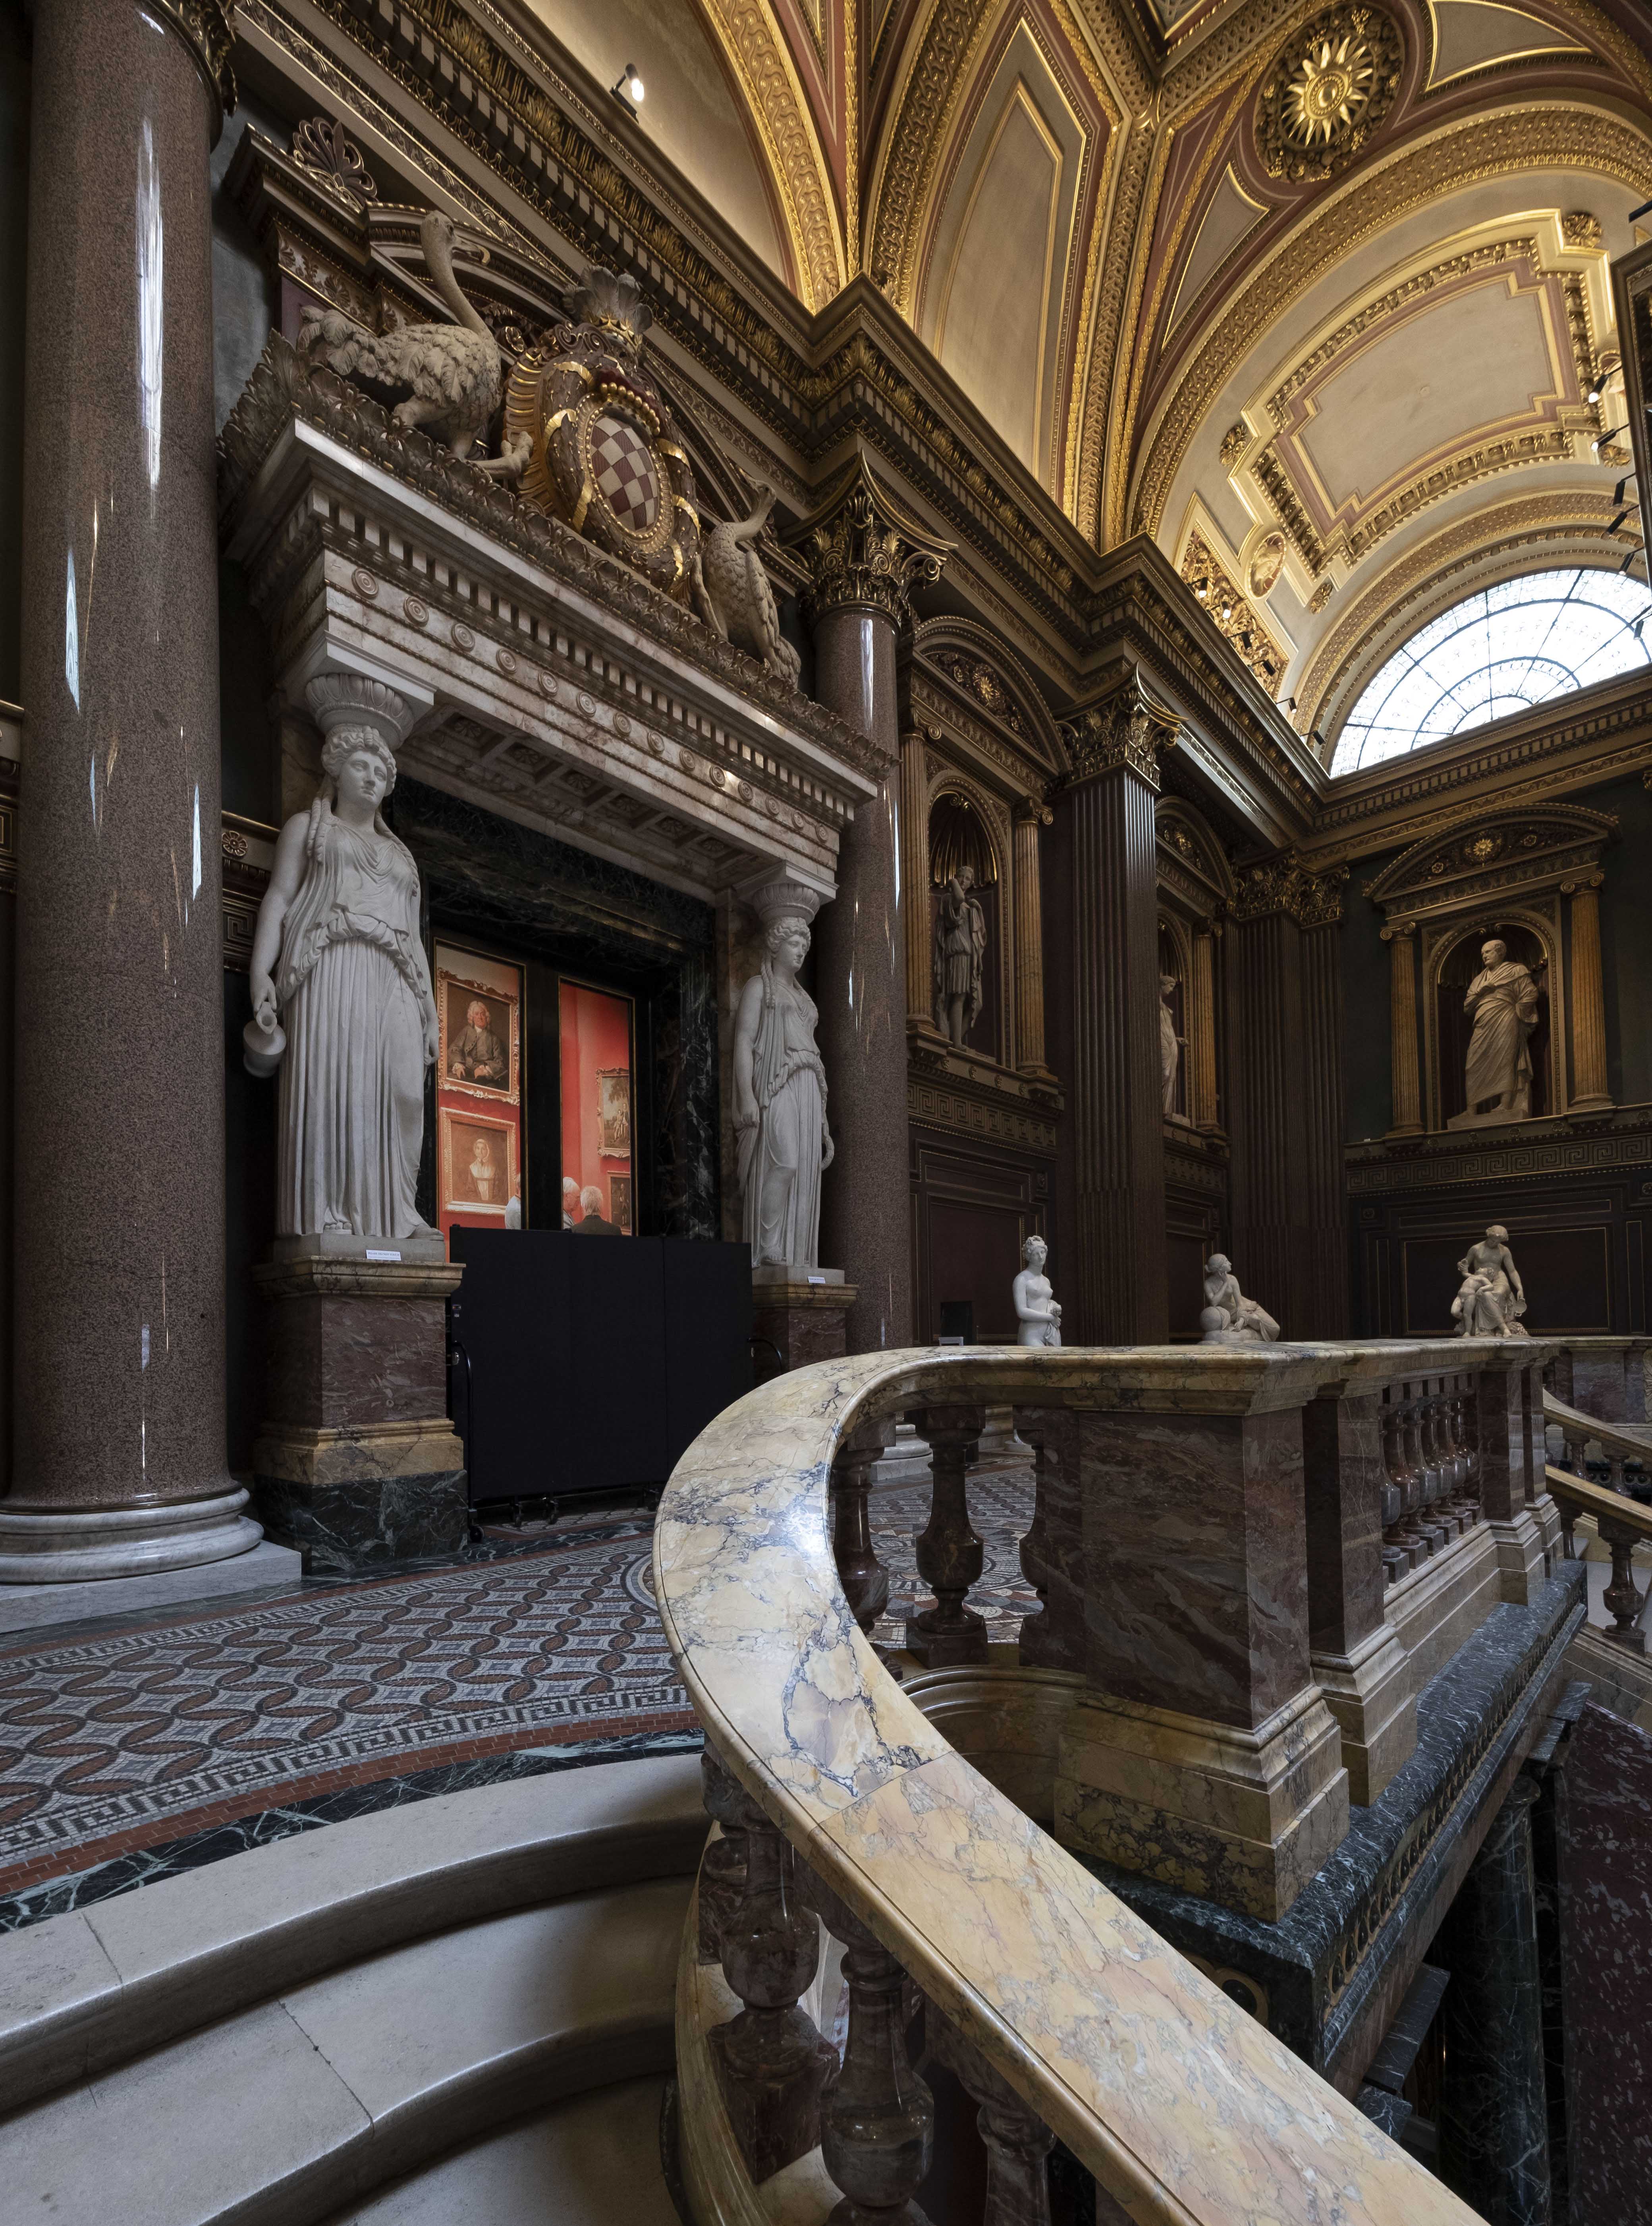
Look for symmetry
Symmetrical compositions make such a powerful impact when shot with ultra-wide-angle lenses that they’ll stop you in your tracks. The sense of depth and scale is amazing, really exaggerating those interiors that were built with symmetry in mind such as churches or stately homes. Gardens are also often laid out with repeating patterns or mirror images and can be used in the foreground to complement the buildings around them.

FUJIFILM X-T3 + XF8-16mmF2.8 R LM WR - 1/8 sec. at F5.6, ISO 1600
Keeping things on the level
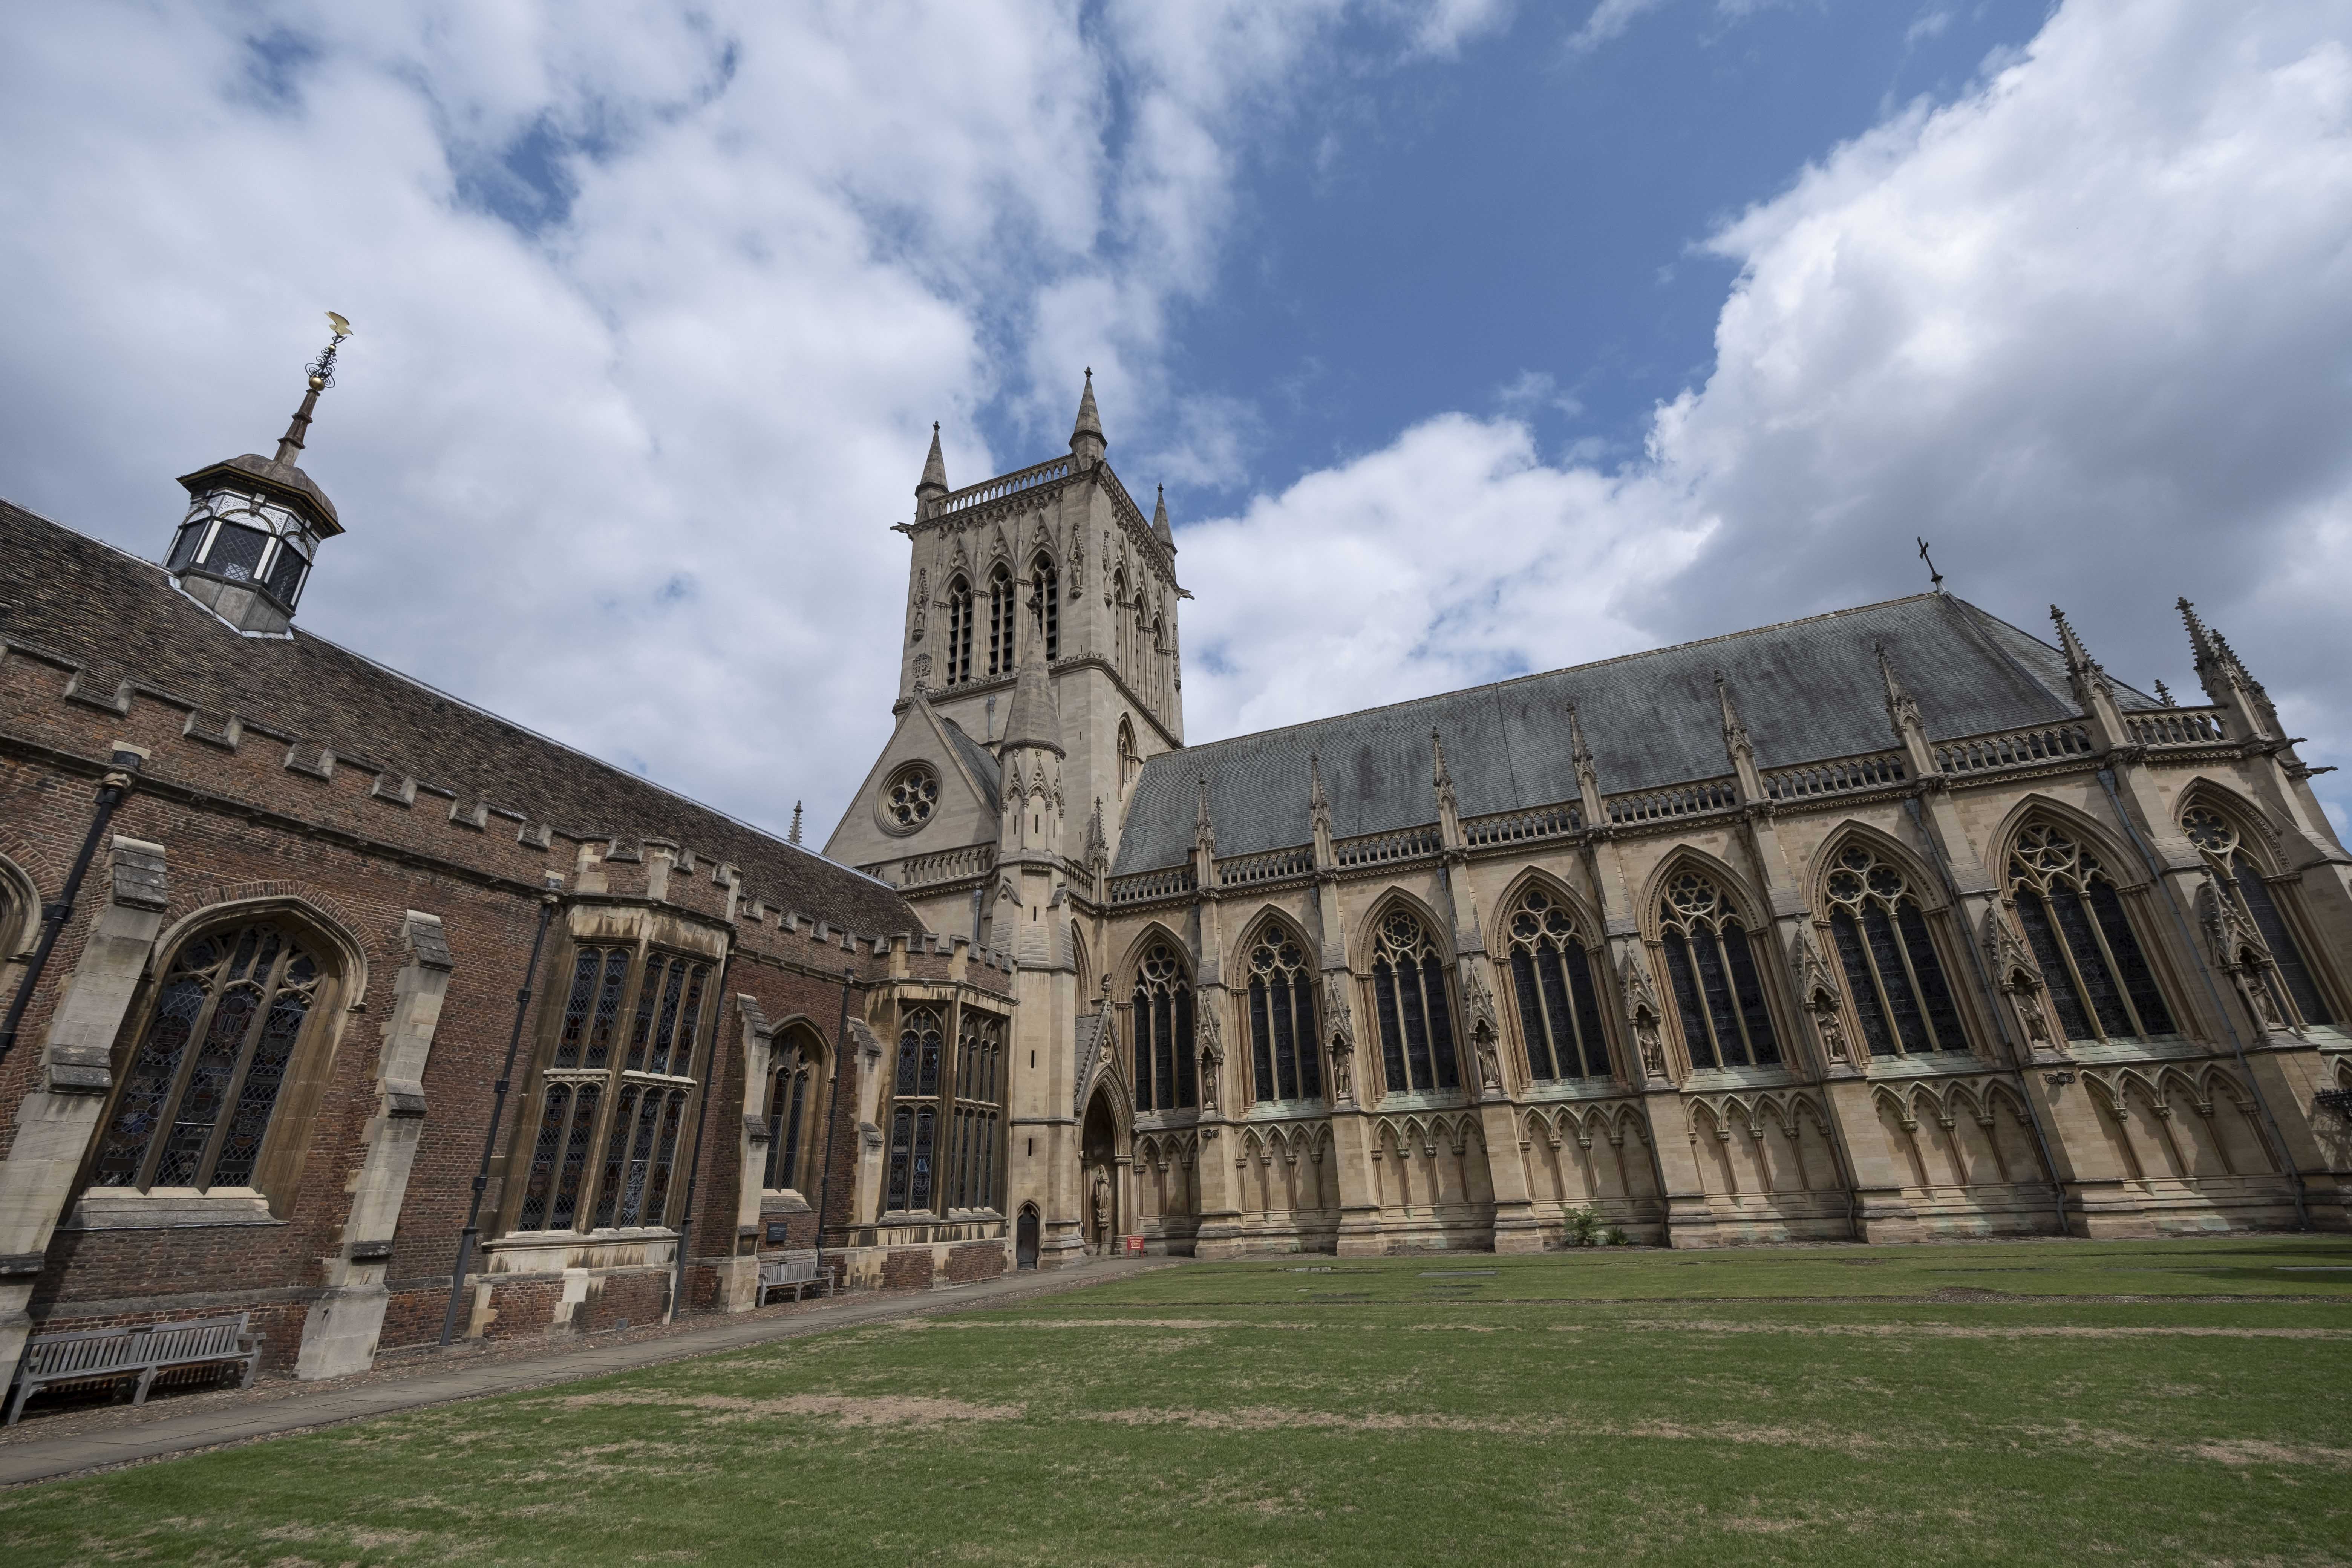
There’s a key difference between shooting landscapes with an ultra-wide-angle lens and shooting architecture. Buildings and interiors have more straight lines than naturally occurring rural landscapes, which means we have to be more mindful of keeping the camera level if we are to prevent something called ‘converging verticals’.
This occurs when we point our camera up or down, causing the straight edges of a building to lean in towards each other, and making the building look like it’s falling backwards. It’s a perfectly natural consequence of perspective – the same effect that makes train tracks appear to converge on the horizon – but our brains don’t register this when we look at buildings with our eyes, so it looks wrong in photographs.
FUJIFILM X-T3 + XF8-16mmF2.8 R LM WR - 1/1250 sec. at F5, ISO 160
All lenses will produce converging verticals when aimed up or down, but an ultra-wide-angle lens will exaggerate it (as it does everything). In fact, even the slightest movement of a camera away from the horizon can look odd. There are really only three solutions:
- Keeping your camera perfectly level is a guaranteed way of getting rid of converging verticals. So, instead of looking up at a building, try to move physically higher by shooting from a nearby window so you can keep the camera level. Or step back (or zoom out) so you can get the top of the building in the frame – you can always crop out the wasted foreground later on.
- Or, you can always cheat. Many pieces of photo editing software let you mark out what is supposed to be vertical with straight lines, and then warp and bend the image so these edges are upright. It’s available in Adobe Photoshop and Lightroom, as well as Phase One’s Capture One software.
- The third method of dealing with converging verticals isn’t really a way of preventing them at all; it’s more about going for it and making a feature of them! Converging verticals don’t look so bad when they are really exaggerated for dramatic effect, so try getting in tight, right underneath a structure, then looking up at it from an angle of at least 45˚.

FUJIFILM X-T3 + XF8-16mmF2.8 R LM WR - 1/220 sec. at F11, ISO 160
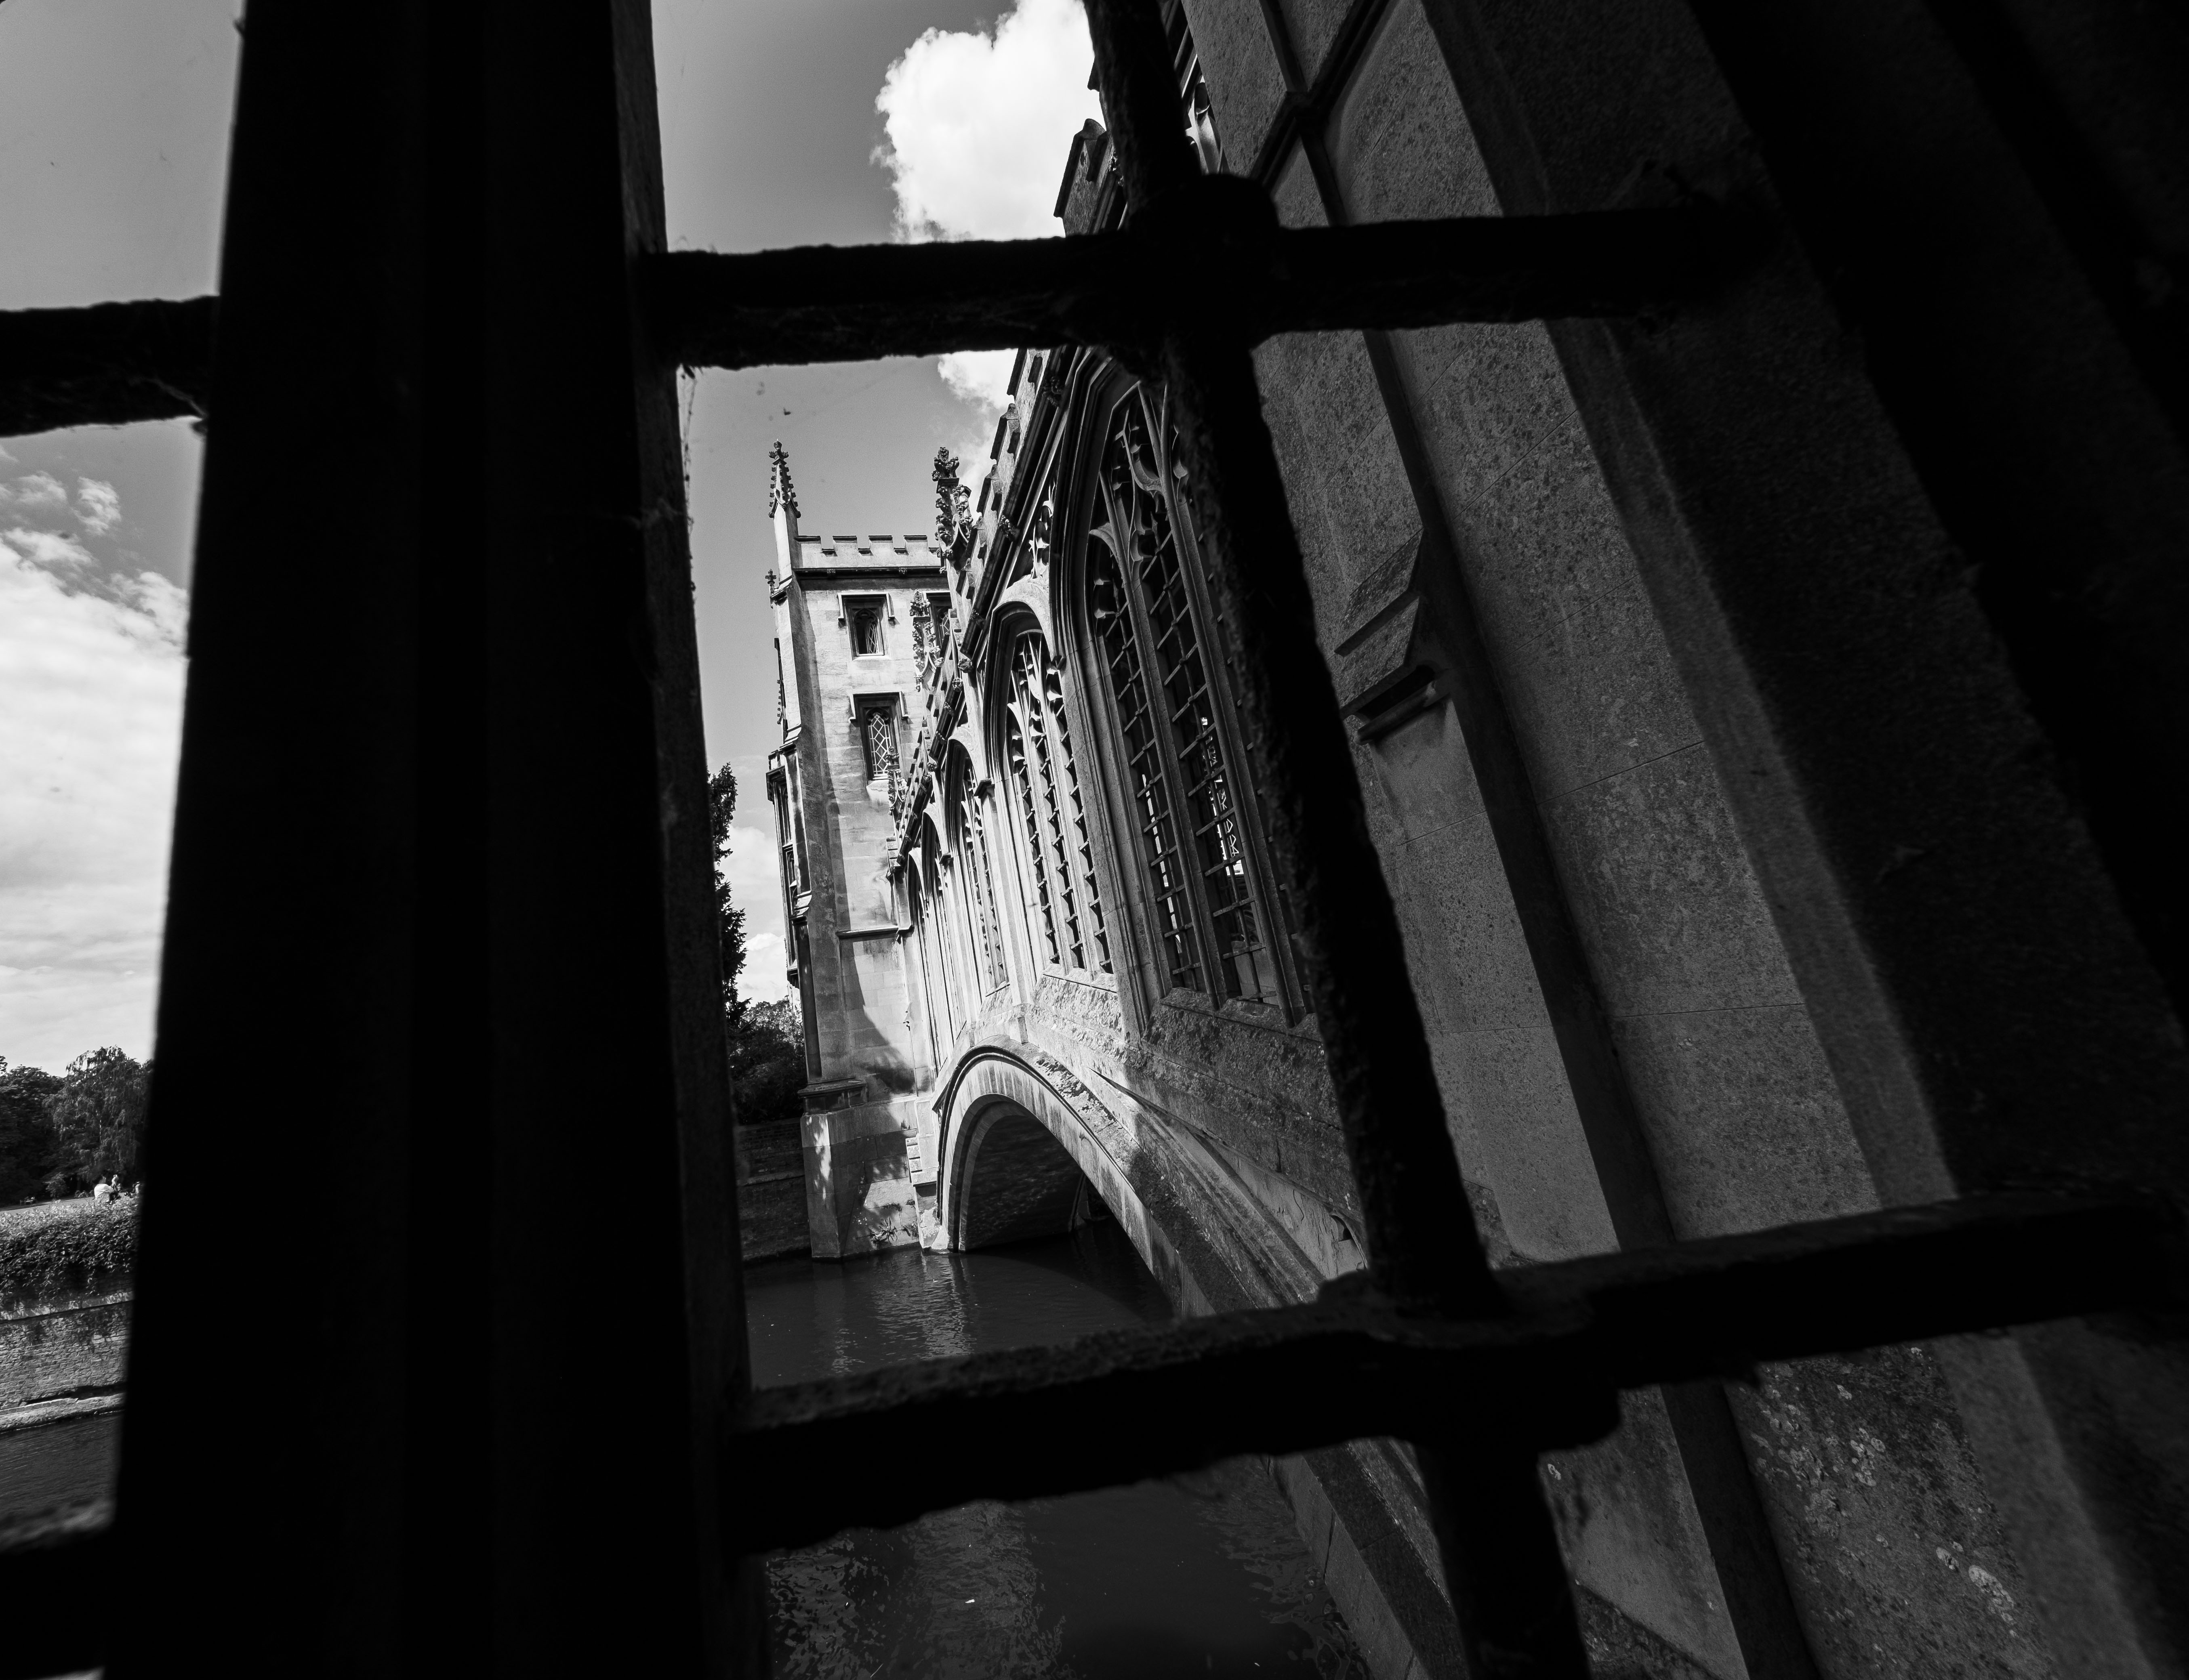
Look out for frames
A great way to give your architectural photography some depth is to look for something in the foreground that can frame it – ideally another architectural feature that will complement it, or contrast with it. This could be an ornate window frame, a doorway or something bigger like a set of pillars or an arch.
FUJIFILM X-T3 + XF8-16mmF2.8 R LM WR - 1/250 sec. at F8, ISO 160
Watch your exposures
Another difficulty with such a wide angle of view is the difference in brightness that can be present in the frame – after all you can simultaneously look towards the sun (or a window if you’re shooting interiors) and away from it in the same picture. This makes dynamic range important when shooting in bright light.
The simplest way of tackling this is to use your camera’s dynamic range adjustment, which can be accessed via the Q Menu. Try setting it to 200% or 400% to retain details in bright and dark areas. You could also try shooting in Raw, if you’re not already doing this, to bring back any clipped highlights or dull, featureless shadows.
You can also capture bracketed sequences of three shots, each one differing in exposure by ±2 stops, using your camera’s auto-bracketing function. In post-production, these can be merged together to form a high dynamic range (HDR) image that contains way more information than a single Raw file, and can give you a natural-looking exposure throughout the frame.
FUJIFILM X-T3 + XF8-16mmF2.8 R LM WR - 1/550 sec. at F5.6, ISO 160
Try a panorama
Finally, even though you are shooting with an ultra-wide-angle lens this doesn’t mean you can’t go even wider by using your camera’s panorama shooting mode. Do this in the same way as you would with any other lens, but make sure you turn the camera on its side to get as much in the frame’s height as possible. And watch you don’t accidentally include your own feet, too.
Get really close to your subject, otherwise everything will look a bit far away, and practice smooth pans from side to side. It may take a few attempts to get your panning speed right, but the results are definitely worth persisting for.

FUJIFILM X-T3 + XF8-16mmF2.8 R LM WR - 1/220 sec. at F10, ISO 160