


As someone who has worked as a sports photographer for over twenty years I have a certain way of working when I attend an event, whether it is at my local football club or the 24 Hours of Le Mans.
Much has been said about what camera and lenses to use, but, for me, preparation is a key factor in getting better shots. The better prepared you are, the better your images will turn out and this doesn’t just apply to sports photography, it is true for all genres. Read on for my top ten tips for shooting fast action sport.
1. Know Your Sport
Before you can shoot something well you need to know your subject. If you know how a game is played then you have a better chance of anticipating the action unfolding in front of you.
If you are shooting a sport for the first time, do some research online – YouTube is a great resource for sports videos. Watch the game, but also make note of where the photographers are shooting from.

2. Contact the Club
If you attending a game where you have to pay an entry fee, such as a football stadium, then it is best to check in advance that cameras with interchangeable lenses are allowed in. There is nothing worse than turning up at the turnstile to be stopped from going into the stadium because you have a ‘larger than normal’ camera.
Motorsport is one sport where you are actively encouraged to bring a camera and your local rugby or football club at the local park will probably also have no issues. But as a rule of thumb if you are going into a stadium and paying for a ticket I would give them a ring to make sure you are allowed to take your camera.

3. Know Your Kit
I liken using a camera to driving a car. Experienced drivers don’t think about changing gear or turning the steering wheel, all of this is second nature when you drive regularly. It should be the same with your camera and lenses. If you are fiddling with the controls at a critical moment then you might miss the shot.
I also have all my cameras set the same way so I can move quickly and smoothly from one camera to the other, which reduces the need to swap lenses.
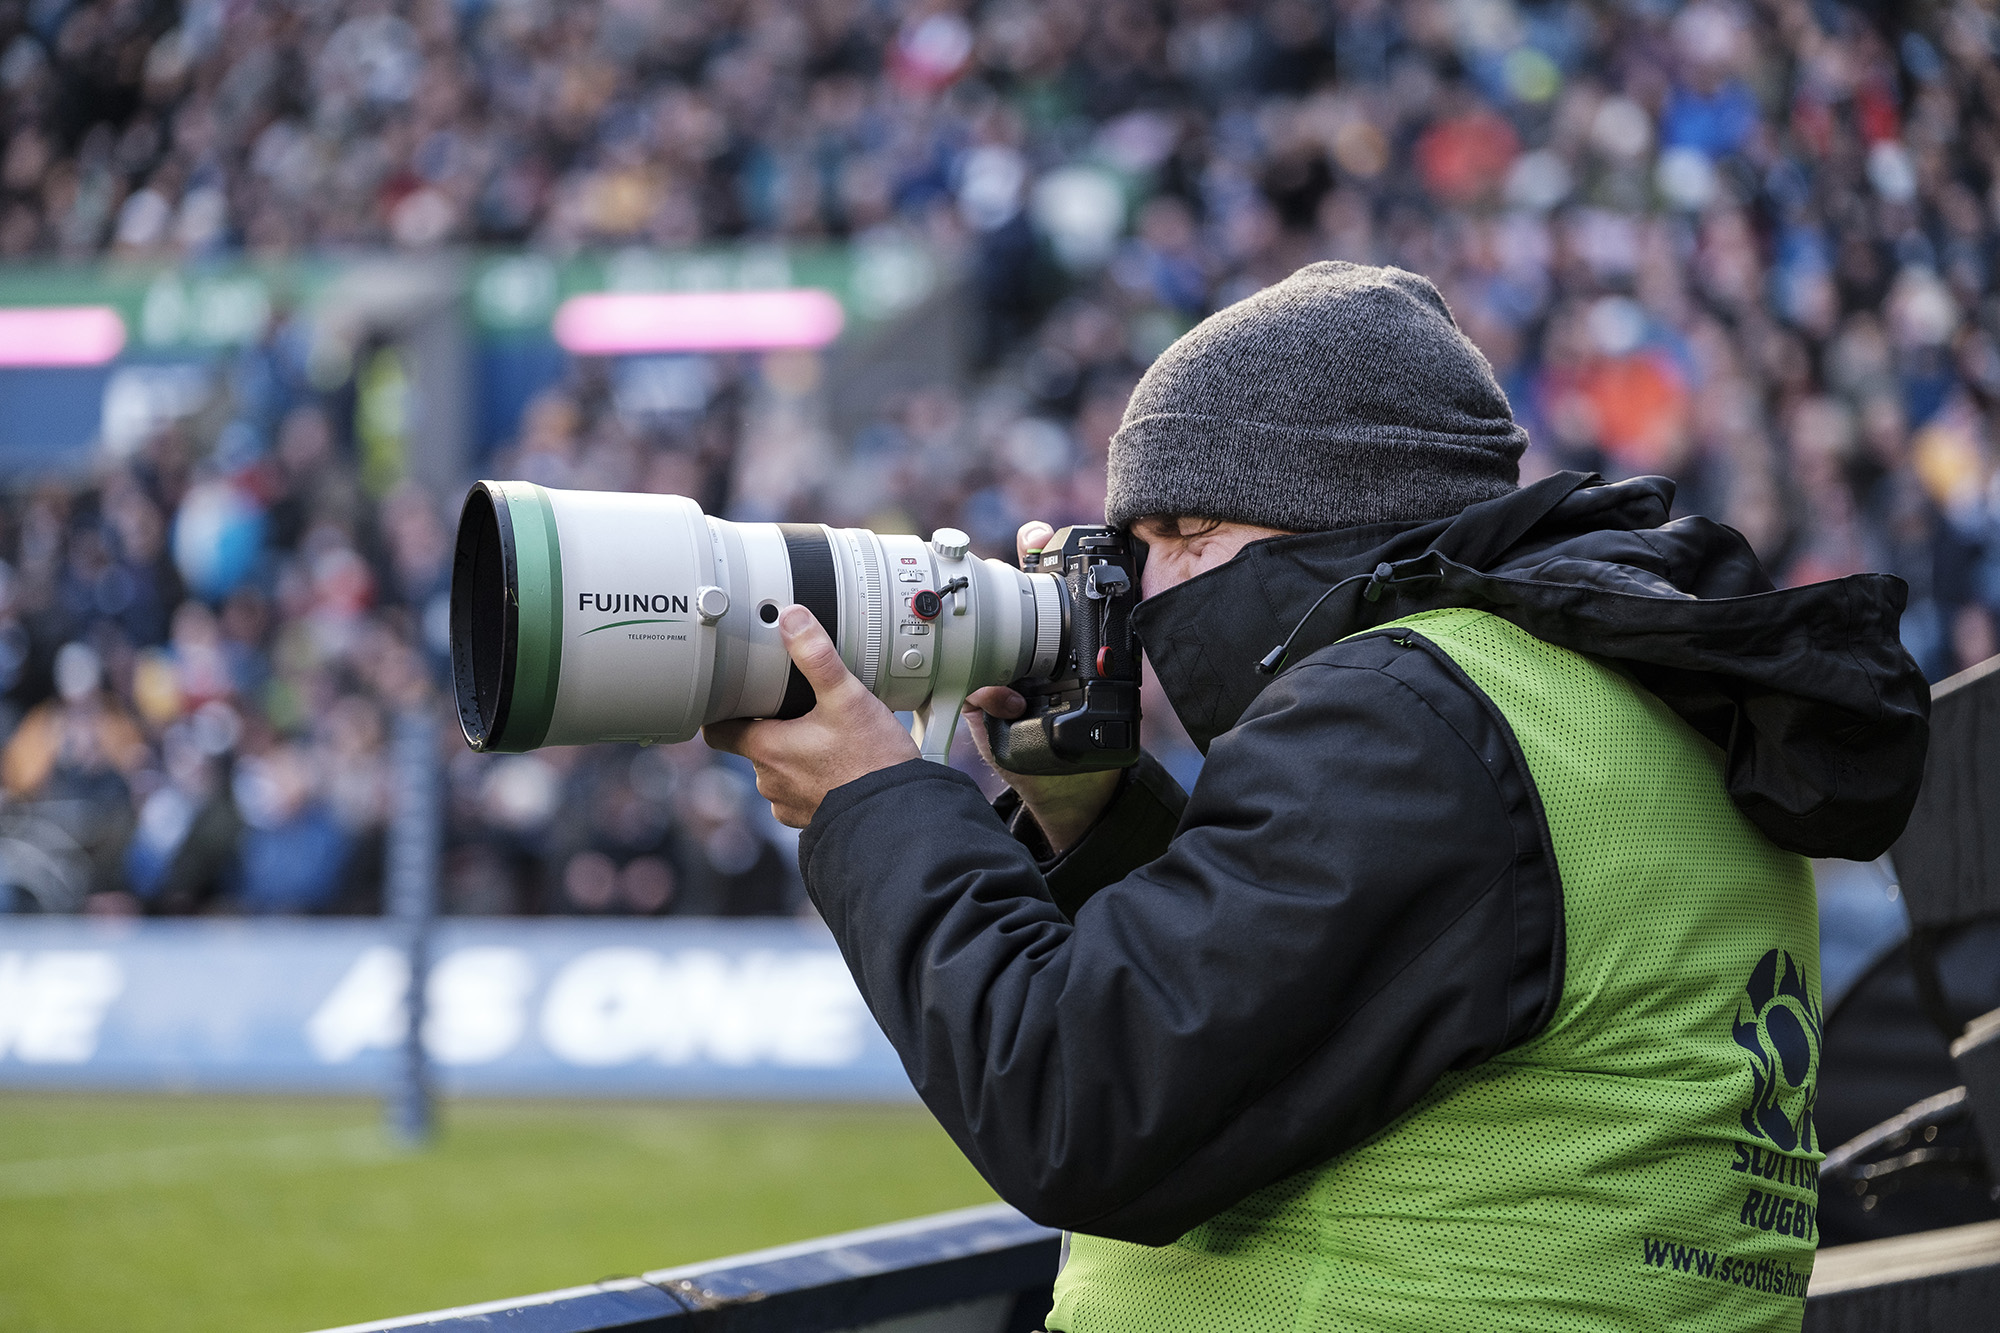
4. Dress for the Conditions
Billy Connolly is quoted as saying “There is no such thing as bad weather – only the wrong clothes.” Never a truer word has been spoken when it comes to sports photography as you have to be out in all weathers and conditions.
You could be indoors but if you are shooting ice hockey or figure skating, you’ll still need to wrap up warm. In the summer wear clothes that will keep you cool and protected, especially if you are out in the sun.
Always check the weather forecast 24 hours in advance and plan accordingly, and that means planning for the worst case scenario – because you never know with British weather!
5. Get into Position
Choose your shooting positions carefully and always look at the backgrounds for distractions. It could be some parked cars or a steward in a bright yellow jacket or something else that will take the viewer’s eye from the subject.
For motorsport you always stay behind the barriers and you never stand in what are classed as Red Zones (danger areas). If you are attending as a spectator try to get a position where you can shoot over the fences to get a clear shot, or get up close and shoot through a linked fence using a wide aperture to blur out the links.
If you are shooting team sports at your local club you should be able to move around. Try and shoot head on to the players but make sure you don’t cause a distraction. I also like to get down low to give a better angle. At the big games we usually sit on stools behind the goal or try line so we are shooting lower than if we were standing up. This is actually a good perspective to shoot.

6. Choosing the Right Camera and Lens
Now this obviously depends on the sport you are shooting. To be honest, any X Series camera with interchangeable lenses is capable of shooting sport but, obviously, the top end bodies like the new FUJIFILM X-T3 and X-H1 offer certain advantages, especially when it comes to auto focus speed and accuracy.
It is the lenses that make the difference and you should always buy the best you can afford. The good news is all XF lenses offer great optical quality. The focal length of the lens is an important consideration. There is no point trying to get a frame filling action shot at a motorsport event with an XF18-55mm zoom, but you can still get great shots with that lens if you shoot to show the environment around the subject.
The best choice for sports photography is either the new XF200mmF2 and 1.4x converter or the XF100-400mmF4.5-5.6. If you don’t need such a long focal length then consider the brilliant XF50-140mmF2.8 (with or without converters) or the highly capable XF55-200mmF3.5-4.8. Don’t ignore standard and wide angle lenses for sport; just choose your subjects wisely.

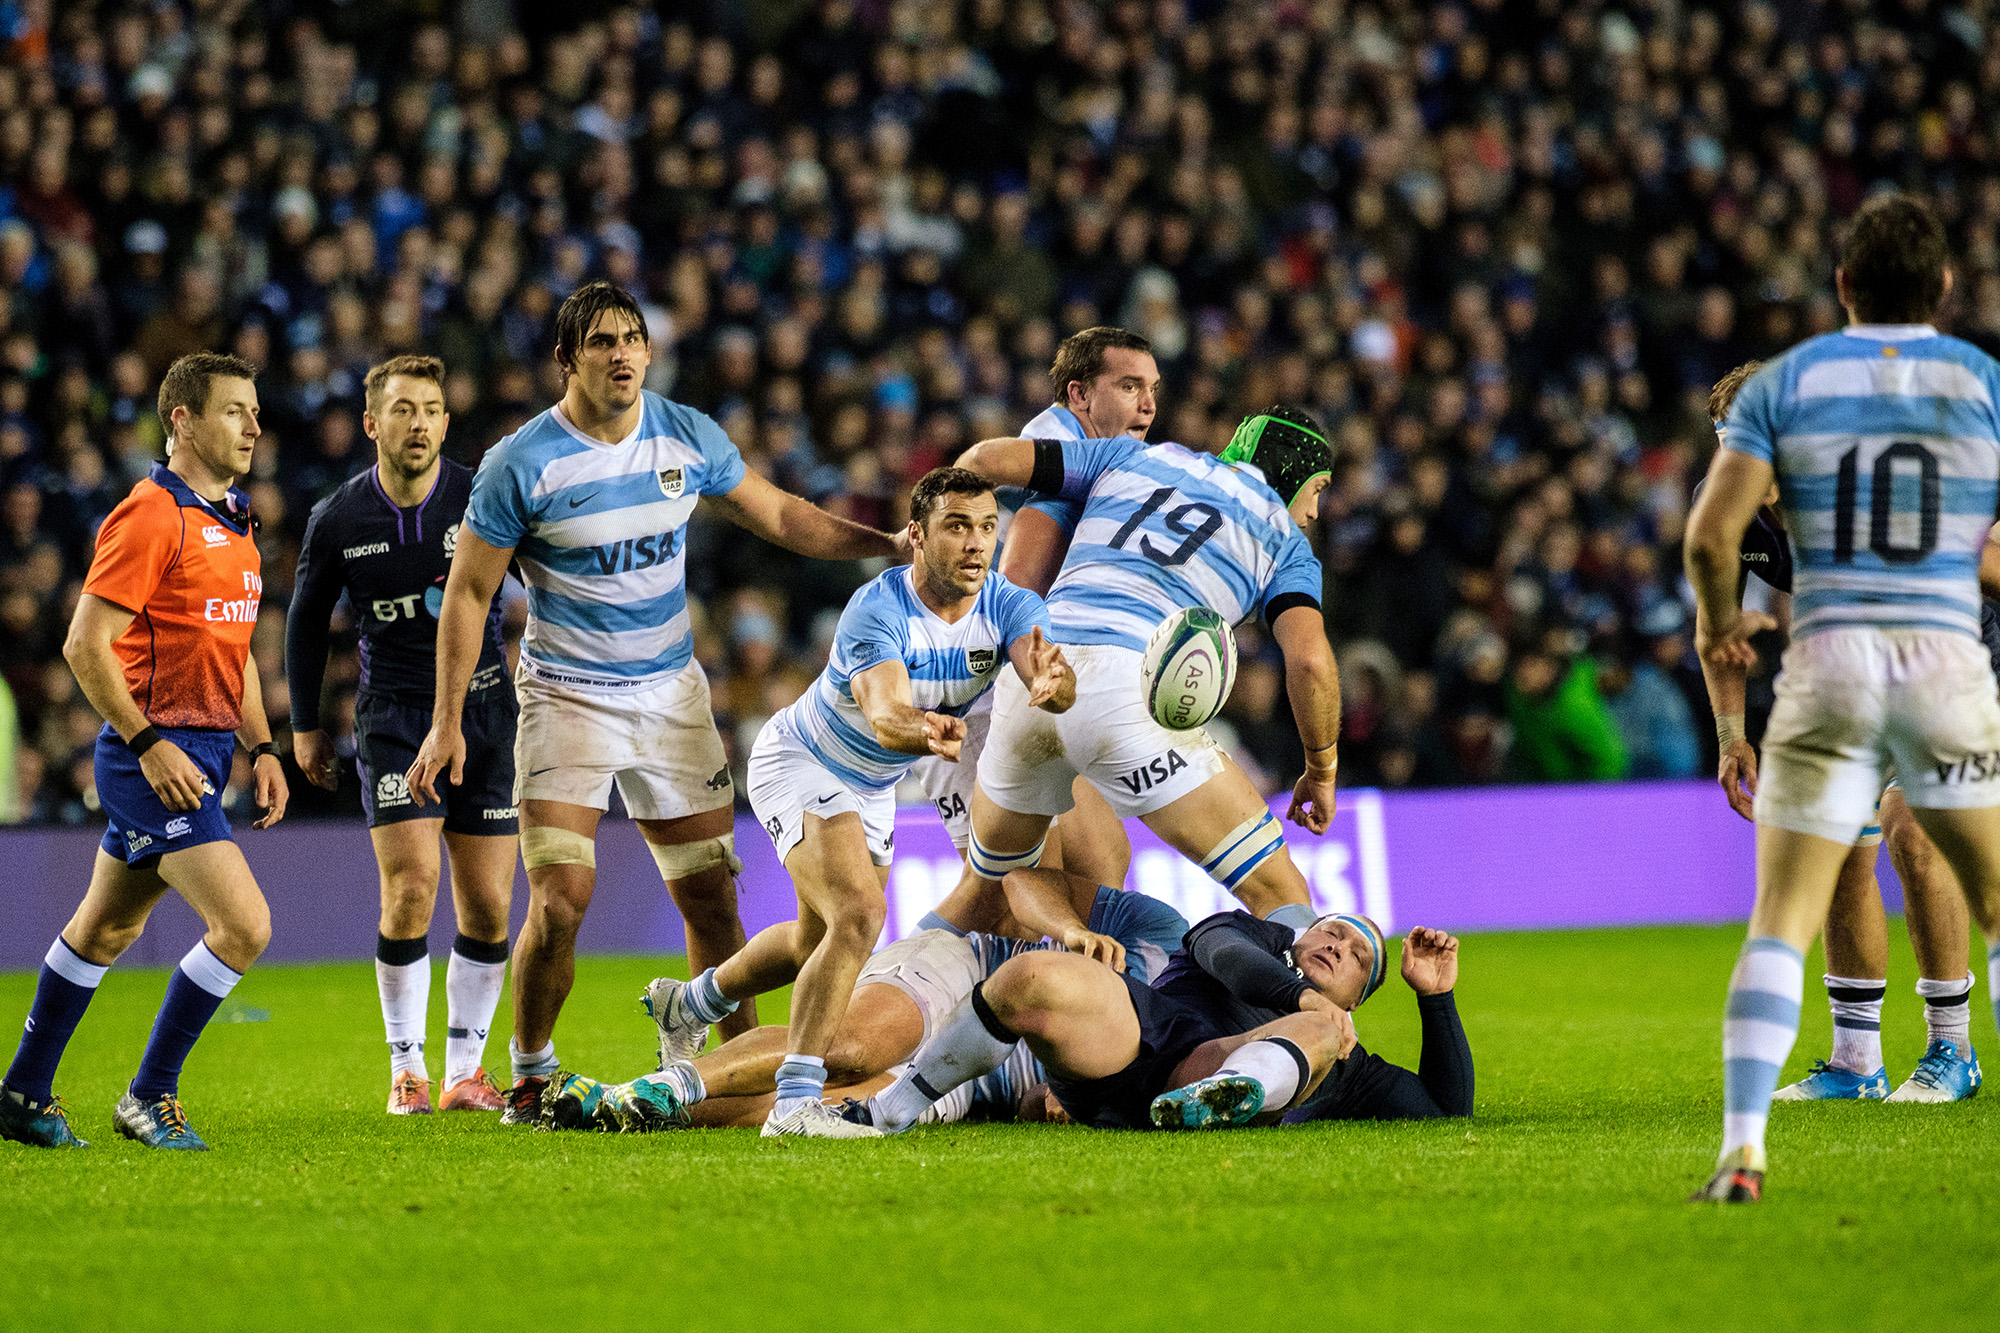
7. Capturing the Action
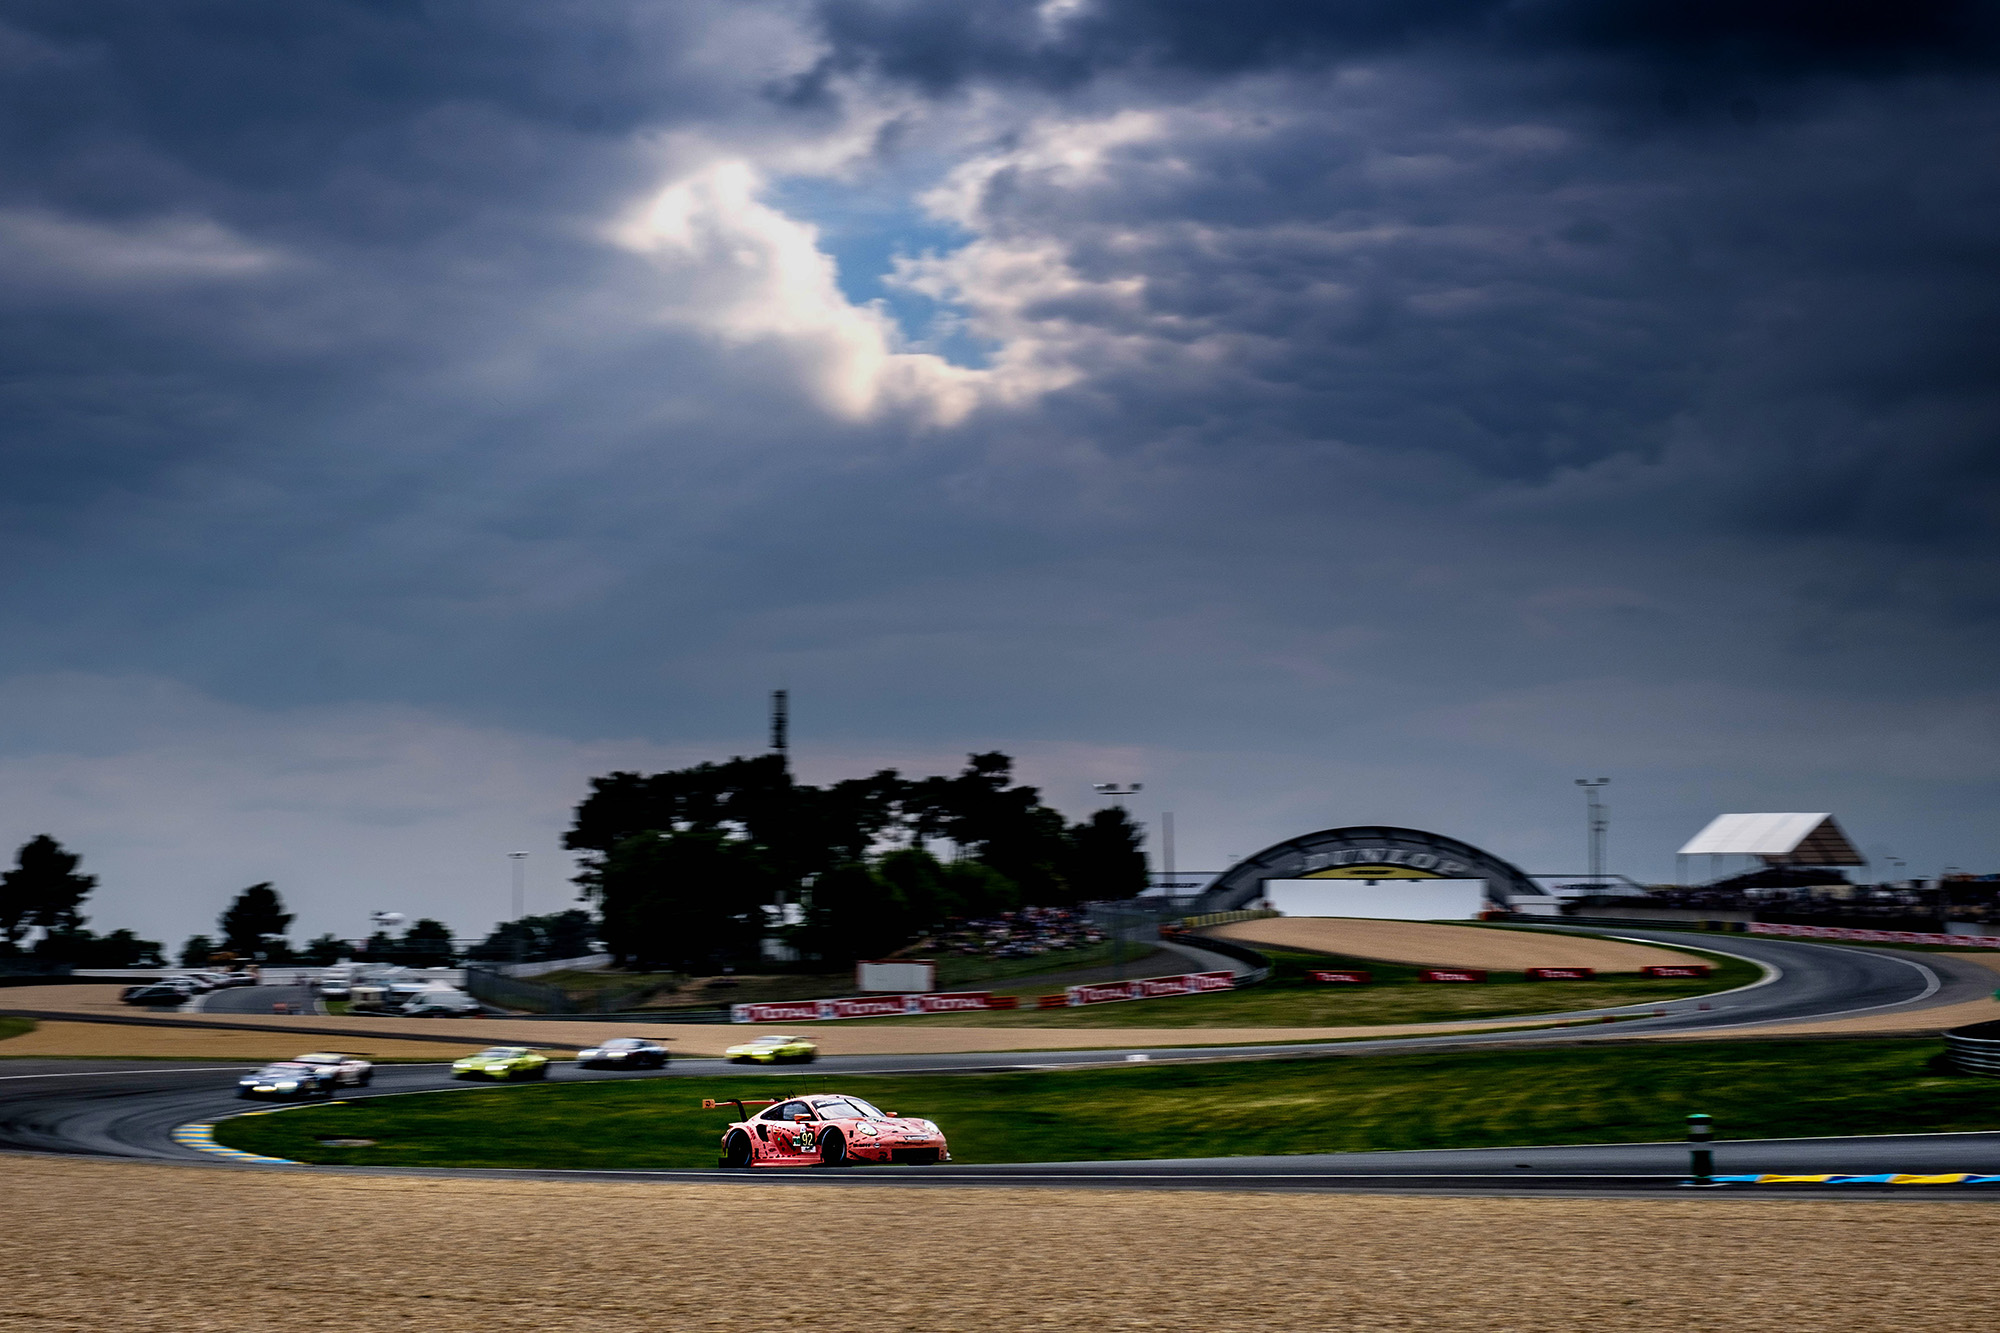
For team sports freezing the action usually means setting a fast shutter speed (1/1000s or faster). However it really depends on your subject. For example, a single race car on the track doing 150mph will be frozen if you shoot at 1/2000s, which doesn’t convey the sense of speed you get while watching the race. With static wheels the car can look like it is parked on track rather than moving at high speed.


You can use high shutter speeds for motorsport but it is usually used for groups of cars battling for position or for head on shots, such as the start shot. If you drop the shutter down to 1/125s or slower and follow the subject as you press the shutter release (a technique known as ‘panning’) you can inject a real sense of speed into the image.

This technique can also be used in other sports to give a different image from the norm. Don’t be afraid to experiment with shutter speeds.
8. Think Out of the Box
When attending a sports event it is very easy just to concentrate on the action on the field or on the track. Look around you and try to capture a flavour of the whole event. It could be fans enjoying the event, the celebrations of the winning team or the dejected look of the losers. Look beyond the obvious photo opportunities.


9. Automatic or Manual Exposure?
This really depends on what you are shooting. I shoot in manual exposure and control the shutter speed on the rear dial of my X-T3 / X-T2, the ISO on the front dial and the aperture on the lens.

Some photographers prefer to use shutter priority with the aperture left on its widest setting, the shutter set to the speed needed to capture the action and the ISO left on auto. However when shooting sport where sunlight hits the water or headlights on a car, it could cause the image to be under exposed. Conversely a capturing skiing or ice skating could mean the predominantly white background means the images are under exposed. In these situations you need to override the automatic setting by dialing in some exposure compensation.

This is the main reason I choose to shoot in manual exposure and use my experience, and what I am seeing in the EVF, to judge the exposure.
10. Bumping Up the ISO
Don’t be afraid to bump the ISO up to 6400 or even 12800 if you can’t maintain an action freezing shutter speed with the maximum aperture of the lens you are using. The latest X-Trans sensors can handle high ISO settings really well.
Remember it is far better to have a noisy image rather than a blurred image due to the shutter speed not being high enough. You can always add a bit of noise reduction in post.
I have also under exposed an image when shooting RAW files and then adjusting the exposure in post-production. Be careful, however, if you are using this method as this can introduce noise into the final image.


