Julien Apruzzese
Julien Apruzzese sinh năm 1979 ở Pháp. Hiện anh sống ở ngoại ô phía nam Paris, đã kết hôn và có một cô con gái.
Đam mê khoa học ứng dụng vào nghệ thuật, anh bắt đầu sự nghiệp với tư cách là một kỹ sư âm thanh vào năm 2000 và mở phòng thu âm Di Notte vào năm 2006.
Sau mười năm và bốn giải thưởng, Julien Apruzzese muốn chuyển sang một hình thức nghệ thuật khác.
Anh ấy đã mua chiếc máy ảnh đầu tiên của mình vào năm 2012. Một nhiếp ảnh gia tự học, anh đã mở studio Julien Apruzzese Photographie et Retouche vào năm 2013.
Nhiếp ảnh của anh nhằm mục đích đến gần hơn với những giấc mơ và được truyền cảm hứng từ hội họa. Ngày nay, Julien Apruzzese biến giấc mơ thành hiện thực bằng hình ảnh cho các chuyên gia và cá nhân.
The Layers.
Capture One Pro 12 proposes a powerful layer system, up to 16 per image, with well designed features. So unique that today my post-production is done 80% in Capture One Pro (Color and Tonality work) and 20% in Photoshop (Pixel and Dodge & Burn work).
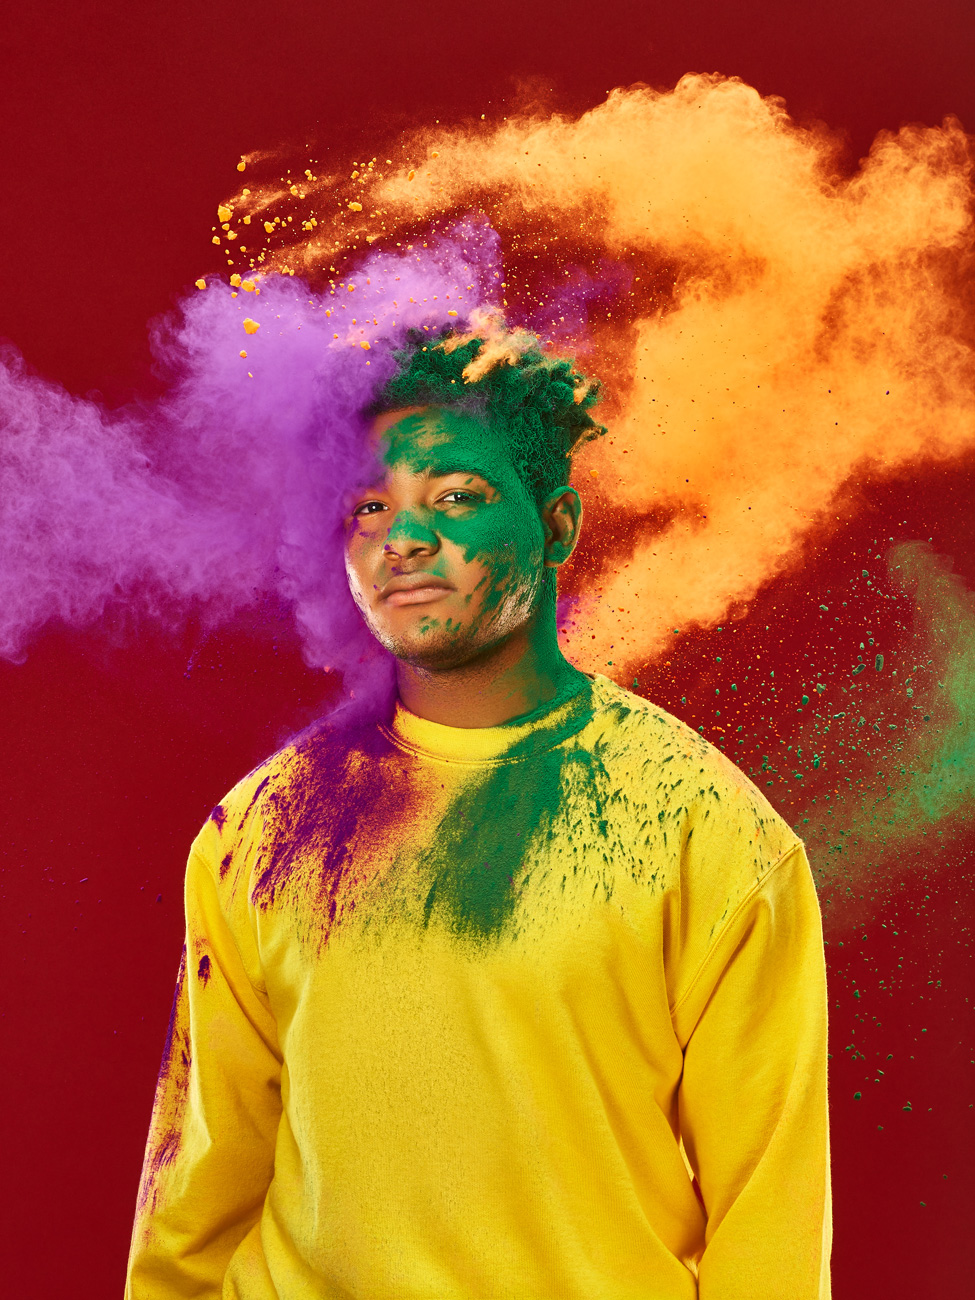
We can draw a mask, we can create dynamic linear and radial gradient mask, dynamic luma range mask and color range mask, as we can see on the cover image above. And each of these masks can be controlled by an opacity slider.
In my experience, the precision of the luma and color range masks is outstanding.
The Color Range Masks.
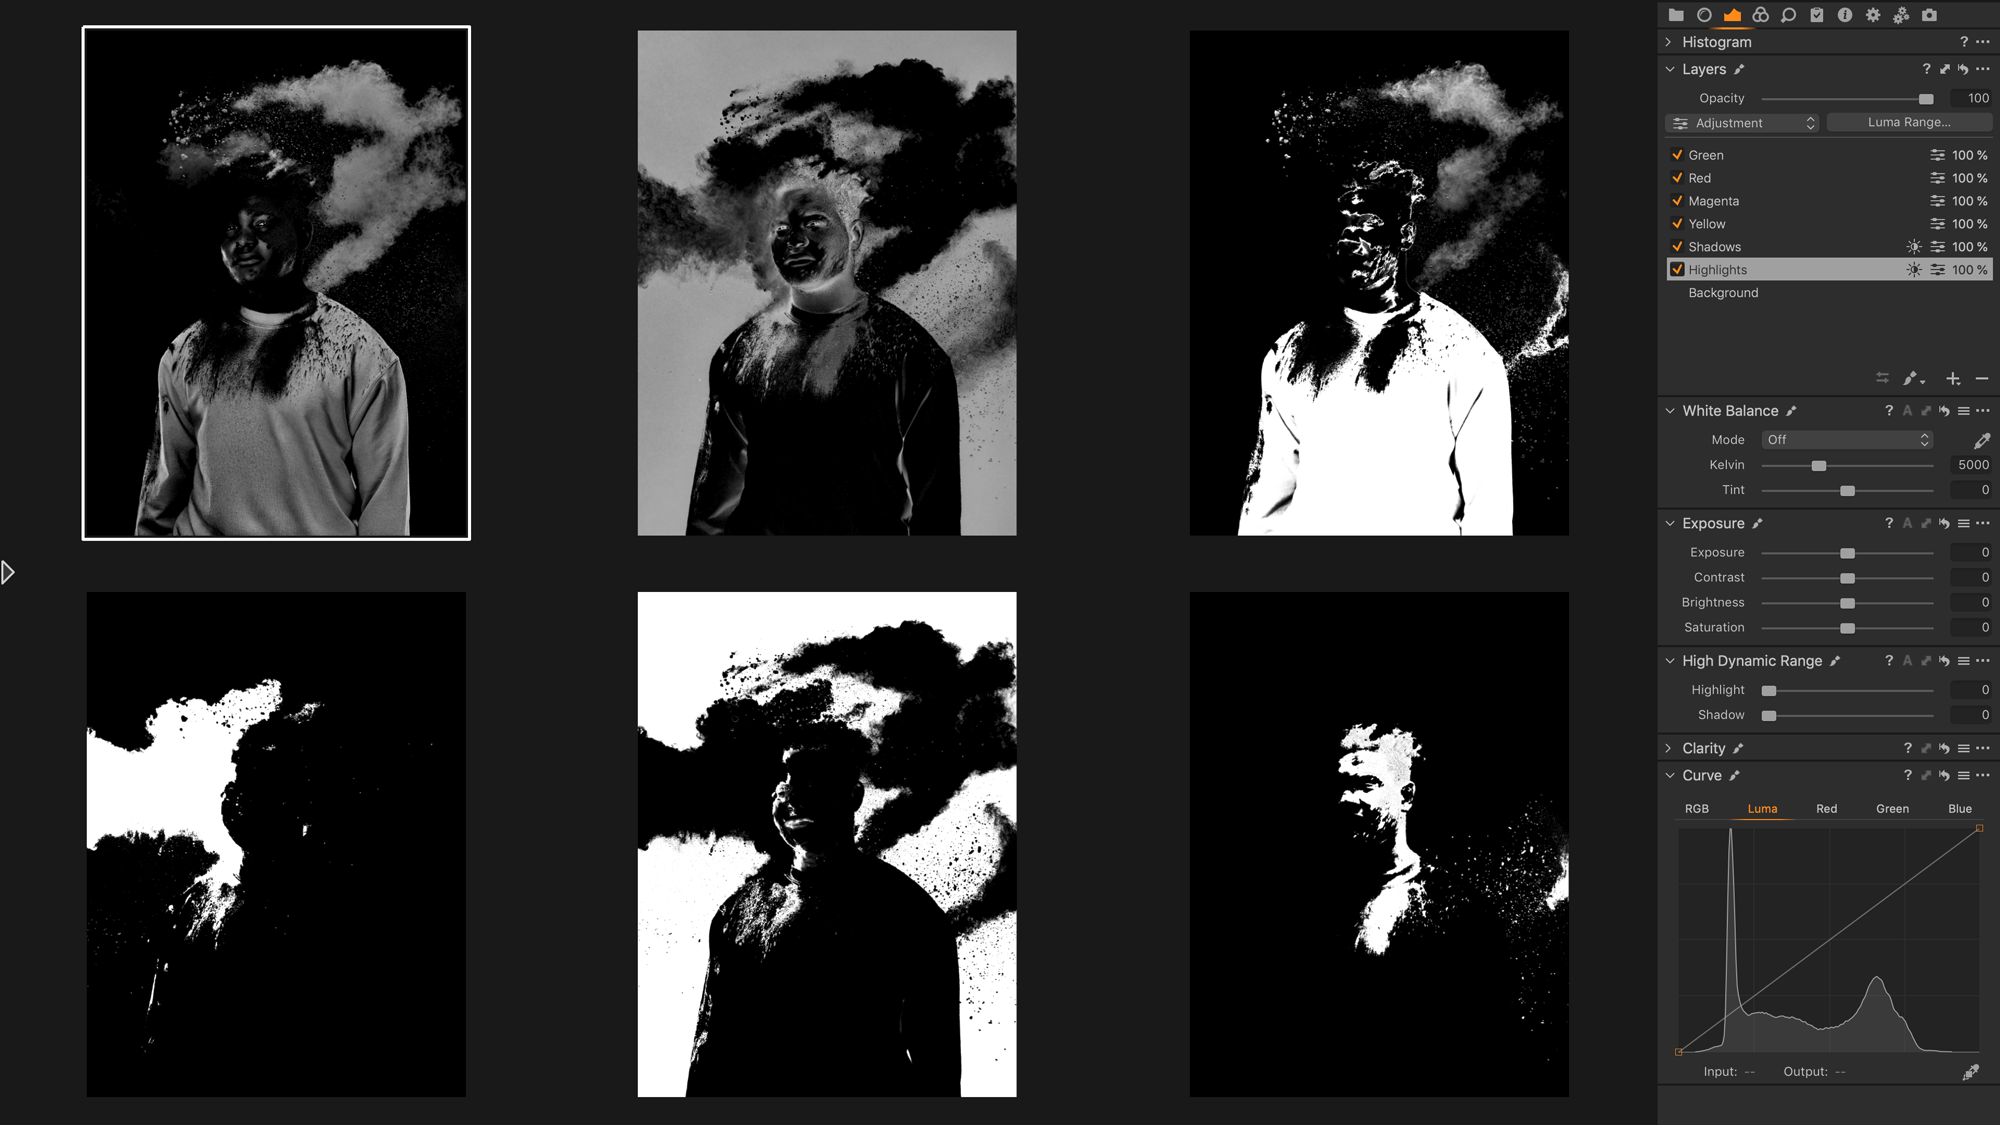
As we saw on the previous article, the Color Editor and Curve are my favorite tools, and with layers we can go even further. First of all, up to 16 Color Editor and Curve tools can be created for each image. But there is more. We can create a mask from a color range selected with the Color Editor. For what purpose? We know in the Color Editor, we can only work on Hue, Saturation and Luminosity (this means already a lot). But what if we want to work on Contrast or Clarity for instance?
As the images above, I wanted to isolate the green and magenta hues in order to apply a Luma Curve. In the Layers tool, I selected the Background and so I isolated the color range selection requested with the Color Editor tool. To be precise, I checked the “View selected color range” option. Then I clicked on the Action Menu button (… icon) to choose the “Create Masked Layer from Selection” option. A new layer was automatically created with a mask based on the Color Range selection.
Once the mask is created, we can edit it. Alt+M allows us to see the mask in grayscale, B allows the brush to paint in white and E in black.

The dynamic Luma Range mask.
Capture One Pro 12 bring us a new dynamic Luma Range mask and it is brillant for three main reasons. Firstly because it is not exactly a mask itself, it is a further refinement of any mask, a drawn one or a gradient one. Secondly because it is dynamic and non-destructive. Thirdly because of the Radius and Sensitivity refinement sliders.
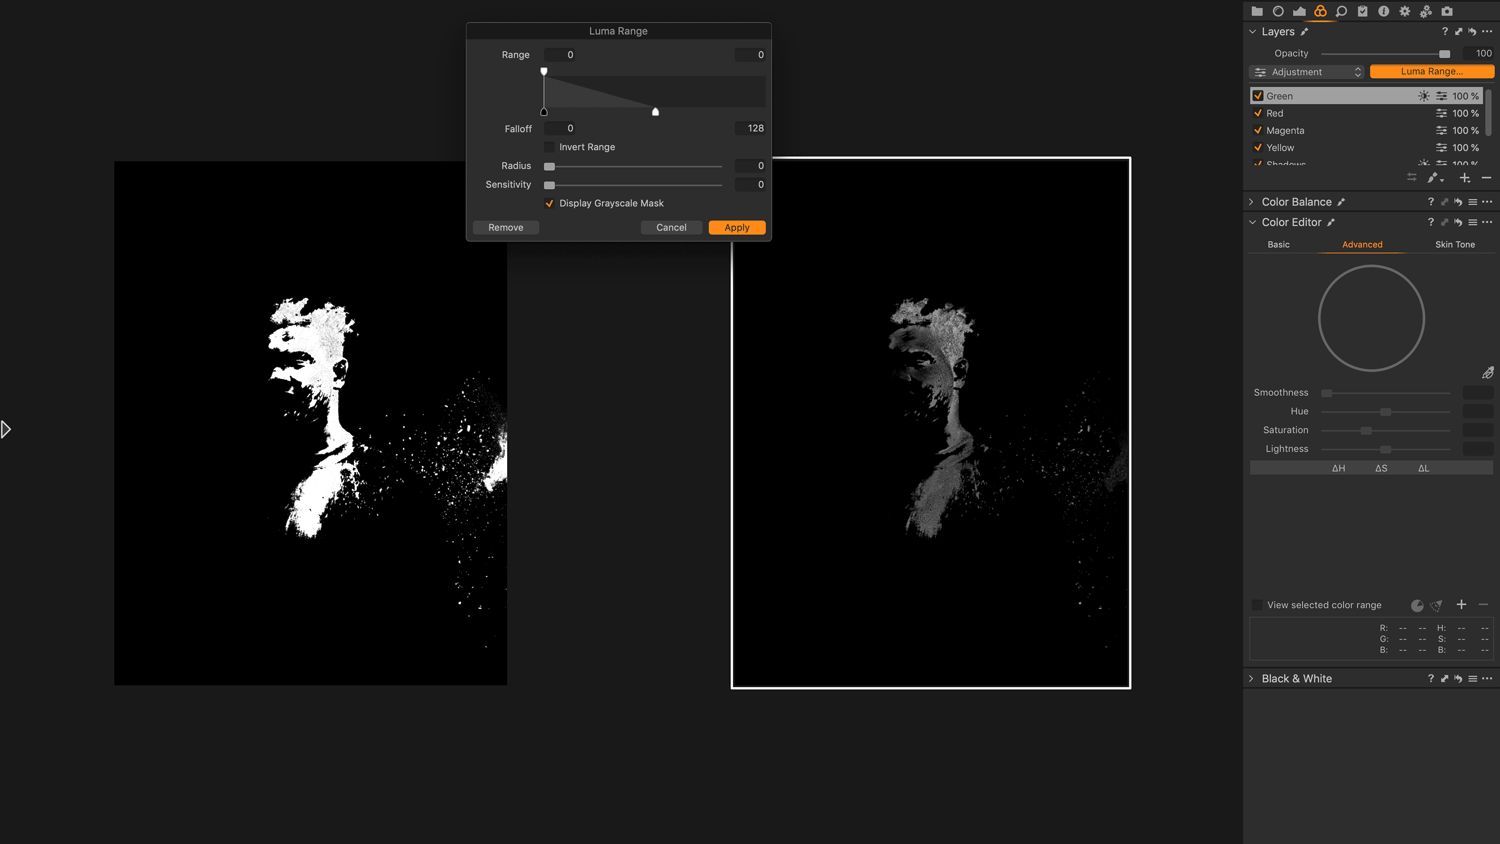
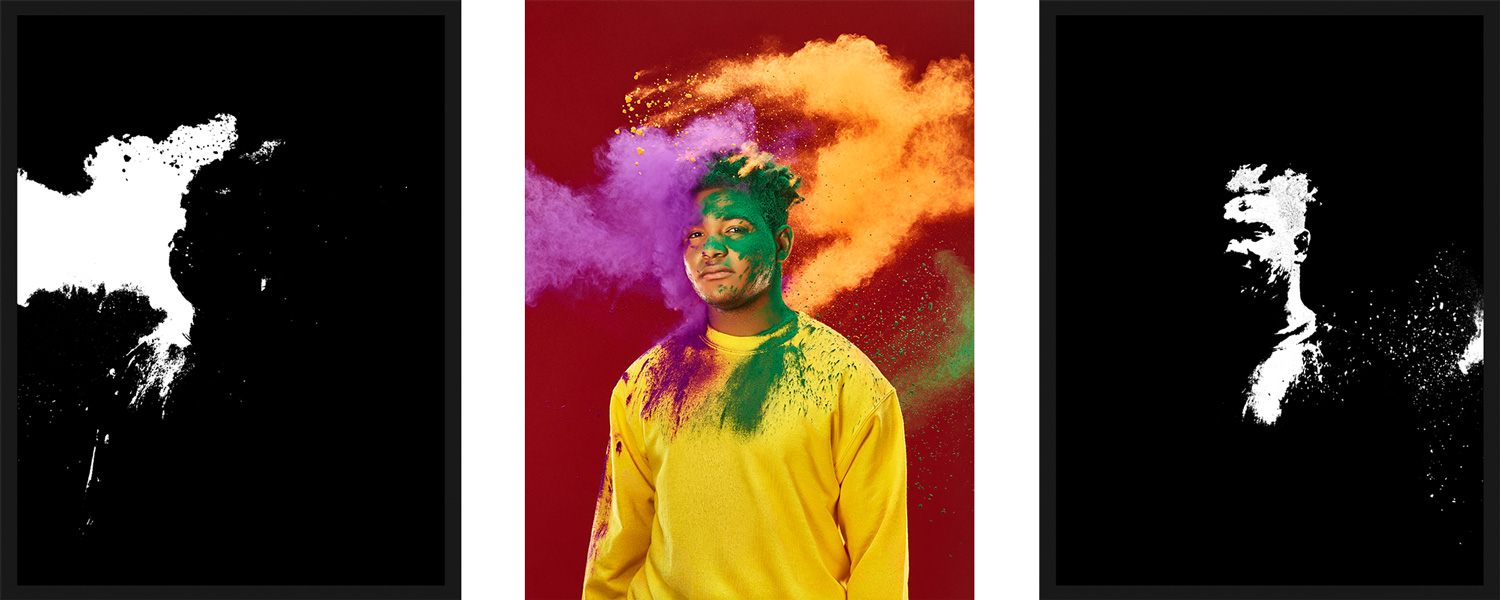
The Luma Range is an option for any mask. As we can see above, on the left image we have a Color Range mask of the green hues, viewed in greyscale. On the right one, we ask to Capture One Pro 12 to isolate a Luma Range, here the shadows, inside this Color Range mask. It’s a mask on top of a mask.
We have now two ways to control what should be affected in the image, the mask itself and the luminosity range. Moreover, the Luma Range is non-destructive. We can adjust it back at any time. And if we paint in white some new areas, the Luma Range will be updated.
And as this feature is dynamic, it means that we can copy the mask on others images and the Luma Range will be updated. Take into account that we always have a visual feedback, then we understand the power of this new feature.

Sometimes Luma Range mask can be a little harsh. We can refine the mask inside the Luma Range tool, with the Radius and Sensitivity sliders. Both are working connected. Radius is a feather option, Sensitivity allows to let pass through this feather high frequency. So I work in two ways here, depending on the image. Or I set the Sensitivity at 0 and play with Radius around 0.5 or 2, as the middle mask on the image above. Either I set the Sensitivity at 50 and play with Radius around 2 or 4, as the right one.
The power of this refinement features is that they are non-destructive too. You can adjust the Luma Range mask while keeping the same refinement.
With the new FUJIFILM Film Simulations, in my point of view, the Luma Range mask is the most important update present in Capture One Pro 12.