

Like Film Simulations? Then you’re going to love the bracketing mode. This versatile function is perfect for those who can’t decide on their favorite Film Simulation mode
The chances are you’ve already experimented with the Film Simulation modes on your X Series camera – and if you haven’t, you’re missing out! These unique functions digitally recreate some of Fujifilm’s best film emulsions and mean you can get great results straight out of your camera, cutting down on time spent in front of your computer.
But if you haven’t yet decided on your favorite Film Simulation mode or can’t always choose which one to use and when, then the Film Simulation Bracketing mode could well be your savior. Here’s how to get the most from it.

Setting up Film Simulation Bracketing
All FUJIFILM X Series cameras feature a Film Simulation bracketing mode, but how you access it varies from model to model. If your camera has a Drive button, press this and scroll down the list to FILM SIMULATION BKT. Now, go to the SHOOTING SETTING menu and select FILM SIMULATION BKT.


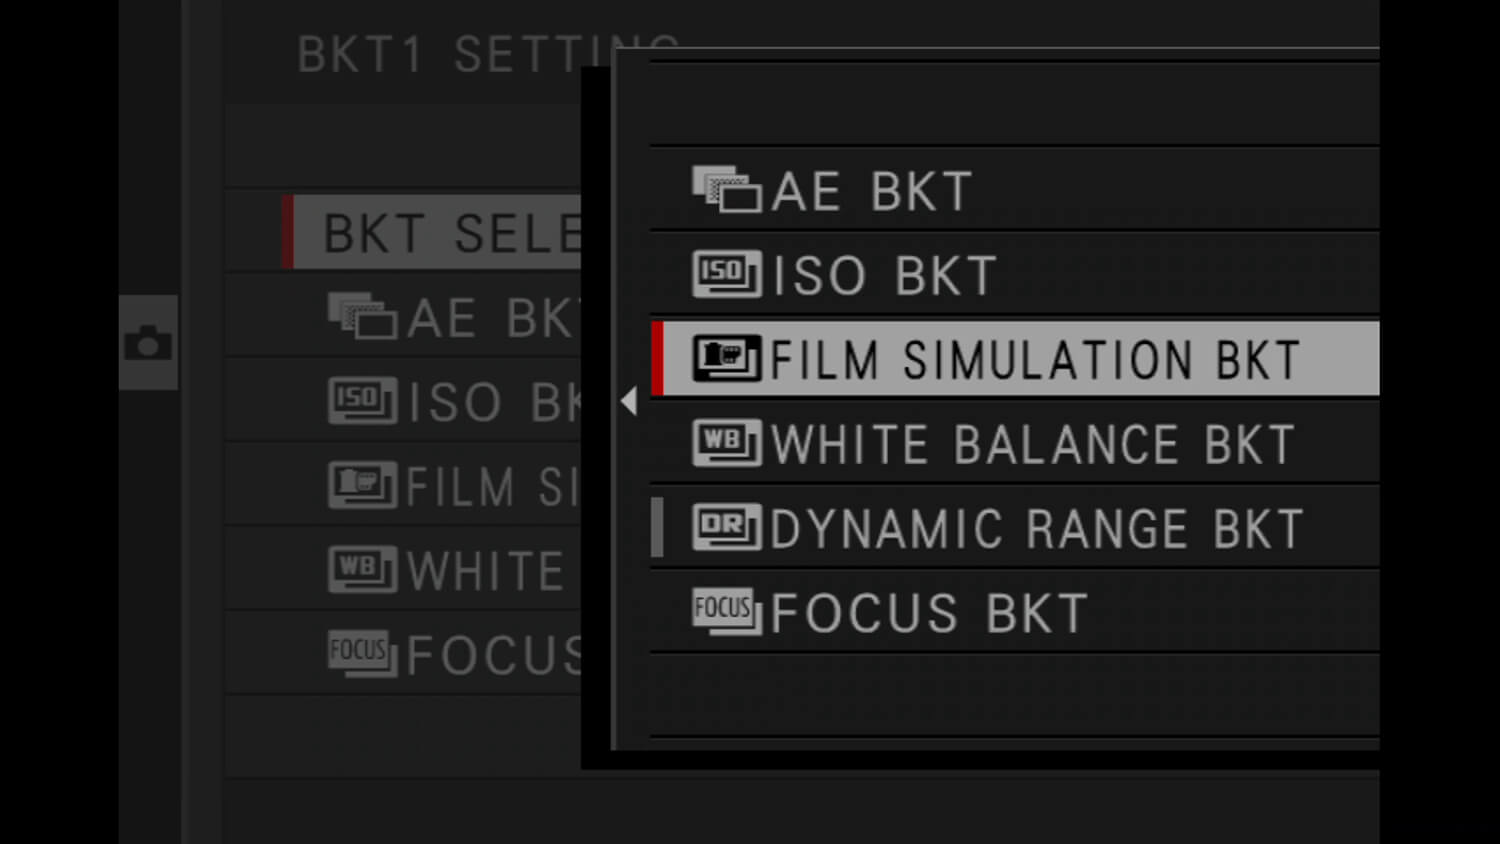
It’s a slightly different route if you have an X Series camera that features a Drive mode dial on the top-plate. First, select BKT on the top-plate dial and then navigate to the SHOOTING SETTING menu. Choose DRIVE SETTING, then BKT SETTING and finally BKT SELECT before choosing FILM SIMULATION BKT.


In either case, once the mode is selected you can choose three Film Simulation modes to be included in the bracket. Which ones you opt for are entirely up to you, of course, but we’d advise making one color and one black & white just so you can see the difference these two options gives you.
Once the camera is set up to photograph a Film Simulation bracket, you can go out and get creating. Every time you press the shutter release, the camera will record three images using each one of the Film Simulation modes you have pre-selected. Review all three as you would do with a single image on the rear LCD or in the viewfinder. Easy!

The RAW Alternative
Film Simulation bracketing offers a quick and simple way to capture three images simultaneously, but if you like to create using the RAW file format, this may not be necessary. This is because if you create in RAW, you can change the Film Simulation mode later on your computer, or even in camera. Editing software, including the free Capture One Express FUJIFILM and Adobe Lightroom, provides access to all the Film Simulation modes available on your camera, so you can just make one frame and change it on your computer later.

If you want to change it in camera, press the MENU button when in playback mode and then choose RAW CONVERSION. You’ll now see a small thumbnail of the image and a list of options. Scroll through to FILM SIMULATION and then choose the Film Simulation mode you’d like to change the image to. Once you’re happy, press the Q button, then OK to store the converted image. The photograph will be saved as a JPEG, but the original image remains untouched as a RAW file.

Your Next Steps
- CHALLENGE Use Film Simulation Bracketing to explore Film Simulations that you don’t usually use, as well as those that are favorites. Post your best pictures to social media with the hashtag #MyFujifilmLegacy and #bracketing. You can also submit your work here for a chance to be featured on our social media channels.


