


Whether you want to shoot high-key images full of light and energy, or darker, moodier, low-key shots, learn how to do it with your FUJIFILM camera
Shooting high-key or low-key images is a great way to inject some mood and atmosphere into your photography. Bright high-key images are typically upbeat and positive, conveying a sense of energy and optimism. Conversely, low-key images can be melancholy, powerful, and dramatic.
Before we take a look at how to shoot images in these styles, it’s useful to revisit exactly what we mean when we use these terms. High key is not just about overexposing an image, just as low key is not all about underexposure. Working in this way is all about combining the right subject with the right background and the right lighting style.
For example, creating a high-key image is about selecting a subject and background that are both light in tone, then flooding them with light to minimize shadows and create a bright, punchy result. High-key images are dominated by bright tones and contain far fewer dark and mid-tones – but that’s not to say you need to overexpose to eliminate blacks altogether. After all, in a high-key portrait, we’d still expect a subject’s pupils to be black.
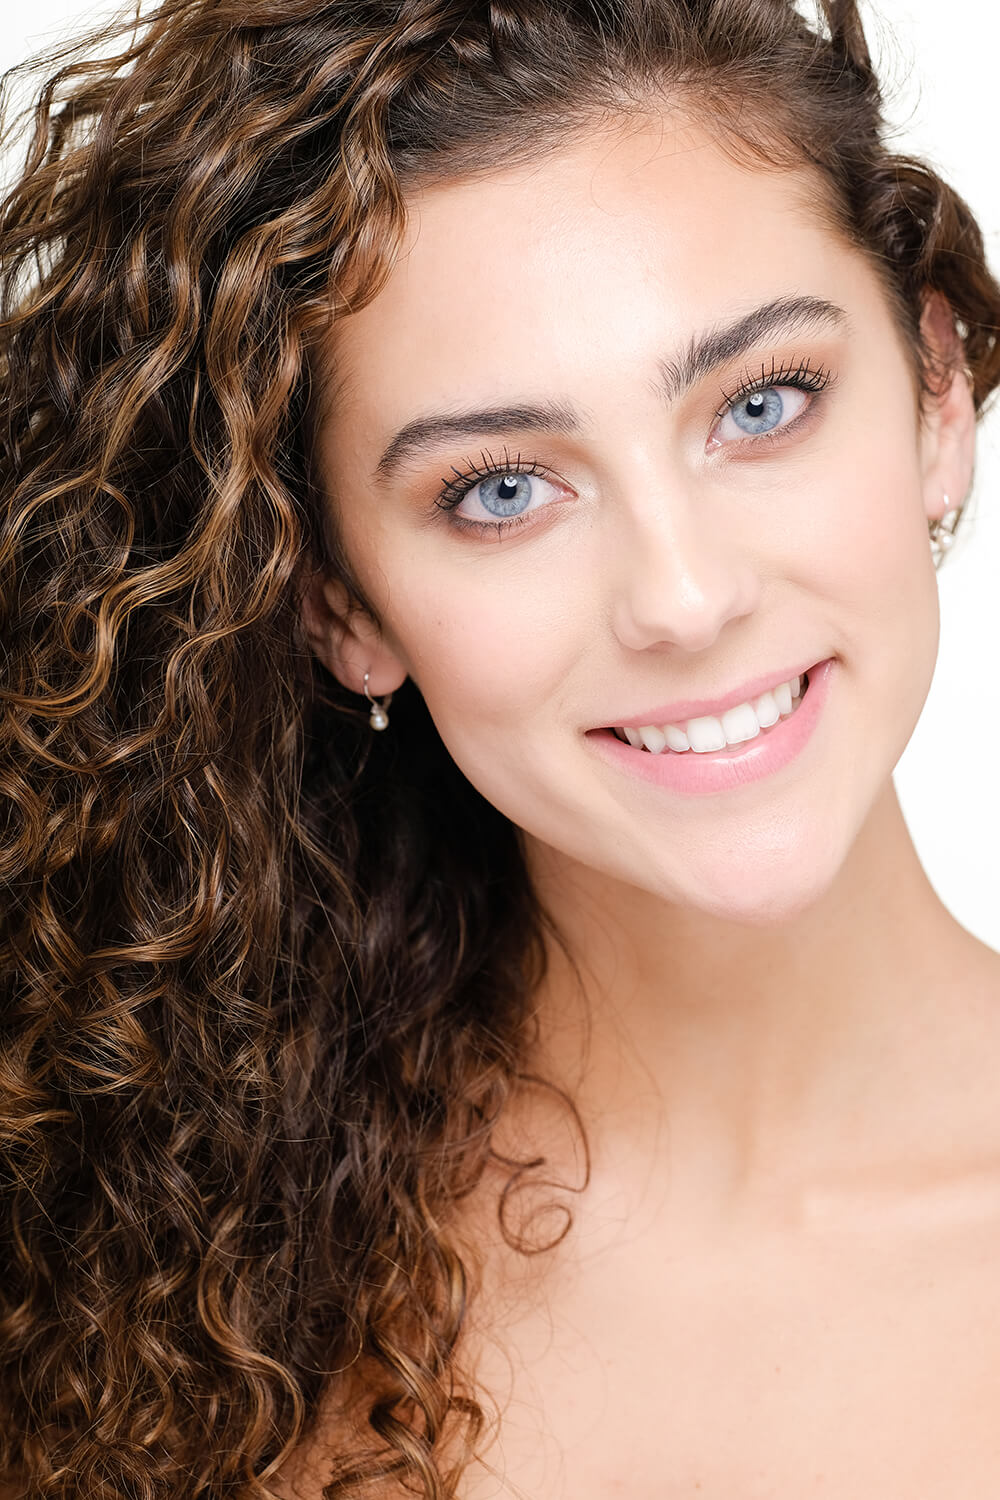 © Bobbi Lane
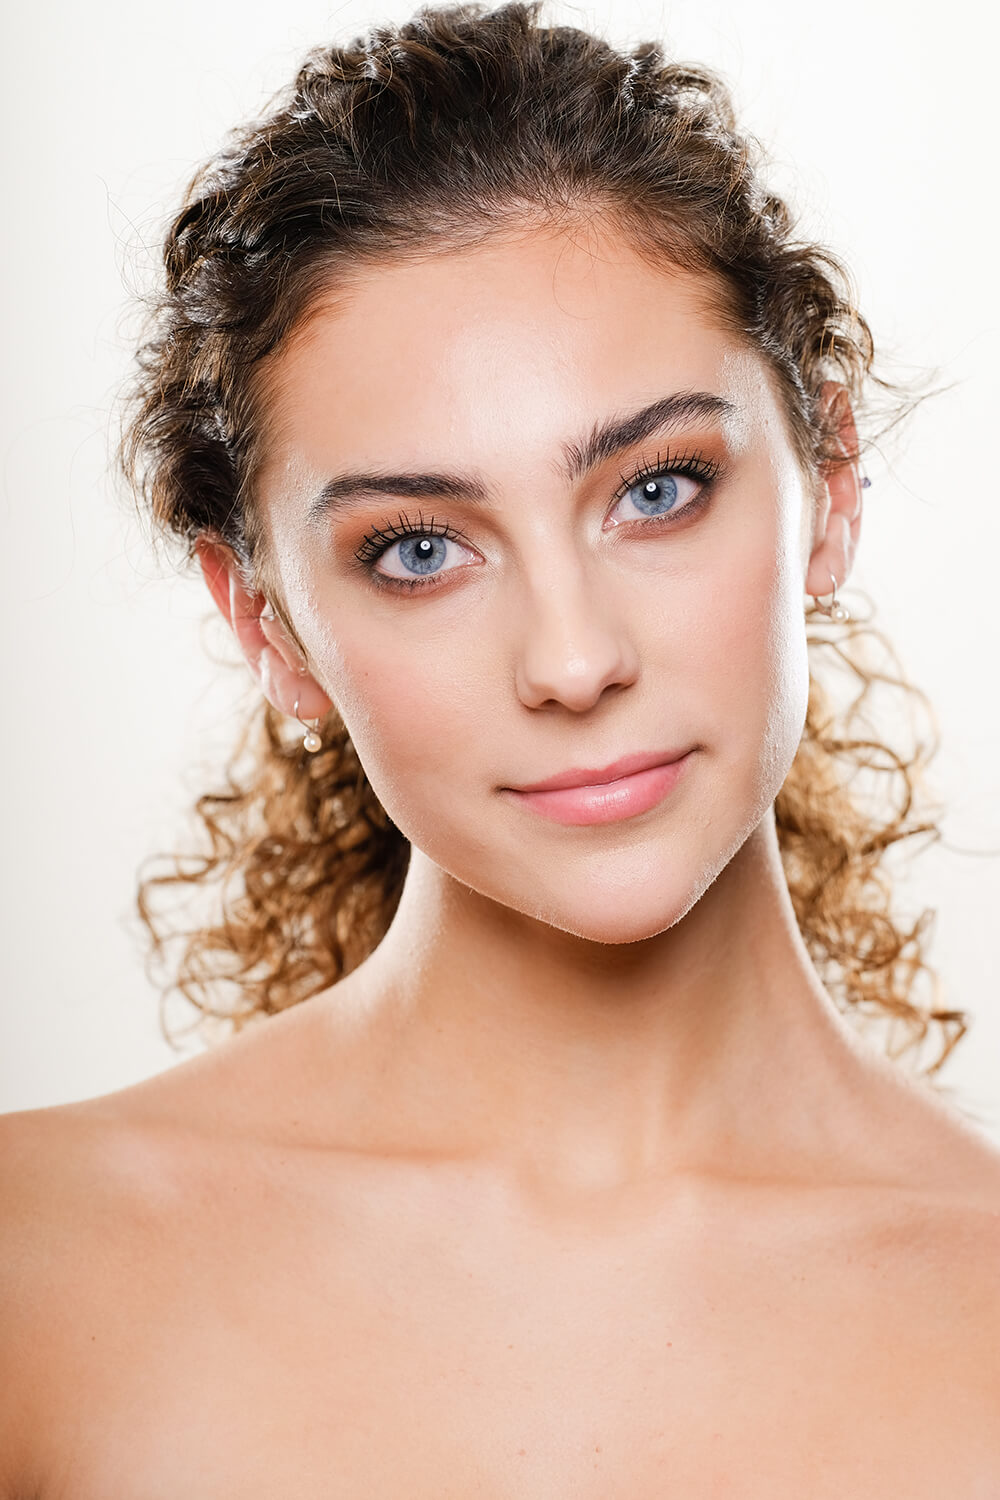 © Bobbi Lane
When shooting a low-key image, we choose a subject and background that are dark in tone and can use lighting that creates shadows or leaves large parts of the scene unlit. Very few bright tones are likely to be present, but where they are, we want them to look bright – not muddy and underexposed.
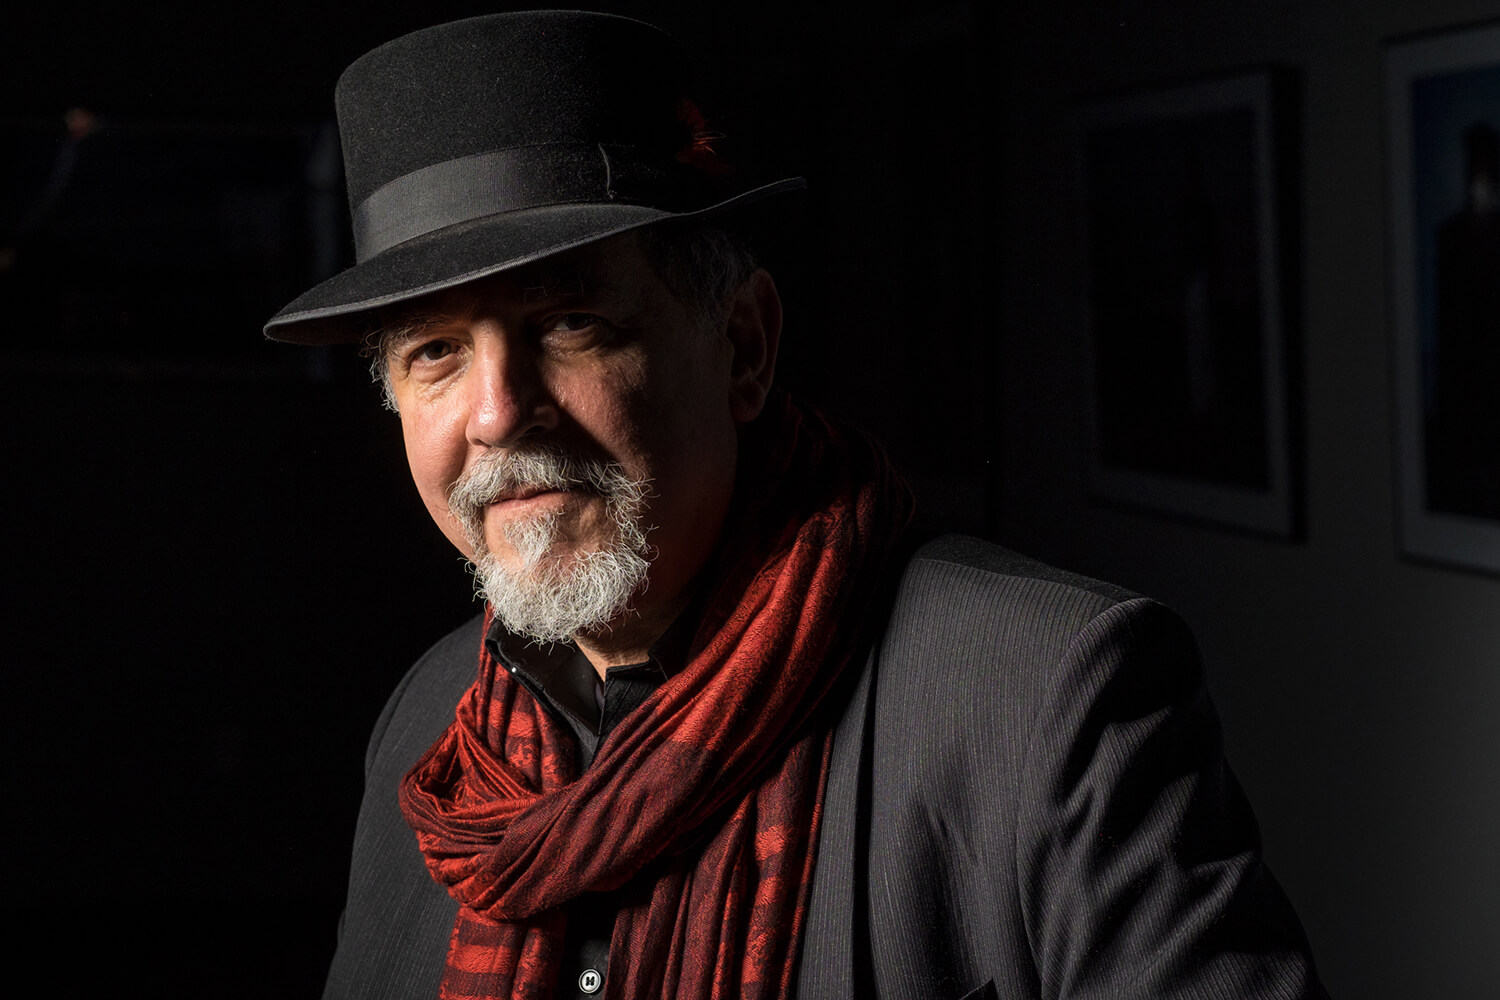 © Bobbi Lane
Because they require such different approaches, you really need to decide on which style to take before you start setting everything up. To swap between high key and low key may require you to change your background, your location, and lighting, and what your subject is wearing, if you’re shooting a portrait.
High-Key and Low-Key Lighting
One of the biggest differences between high- and low-key images is how they are lit. In a high-key lighting setup, we need to light both the background and the subject in similar amounts – in other words, the contrast and lighting ratio is low. But for low-key lighting, where we light the foreground subject more than the background, the contrast and lighting ratio is much higher.
Fine-tuning tones in post-production – using your favorite image-editing software – is also a big part of shooting high- and low-key photography. That said, it’s possible to create great-looking JPEGs in this style straight out of the camera by using exposure compensation, Film Simulation modes, and some highlight and shadow adjustments. You can also use your camera’s built-in histogram to check you’re getting the results you’re expecting.
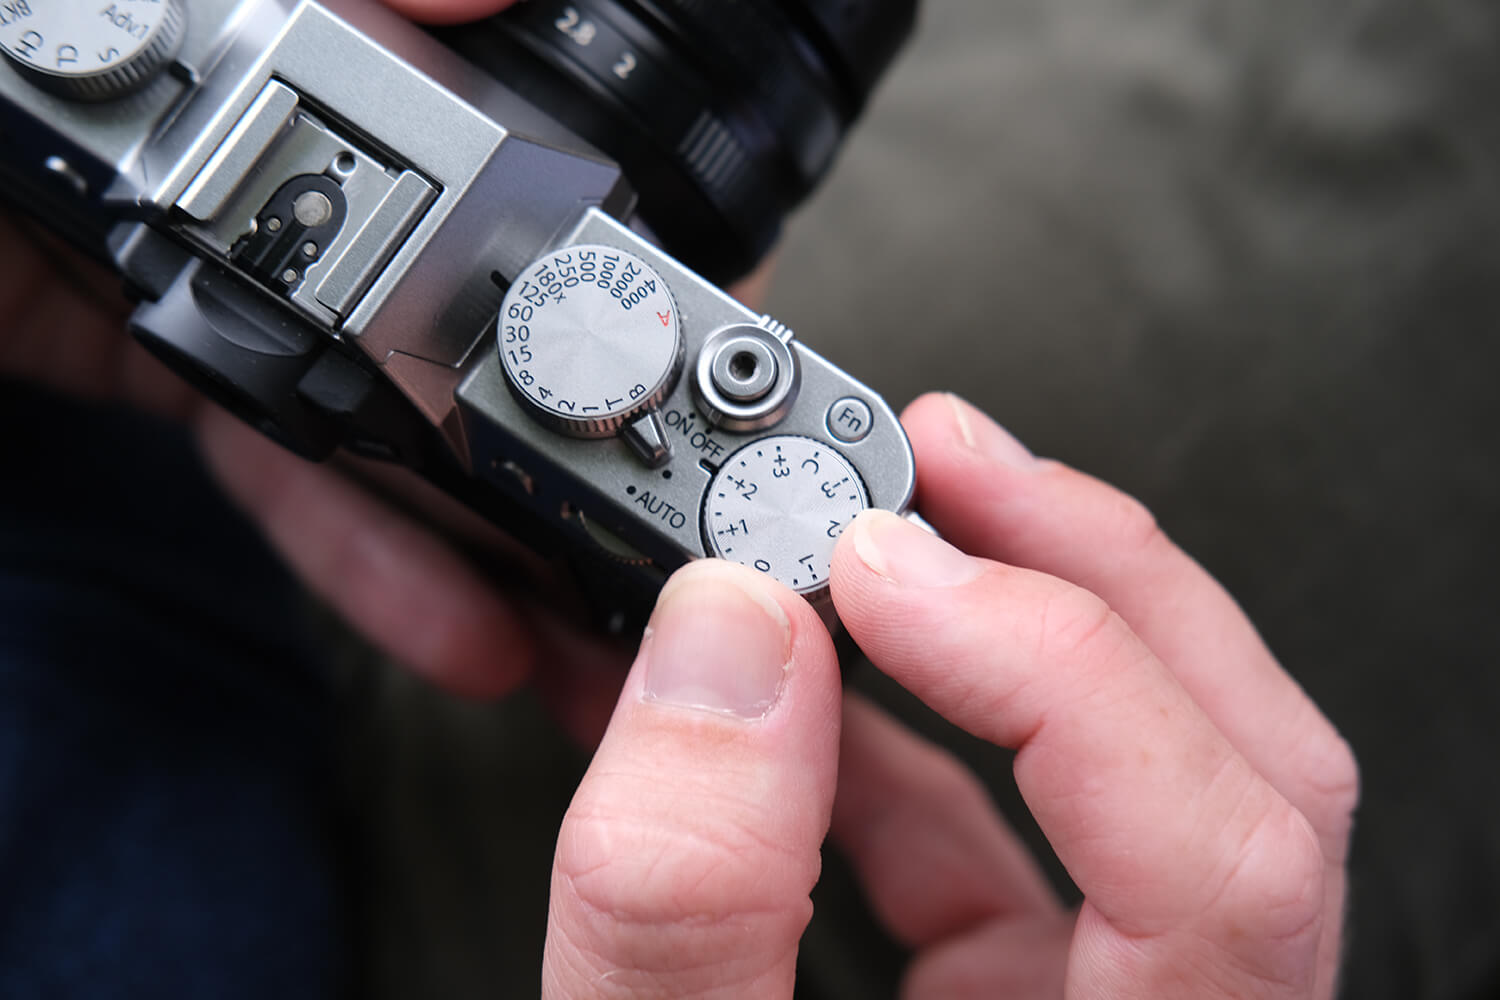
Using Exposure Compensation
When shooting in Aperture or Shutter Priority modes, we often need to apply some positive (for high key) or negative (for low key) exposure compensation. Importantly, this is to ensure the correct exposure, and not to deliberately over- or underexpose the scene. Your camera’s metering system is designed to calculate exposure for an average grey scene, so when it sees a frame full of bright-white tones, it will try to stop too much light entering the camera by picking a smaller aperture or faster shutter speed. We can override this by selecting +1 or +2 stops of exposure compensation.
Likewise, when your camera sees a dark, low-key scene, it can try to let in more light to brighten things up (using a wider aperture or longer shutter speed), which is exactly what you don’t want. In this case we’d apply -1 or -2 stops of exposure compensation to correct for it.
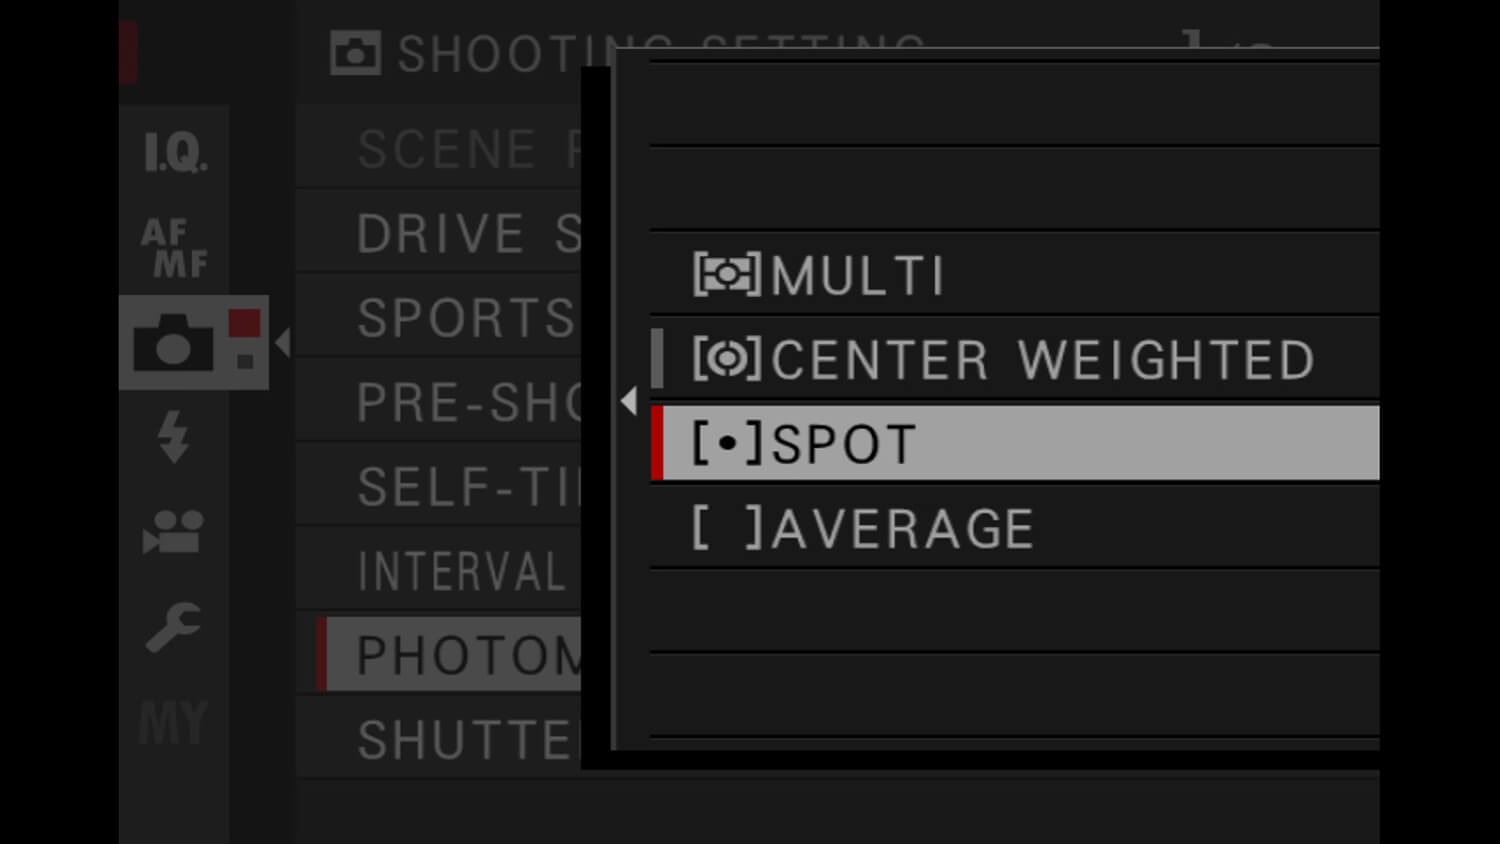
There are other ways to get the correct exposure for a high-key or low-key scene, too. Try using manual exposure mode and setting an aperture/shutter speed combo that is +2 or -2 stops away from 0. Or use spot metering to take an exposure reading from a mid-tone in the image (this could be something that you then take away before you start shooting).
When it comes to choosing a Film Simulation mode, pick one with plenty of contrast, such as Velvia or CLASSIC CHROME, and feel free to tweak it with shadow and highlight adjustments, which you can make from the Q Menu.
You’ll be able to see if the current settings are right for a high-key or low-key look from a histogram. To turn on the camera’s live histogram, which is shown in its viewfinder, press MENU OK and scroll down to the SET UP menu (the wrench icon). Choose SCREEN SET-UP > DISP. CUSTOM SETTING and tick the HISTOGRAM option.
Your Next Steps
- CHALLENGE Shoot two portraits of the same person, one in a low-key style and the other high-key. Which do you prefer? And more importantly, which do they like the most? Post your images to social media with the hashtag #MyFujifilmLegacy. You can also submit your work here for a chance to be featured on our social media channels.