
Black & white is a very personal thing, so it’s fortunate that your X Series camera gives you plenty of scope to personalize the look and feel of your mono images. Read on to find out how.
There are two black & white Film Simulation modes on X Series cameras (MONOCHROME and ACROS) each of which has three extra variations that aim to recreate the look of a colored filter over the lens. This all gives X Series photographers lots of control over the appearance of their black & white pictures. However, we can do more.
By adding in the Shadow Tone and Highlight Tone adjustments, and the Grain Effect setting found on many X Series cameras, we can start to create bespoke black & white recipes that are particular to your photography. In fact, using all of these adjustments together gives us well over 1000 possibilities, so you should be able to find something to fit your style.
Shadow Adjustments
Older X Series cameras give the option of setting a ±2 Shadow Tone adjustment, although newer models take this further, offering +4 and -2 settings. Applying a positive Shadow Tone value darkens shadows and increases the contrast of the image. You need to be careful not to apply too much of this adjustment in very high-contrast conditions, otherwise you can lose all detail in shadow areas and end up with areas of solid black. Of course, this can be a great look to achieve with the right subject.
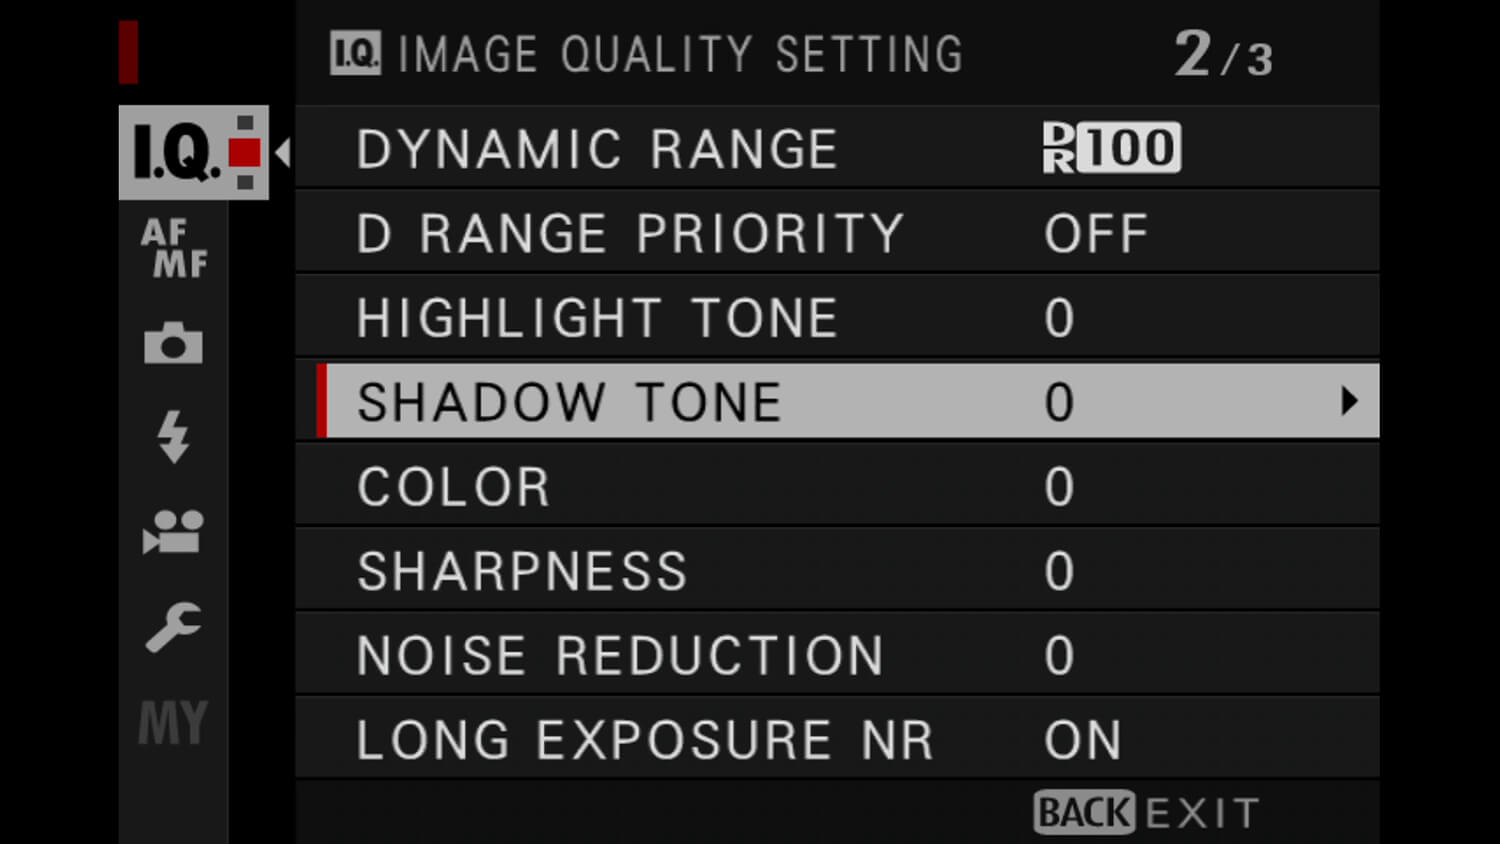

By setting Shadow Tone to -1 or -2, you can brighten shadows, which allows you to reproduce more detail in the darker areas of your pictures – a good option if you are planning to work on your JPEGs in post-production and want to retain as much information as possible.
Highlight Adjustments
Much like Shadow Tone, Highlight Tone can be boosted or reduced by values of ±2 on older X Series cameras and +4 to -2 on newer models. Positive values brighten highlights and increase contrast.
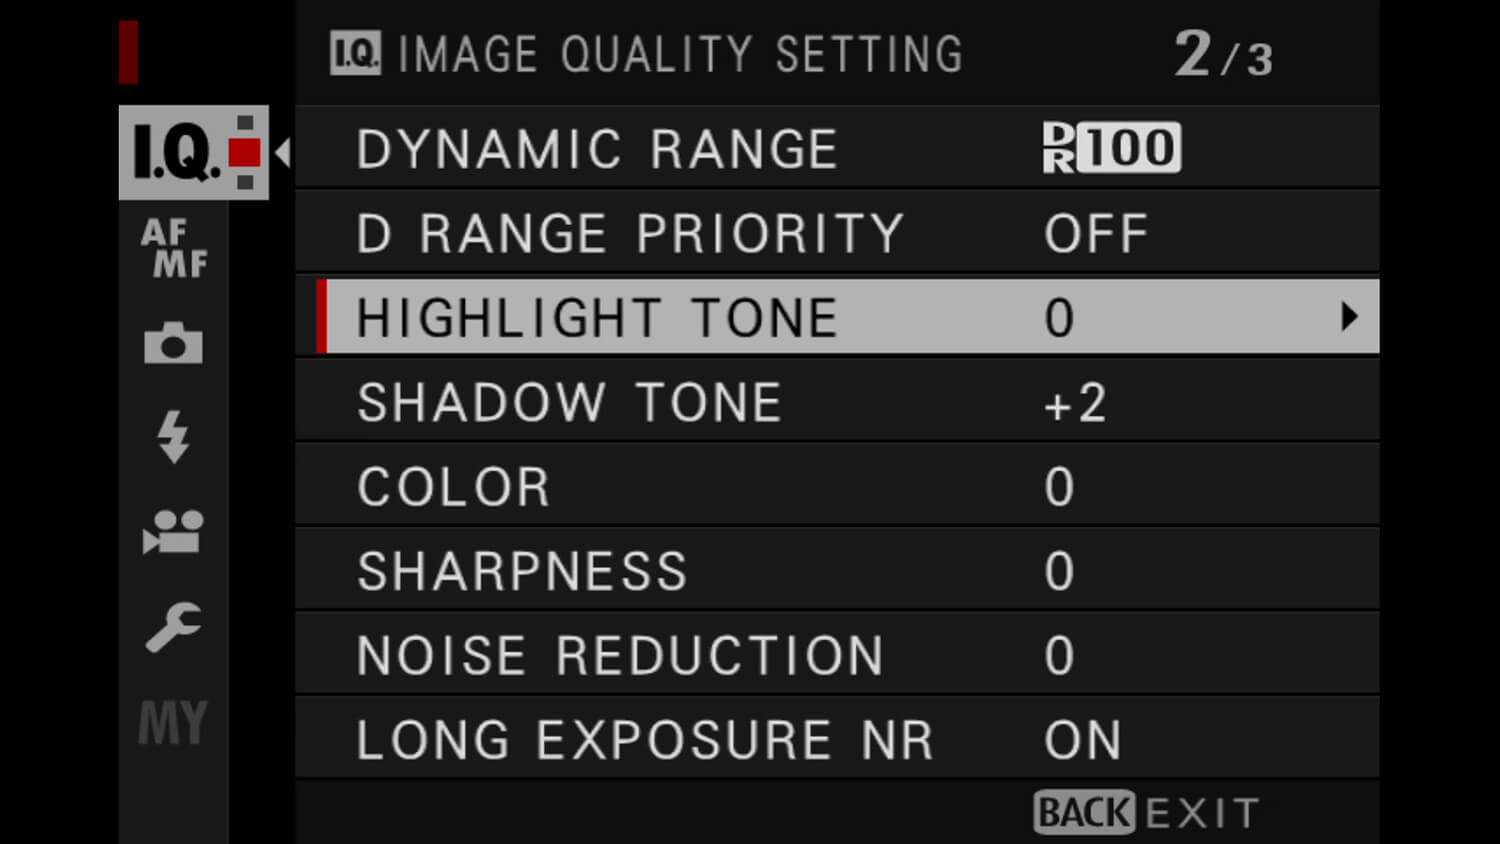

You can use Shadow Tone and Highlight Tone together to increase or decrease contrast, with positive or negative values respectively, or you can create a more subtle look by sending them in different directions. For example, a positive Shadow Tone adjustment can be complemented by a negative Highlight Tone value, which can give a film-like appearance to the brightest parts of a photo.
Tone Curve
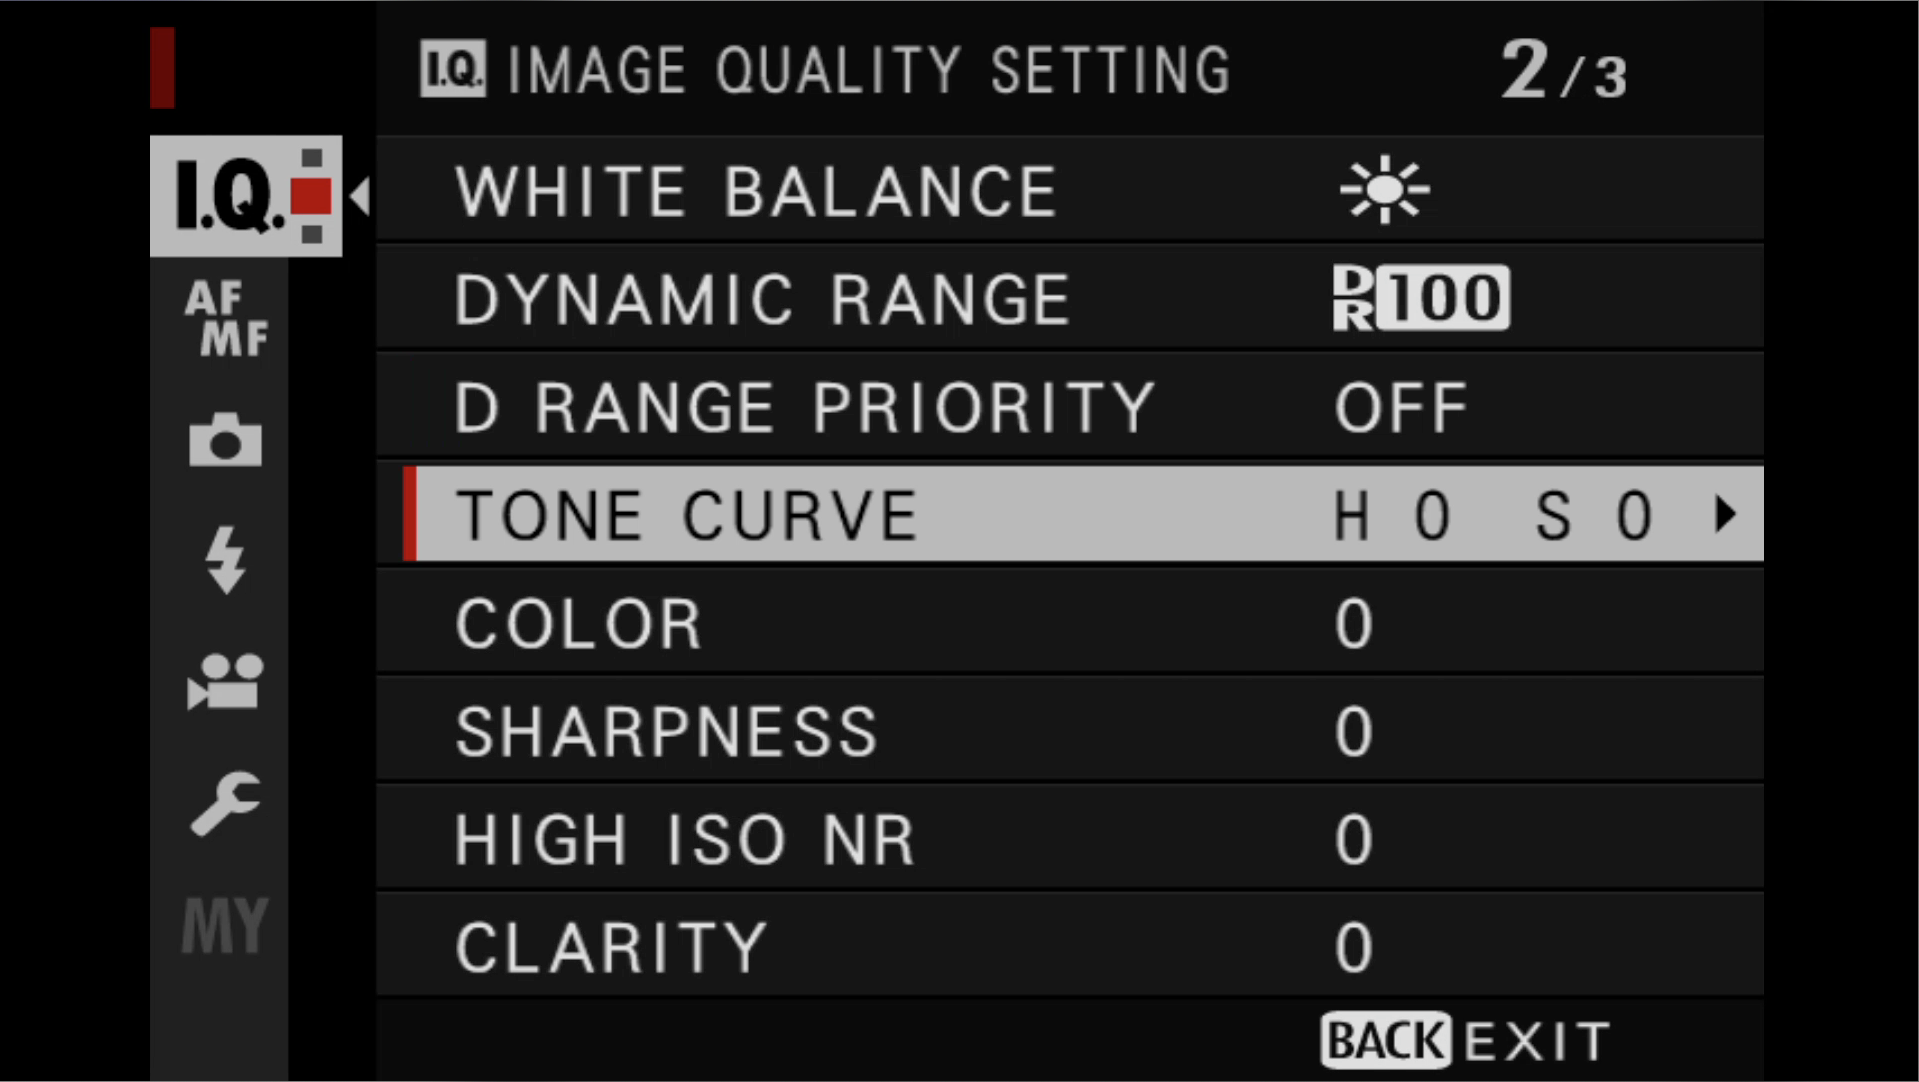
The very latest models (X-Pro3 onwards) put the shadow and highlight adjustments together under the Tone Curve function. This is still found in the IMAGE QUALITY SETTING menu and allows you to change both values on one screen, which also shows a tone curve so you can visualize the changes you are making.

Grain Effect
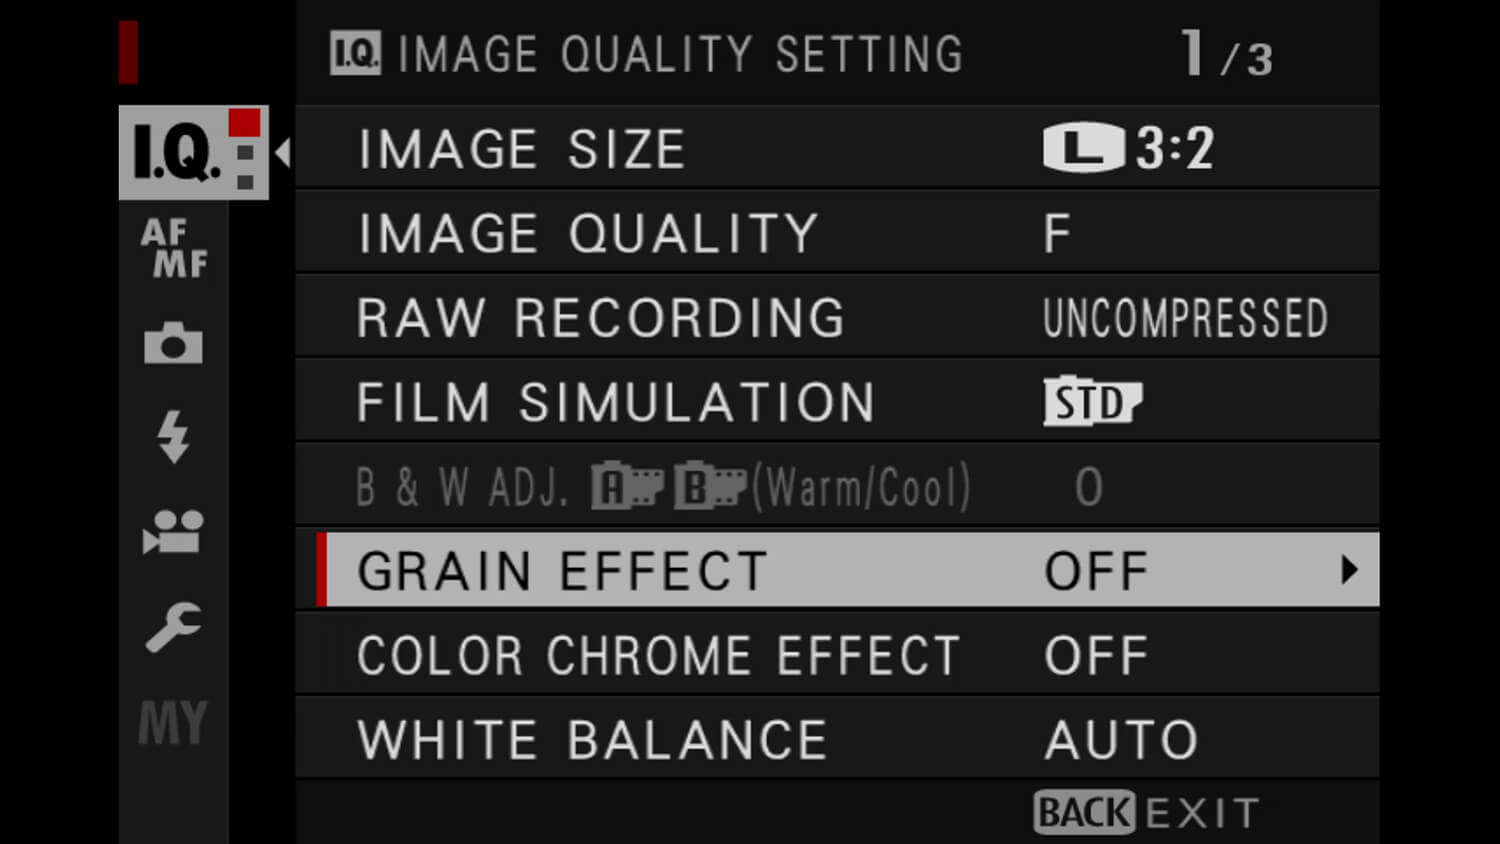
To adjust Grain Effect, go to IMAGE QUALITY SETTINGS > GRAIN EFFECT, or use a shortcut in the camera’s Q Menu if you have one set up. Choose from STRONG or WEAK depending on how much film-like texture you want in your final image.

Putting It All Together
The beauty of having all of these separate adjustments is that you can create your own combinations that can be selected for specific scenes and lighting conditions in the same way that a film photographer would choose a film and colored filter. For instance, street photographers might like to use ACROS+Ye with +2 shadows, +1 highlights, and STRONG grain for a punchy look. Portrait photographers may prefer ACROS+G with +1 shadows and highlights, and WEAK grain for a smoother feel.
 © Andris Dzeguze
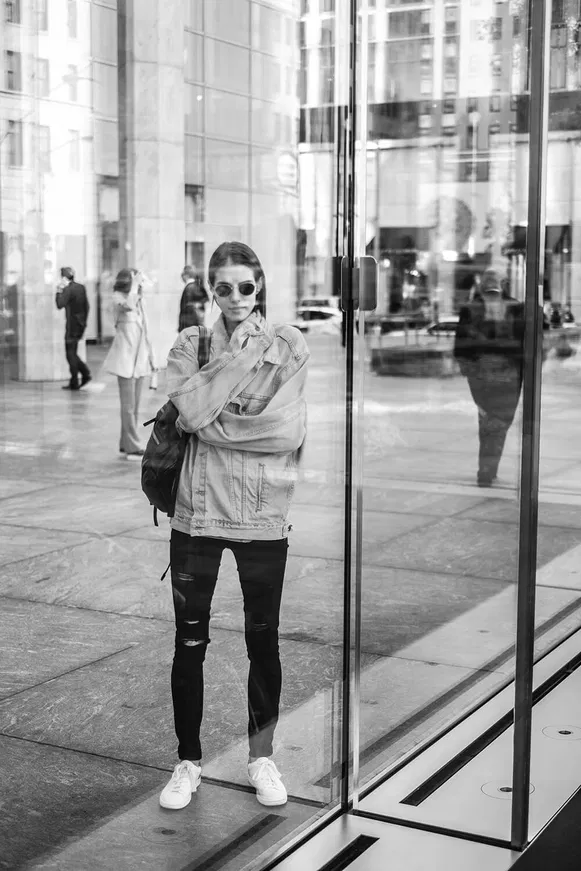 © Andris Dzeguze
Whatever combination you settle on, you can save it as a custom preset for instant recall from the Quick Menu by choosing IMAGE QUALITY SETTING > EDIT/SAVE CUSTOM SETTING > CUSTOM 1 > SAVE CURRENT SETTINGS.


Your Next Steps
- CHALLENGE Spend a little while experimenting with Film Simulation modes, Highlight Tone, Shadow Tone, and Grain Effect settings and come up with a black & white combination that speaks to you. Share the settings on social media, along with a picture taken with them, using #MyFujifilmLegacy and #MyBlackAndWhite. You can also submit your work here for a chance to be featured on our social media channels.
- LEARN Download our booklet See the World in Black and White with FUJIFILM X Series
Header image © Ryan Budhu


