7 minute read
Travelling First Class
How varied image quality settings on GFX cameras provide travel photographers with all the necessary options on location
By its very nature, travel photography is about fleeting moments. As you pass through an area on holiday or assignment, you simply can’t hang around for too long. But all the same, you want to preserve each one in the best possible way. Whether that means photographing an exotic landscape at dawn, a foray into the streets of a foreign city at twilight, or chance portraits of a characterful community, these aren’t moments you can rewind and simply have another crack at. You need to be assured of quality on demand.
Of course, the pure imaging power of GFX cameras is well known. Huge resolution and exceptional dynamic range combine with the large format sensor size to produce great results, but GFX cameras also allow huge flexibility in the way that images are recorded. With RAW and JPEG options, there’s a broad choice between maximum quality and in-camera speed that requires little post-production. It’s easy to switch between these or combine them to suit the subject or situation.

Photo © Karen Hutton | FUJIFILM GFX50S camera and GF23mmF4 R LM WR lens, 1/160 sec at F26, ISO 800
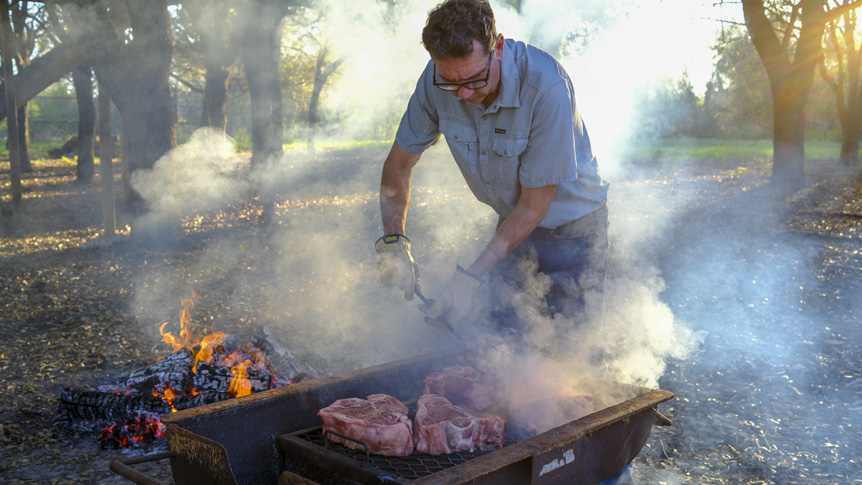
Framing in RAW is a great fit for travel photography, and one of the main reasons for that is the unpredictable nature of light. Making images when time is short can mean compromising on the best light or the right filtration, or even using an exposure that, given longer with the subject, you might otherwise have altered. But with RAW files, exposure can easily be fine-tuned after the event, either in camera or using software.
By virtue of containing more information than JPEGs and remaining unprocessed before saving to a memory card, RAW files tolerate real exposure latitude. This can allow you to pull back the full range of tones in overexposed highlights or, similarly, lighten shadowy areas where you want to bring out texture or detail. With a JPEG, this isn’t possible, as the data is ‘fixed’ and you can only work with the tones that are already present. Therefore, RAW format can be a great fit for situations like challenging backlighting, or landscape and architectural images where there’s a lot of variation between the highlights and shadows.

Photo © Elia Locardi
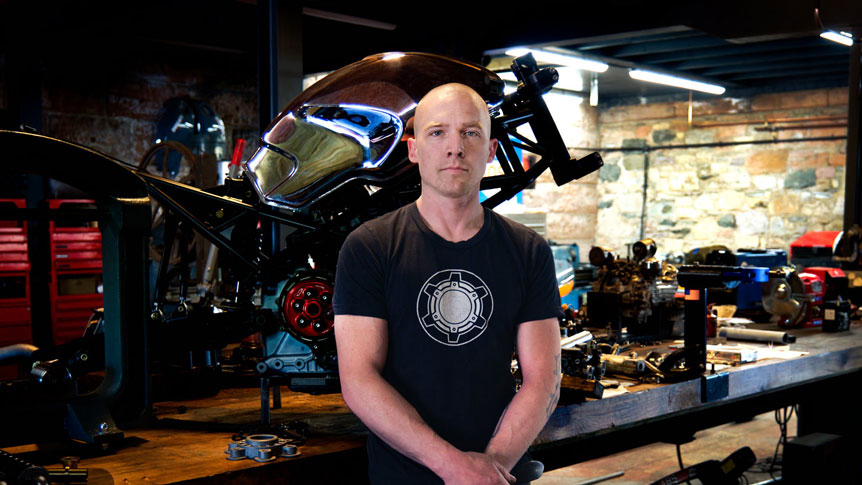
But using JPEGs brings plenty of benefits, too. The processing that’s applied in camera means they’re ready to use. Of course, that saves processing time, and lets you share your photography almost instantly around the world. And though people often talk about RAW offering greater image quality, that only applies after processing. As such, a JPEG file usually looks much better than an unprocessed RAW, with the camera applying smart changes to color, brightness, and sharpness that make winning travel images right off the bat.
Using JPEGs also means you can take full advantage of GFX’s varied and powerful Film Simulation modes, which are a superb fit for travel photography. That’s because these types of images are often created in a series. Therefore, applying Film Simulations can tie them into a more cohesive whole that enhances the storytelling impact of your adventures. Alternatively, you can pick the mode that best suits the subject, displaying it in all its glory. For instance, image-makers can take advantage of the Velvia Film Simulation mode to perfectly complement the vibrant colors of a street market or an exotic landscape. Meanwhile, ACROS can be applied to situations that come to life with a black & white approach. In ACROS and MONOCHROME Film Simulation modes, you can also add warm and cool toning to JPEGs in camera.

Photo © Karen Hutton | FUJIFILM GFX50S camera and GF23mmF4 R LM WR lens, 1/320 sec at F22, ISO 640

Photo © Karen Hutton | FUJIFILM GFX50S camera and GF23mmF4 R LM WR lens, 1/750 sec at F10, ISO 500

Photo © Karen Hutton | FUJIFILM GFX50S camera and GF23mmF4 R LM WR lens, 1/160 sec at F22, ISO 640

Photo © Karen Hutton | FUJIFILM GFX50S camera and GF23mmF4 R LM WR lens, 1/220 sec at F22, ISO 640
There are further manually-applied options that you can use with JPEGs, including adding film grain effects, changing the intensity of highlight and shadow tones, and increasing saturation. Importantly, each of these can be added to a preset mode, so you can use your favorite combinations over and over again throughout your trip. With JPEG, you can also benefit from settings like changing the image’s aspect ratio, so if you want to make travel images in one of GFX’s varied framing options, such as 1:1, 5:4, or 65:24 you find that here.
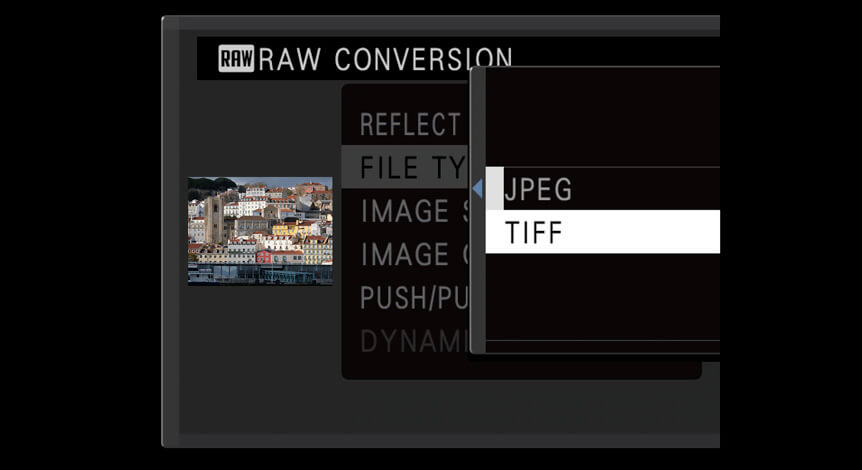
When processing RAW images in camera using the Playback menu, you’ll also come across the TIFF mode as an option when saving the file. TIFF provides you with a mixture of the benefits that RAW and JPEG formats bring to the table. Like JPEGs, TIFFs can be opened on other devices without need for post processing. However, unlike JPEGs, TIFFs aren’t compressed, so they retain the highest image quality. For that reason, the TIFF format is ideal if you need to extract that highest-quality file straight out of the camera, enabling you to send it directly to a publisher or another demanding client.

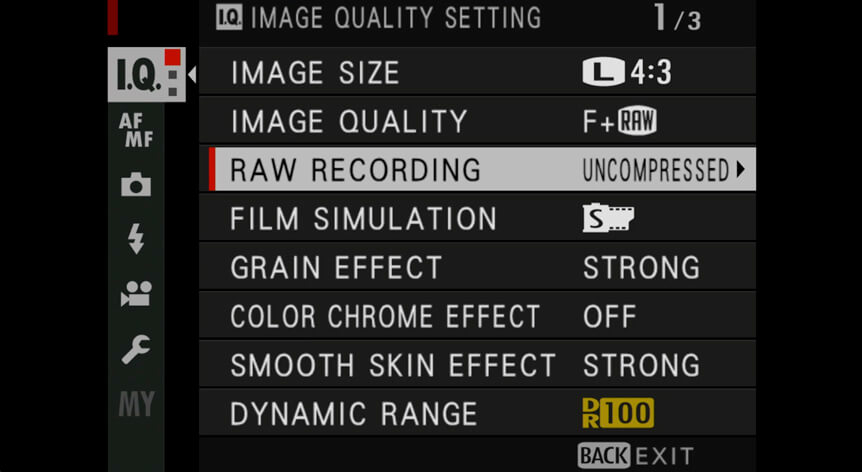
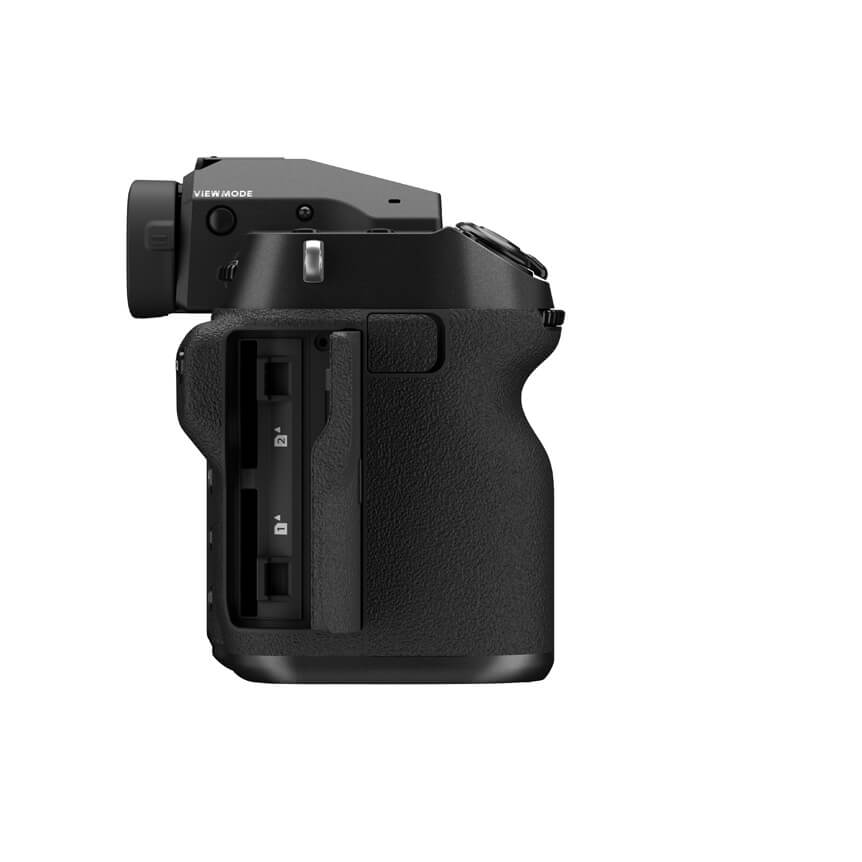
Of course, RAW and JPEG each offer key benefits, but when choosing which one is best for the job at hand, it’s crucial that you consider the amount of space on your memory card and how fast you want to record images – something that’s particularly relevant considering the number of pixels in files created with the G Format sensor! GFX cameras carry dual card slots to make data management easier, but if space on your cards is tight, or you need to record a burst of images continuously, it’s well worth remembering that JPEGs, because they’re compressed, take up the least amount of space on the card, and more of them can be recorded in a burst than RAWs.
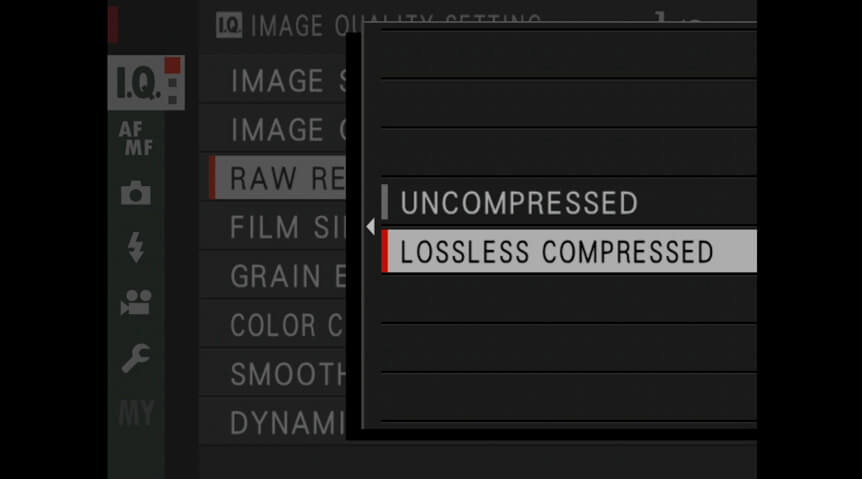
On the other hand, uncompressed RAWs take up the most amount of space and also mean that a lower number of frames can be recorded consecutively. It’s just the price you pay for optimum quality. RAWs can be compressed without loss, too, which works much like using a ZIP file on your PC or Mac – and as these Lossless Compressed RAWs take up less space than Uncompressed RAWs, as well as offering slightly more frames in a burst. If you’re recording in RAW, they’re usually the best option to choose.
If you’re really desperate to squeeze in more images onto your card, you can also increase the level of compression in JPEG files. There are Normal, Fine and Super Fine JPEG compressions, with the latter offering the least compression and therefore the highest quality and largest file size.
In reality, the beauty of GFX is that you might never have to choose between RAW and JPEG in the first place. GFX cameras make this possible with their fast processing speed and dual-card architecture – you can record RAWs to one card and JPEGs to another, or both on the same card if you like. That gives you the best of both worlds. And if you’ve made images in RAW or RAW+JPEG mode, GFX also offers extensive in-camera processing, so after a day’s photography, you can relax and apply your own unique look to images without needing to use a laptop.
To make full use of the image editing options in the playback menu, you need to have made the image in RAW format. With those files, you can make all sorts of common adjustments, such as: using push/pull processing to increase or decrease the exposure, increase the dynamic range, change the white balance to fine-tune the color in the image, work on the saturation or the sharpness, and more. Of course, it’s possible to add Film Simulation modes to achieve the distinctive look you want. And subsequently, the processed images can be saved as JPEGs or TIFFs.
Knowing the full range of image-making features that are at your fingertips with GFX bodies simply opens up a world of varied possibilities. And in a travel context – where you encounter a huge range of subjects and lighting – that’s vital.
Learn more about the FUJIFILM GFX system here or contact your nearest FUJIFILM Authorized Dealer for more information.

Photo © Karen Hutton | FUJIFILM GFX50S camera and GF250mmF4 R LM OIS WR lens, 1/400 sec at F10, ISO 400