5 minute read
How to Master Workflow and Retouching
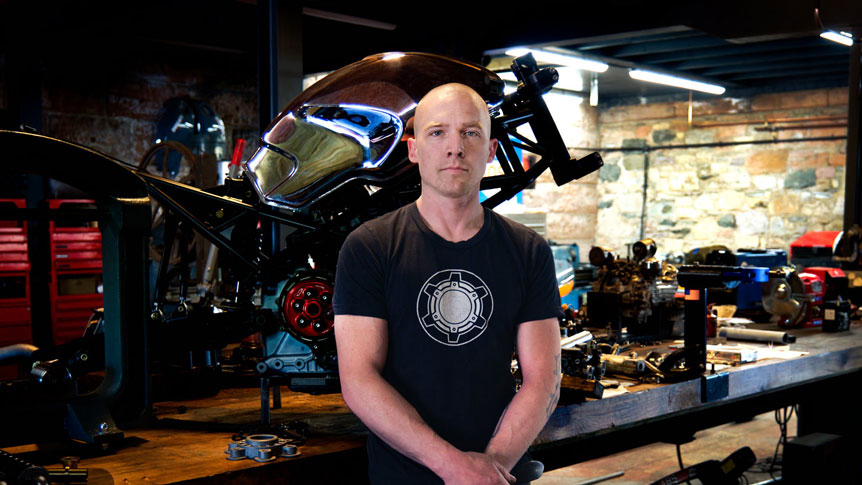
Follow in Ab Sesay's footsteps as he explains his workflow, from backing up images to outputting final files, ready for the client
NOTE: This video tutorial was created using software that has since been updated. Screen appearance may vary from the most up to date version.
Good workflow carries through from the shoot to your editing. Done right, you’ll enjoy a seamless and efficient process. Done wrong, you’ll waste time, lose images, and make bad edits.
In the accompanying video lesson, I will show you some of my preferred post-production methods, concentrating mostly on some standard retouching techniques for portraits. Here, we’ll look at good practice to make you work smarter.
I split my post-production workflow into four phases: backing up, cataloging, image selection, and retouching. Each is incredibly important. Backing up is about security; cataloging improves efficiency; image selection keeps my output high; and retouching delivers the best product to discerning clients. For all this, I use a combination of Adobe Lightroom, Capture One, and Adobe Photoshop.
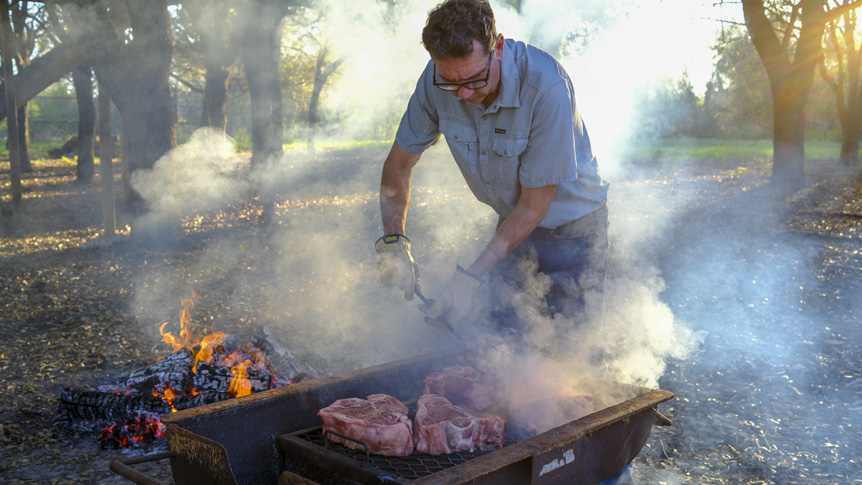
A word of warning before we start. No level of post-production efficiency, smart image selection, or clever editing can fix dull or poor lighting, bad posing, or lazy composition. Minor changes can be made, and improve images a lot, but if you start with a poor photo, it’ll be obvious to customers and waste your time as a photographer.

Photo 2022 © Ab Seasy
Back Up or Face the Consequences
This is all about taking care of data. You should never have to say to a client that you’ve lost their images, but thankfully it’s easy to avoid. Step one: When working tethered on set, my workflow is to back up periodically from the computer. When not tethered, remember that if – like my GFX100 – your camera has dual card slots, you can write to both and cut the risk of data loss.
Step two: Once back from a session, I immediately download the images to my desktop hard drive. Then, I’ll make a copy to another drive in my office. The second drive has the same capacity as the first, so I’m not having to make decisions about what I back up and what I don’t. Finally, I back up to a third drive, which is kept off-site. This means that if there’s theft or damage, I should always have a back up in another location. If a meteor hits town, well, I guess I don’t have to worry!
Some photographers work long-term image storage into their agreement with clients. For instance, you might agree to store them for a year as part of the original job, then contact the client after that time to arrange what comes next. Personally, I keep files forever and don’t charge.
Make Cataloging Part of Your Workflow
Next, I import images into Lightroom and log them by client and date. A priority is to get into the habit of doing it. Making an easy-to-navigate catalog means you can find files quickly, saving you and the client time. If you get a request six months down the line, immediate access looks a lot better than saying “yeah, I think I know where those images are…”
Remember, the more efficient you are with ‘backstage’ stuff like this, the more time you’ll have to work with clients, or on your own projects. It’s a decision that pays off in the long run.

Get Better at Image Selection
For some photographers, this can be the most tortuous part. With experience, you will speed up deciding what works and what doesn’t. Just as with your portfolio, you can bring in other opinions to help choose the best images from a shoot. Of course, if the client was with you on set, it’s much more straightforward. But picking out the best images from a session isn’t just about showcasing your best work. It also means you’re only editing images you – or the client – think are worth it.
Start by uncluttering the set by removing any images you definitely won’t use. Blinkies, poses that look odd, lighting tests, bad expressions… they can all go straight in the bin. Next – assuming they’re technically equal in terms of exposure and focus – remove any images that double up. Finally, I give a star rating to each remaining photo in Adobe Lightroom, so I can separate them from shots I’m less pleased with.
Get to Grips With Retouching
Before we look at retouching technique, a reminder. When you tendered for the job, you should have agreed to the editing work required. This isn’t the same as the number of images you’ll shoot – or those that will be handed over for review – just those that you’ll retouch, as that’s more time-consuming. It’s always better to under-promise and over-deliver on this.
I can spend anything from 10 minutes to four hours on an image, so there is no real guide as to how long it will take. Much depends on what the client is expecting, so it’s important to stress communication. Discuss with them ahead of time what their expectations are, and share images to get a feel for what they want. If you are going to charge per image, or per hour for retouching, make sure that’s negotiated, and give a quote for both before starting the work.

I begin by color-correcting my shortlisted RAWs in Capture One. For this, make sure you’ve shot a color checker between sets of images. Color correction is a global edit – one which affects the whole image – and these can be copied to all the files in the group. Of course, this depends on consistent starting images. If you change your lighting around a lot, you may need to be more specific.
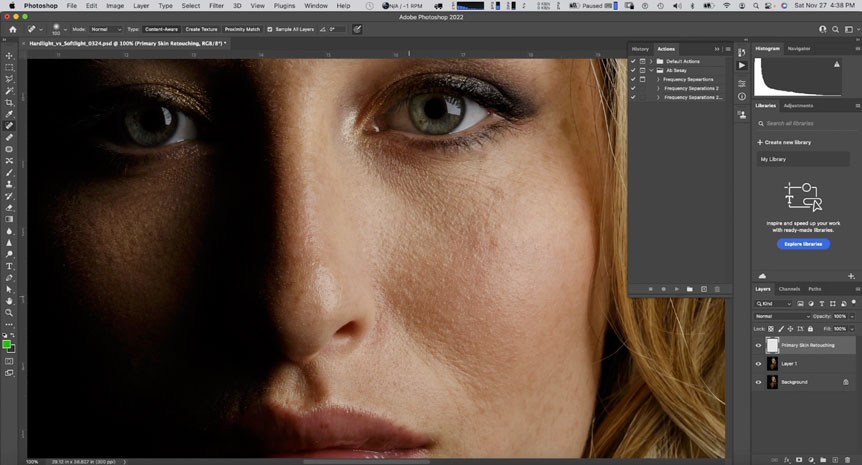
In terms of actual retouching, the time and complexity depend on the composition, subject, client, the quality of makeup, and of course your own tastes. Close-up beauty shots are always more demanding than environmental work. Personally, I like to fix any ‘temporary texture’ on the subject, including blemishes or hairs out of place, but not overdo the skin smoothing. I keep it real, unless the client wants something else.
I use a frequency separation technique, as well as the Clone Stamp tool, which you can see in the video. This is done using Layers, after exporting the image from Capture One to Adobe Photoshop. People often think of Layers as the preserve of graphic designers or creative photographers making montages or adding graphics. Here, they’re instrumental in non-destructive editing. By making edits on a separate layer to the original photo, we can correct individual parts of what we’ve done without compromising all the work.
In the next article, I’ll provide advice on how to make a professional portfolio that ensures your images are working their hardest to win you clients.