5 minute read
Get the Most From Your GFX100S With Capture One
Discover how the new tools in Capture One for Fujifilm can help bring your GFX100S photos to life
Recently, the team at Capture One released an exciting update with extra good news for Fujifilm users: on top of new photo editing features, they’ve now added support and unique camera profiles for the brand new Fujifilm GFX100S, making the premier photo editing software available for a new generation of creatives.
Discover how the new tools in Capture One for Fujifilm can help bring your GFX100S photos to life. In this article, I’ll share some simple but effective edits applied to a few GFX100S shots by our talents Michael Clark and Bryan Minear.
Play around with Film Simulations
Film Simulations are a fantastic way to get a film look for your photos, directly in your camera. And with Capture One – you can apply them in post-processing, too. The software accurately simulates the same Film Simulations in your Fujifilm camera, so you can pick and choose different ones when working on your RAW image.
What if you want to edit a photo with a Film Simulation applied during your photo shoot? Capture One recognizes Film Simulations as well – what you see on camera, is what you’ll see in Capture One.
That means you don’t have to save your image as a JPEG to keep the Film Simulation look you applied when you took the shot – Capture One lets you edit a RAW file with a Film Simulation applied. For more information on why you get better detail and more professional edits when working with a RAW file over a JPEG, check out this blog post.
And if you change your mind, any other available Film Simulation can be chosen in Capture One – simply find them in the Base Characteristics tool.
Capture One’s camera profiles are calibrated by hand for the ultimate precision. That means when you upload a RAW image into Capture One’s software, the colors and details are as faithful as possible to the way your Fujifilm camera captured it.

I’ll quickly edit this photo from Michael Clark to give you an example of using Film Simulations in Capture One. It’s easy to change from the in-camera Film Simulation to Fujifilm CLASSIC CHROME. With a simple tweak of the highlights and whites, you can reveal more details in the skater’s helmet, t-shirt and sky.

Hot tip: when you select AUTO in the Base Characteristics tool, your image will show up with the Film Simulation that you applied in the camera.
Simple, effective edits
Now, let’s take a look at this photo from Bryan Minear and run through a simple edit. We have a great starting point, but we can add some more drama to the sky, enhance the color and contrast, and remove a pesky distraction!

I think it would look better with a square format, so I select the Crop Cursor tool and simply right-click to choose the square option in the ratio drop down menu.

We can see it’s a little underexposed, so I’ll increase that. However, I am mindful to keep details in the rocks on the horizon, so I’ll stop before they get too bright. I’ll also add some Brightness. Because the Brightness tool lets you target your adjustments to the mid-tones alone, you can improve the exposure while leaving bright tones untouched.
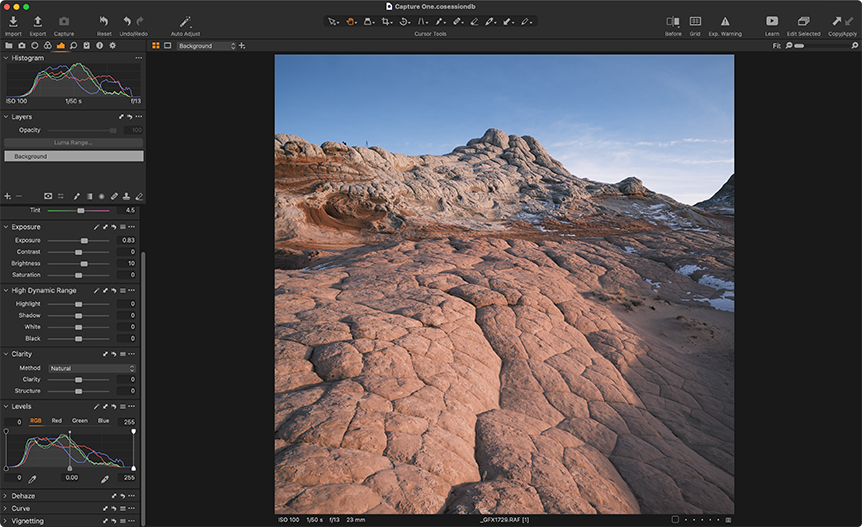
Now, I’ll hit Auto in the Levels tool (indicated in the photo) which automatically sets the shadow and highlight points, significantly improving the contrast.
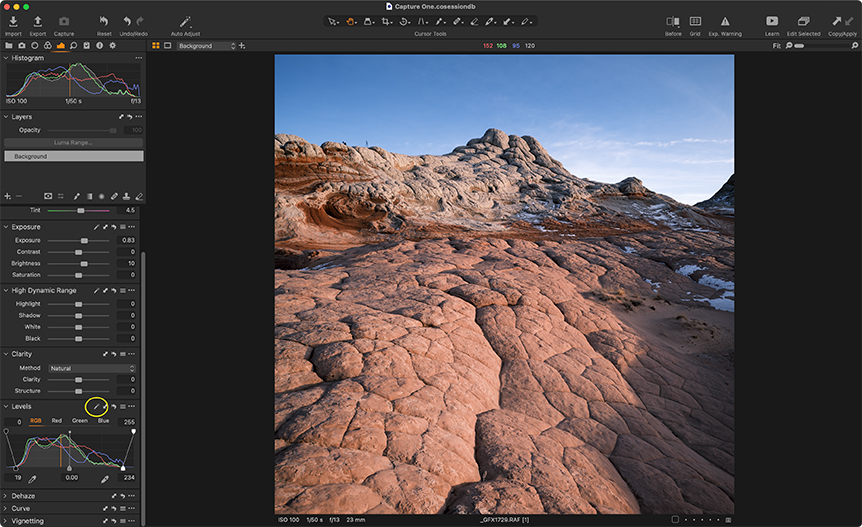
Adding a few points of Contrast and increasing the Clarity further improves the contrast in the photo. Clarity is also a contrast adjustment, but like Brightness, it is focused on the mid tones, so you can push it harder than you would with contrast without compromising highlight and shadow details.

To make sure we are keeping those nice warm tones and to be sympathetic to the time of day, I’ll increase the Kelvin slider, to better match the conditions.
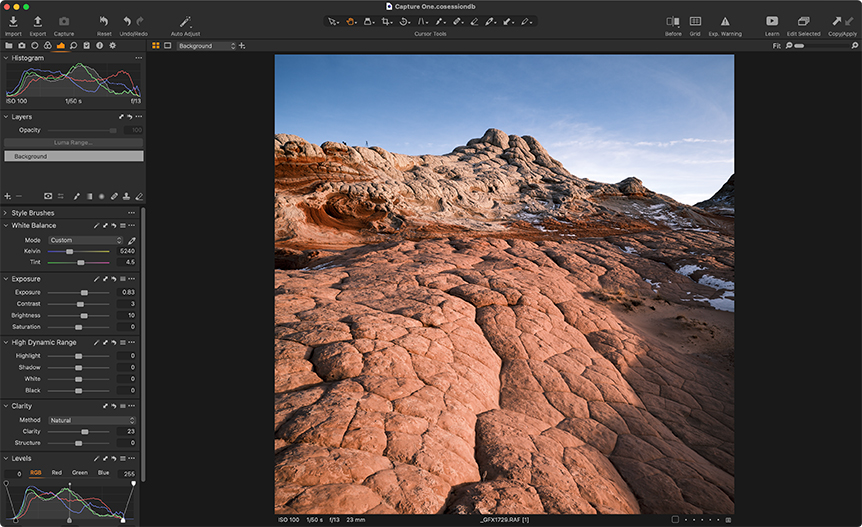
As is often the way with popular photography spots, there’s another photographer in the shot that we’d like to remove. All I need to do is use the Heal Brush, and with two clicks, he’s gone.


Finally, I’ll use the “Deep Sky” Style Brush to really bring out the clouds in the sky. Style Brushes are a new addition to Capture One 21. Use them to quickly apply a specific adjustment anywhere on your photo – without affecting the rest of the image. For example, there’s a Style Brush for Brightness, another one for Contrast, and more. You can even customize your own! To see them in action, check out this simple tutorial.


And the final finished photo, showing the Before and After feature in Capture One.

One more edit…
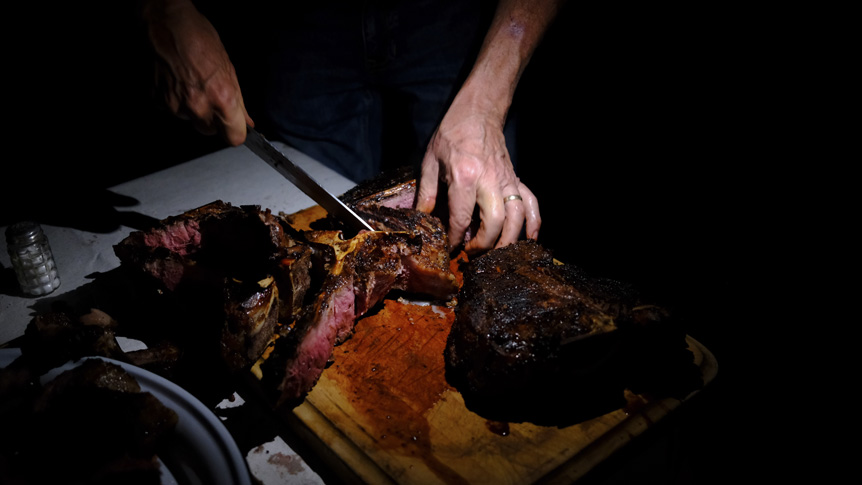
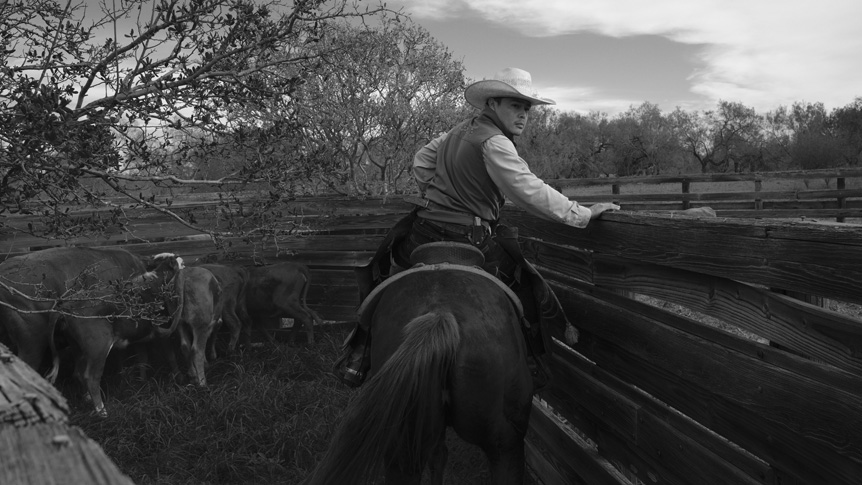
Let’s edit one final photo to make sure you’ve seen all the main tools from Capture One in action – here’s another one from Michael Clarke. Again, a great starting point, but with the use of two Style Brushes and some quick edits, we can really optimise the photo.

The image is a little on the cool side, so I’ll take the white balance off his grey shirt using the white balance picker.
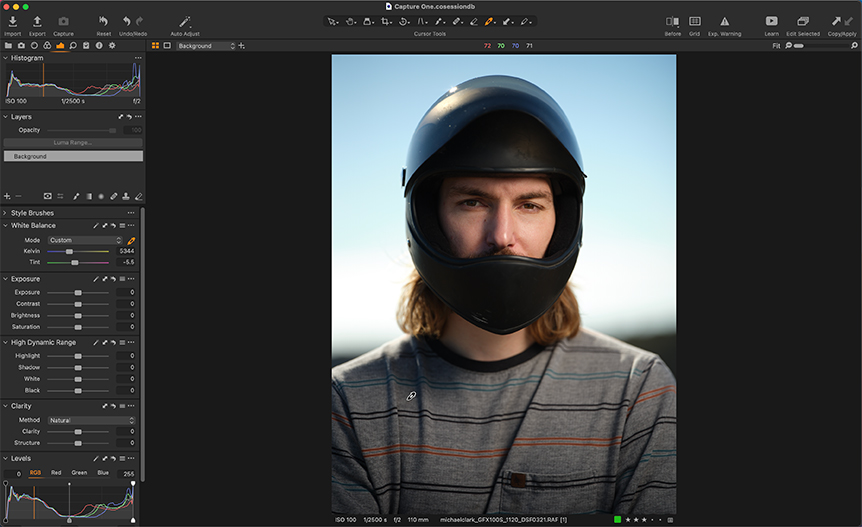
I’d like to lighten the subject’s face, but only the left side. All I need to do is select the Dodge (Brighten) Style Brush and brush over the area where I want to add brightness – easy!

Now I’ll use the Iris Enhance Style Brush to bring out the eyes.

There are a few distracting marks on the rider’s helmet, but I can quickly eliminate them using the Heal Brush.

Finally, using the Color Balance tool, I can quickly color grade the photo. I’ll cool down the shadows and warm up the mid tones and highlights for a great look.

And we’re done!

As these examples show, Capture One makes it simple to edit pro-level photos. And it’s now possible to pair these incredible tools with the powerful GFX100S and X-E4, and many other Fujifilm camera models.
Want to try the tools for yourself? Download a free trial of Capture One for Fujifilm and get creative.