


Food photography is a fantastic genre to try at home. It’s easy to set up and you can shoot while you prepare your regular meals, so there are plenty of opportunities to create throughout the day. Just grab your gear and an apron, gather the ingredients for your favourite dish, and let us help you cook up a photographic storm with these 10 top food photography tips!
You will need:
- A camera and lens
- Food
- Props and backdrops (see examples below)
- Lighting (optional)
- Mini tripod (optional)

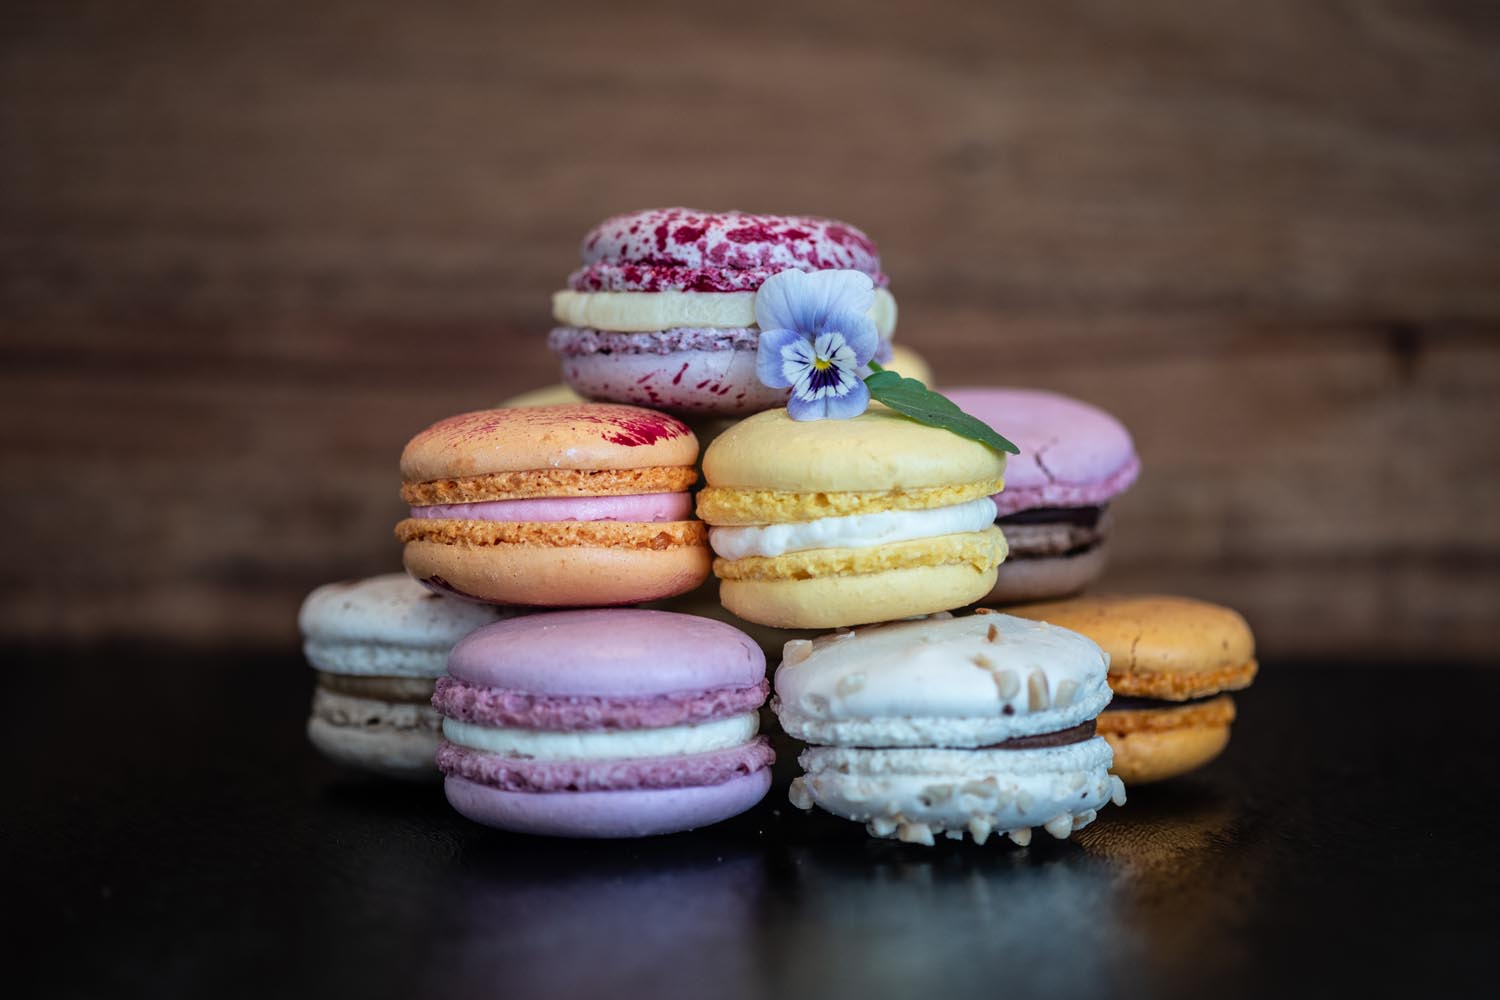
FUJIFILM X-T4 + XF80mmF2.8 R LM OIS WR Macro - F2.8, ISO 400, 1/30 sec
Preparation:
When it comes to food photography, like any shoot, there’s a bit of preparation needed – and we don’t just mean chopping carrots! Think about the type of food photography you want to create: are you capturing a process, an ingredient or a finished plate of food?
You should also consider props and a backdrop to add a little more interest to your shot. There are loads of things you can find at home that would make a perfect background, like a tablecloth, wooden chopping board, napkins or simply your kitchen surface. Props could be things like cooking utensils, cutlery, crockery or pots and pans.
Oh, and here’s a secret tip: shoot your favourite food. Doing this will make you take better photos, because you enjoy the subject so much!
FUJIFILM X-T100 + XF60mmF2.4 R Macro - F2.4, ISO 200, 1/45 sec
Setting up:
In general, try to keep your aperture low. This not only blurs out unwanted distractions, but also helps ensure that your shutter speed doesn’t drop below your focal length (ie, if you’re shooting at 90mm, don’t let your shutter speed drop below 1/90 secs). Any lens will do for food photography, but if you have a macro lens, you may want to use this to allow you to focus closer.
It’s best to use natural light where you can, so try and shoot near a window or even outside, and use reflectors or a piece of white card (or a chopping board!) to help get rid of shadows. You could even add a glass into your shot to refract light in interesting shapes and colours.
What to shoot:

FUJIFILM X-T4 + XF16-55mmF2.8 R LM WR - F4.5, ISO 1000, 1/52 sec
1. Focus on cutlery or utensils to create leading lines.
2. Use a white plastic chopping board or other light surfaces for a clean background and a reflector to give the food a lift of light.

FUJIFILM GFX 50R + GF45mmF2.8 R WR - F2.8, ISO 1000, 1/250 sec
3. Use the garnish as the main subject to give a different feel to the shot.
4. Look for food with different textures.

FUJIFILM X-T2 + XF16-55mmF2.8 R LM WR - F2.8, ISO 2500, 1/80 sec
5. Find pops of colour to create contrast in your images…
6. or why not try shooting in a black and white Film Simulation mode, like Monochrome or Acros, to really draw your viewer’s eye to the subject?

FUJIFILM X-T2 +XF35mmF2 R WR - F2.8, ISO 2500, 1/80 sec
7. Use a tilting screen to get above your food and shoot it as a flatlay.
8. Try capturing movement, like using flour to create some interesting splashes (but be prepared for a mess!). Learn more about splash food photography techniques here.

FUJIFILM X-T4 + XF16-55mmF2.8 R LM WR - F8, ISO 2500, 1/5000 sec
9. Compose your image with a Dutch angle to create a more dramatic feel.

FUJIFILM GFX 50R + GF45mmF2.8 R WR - F2.8, ISO 10,000, 1/250 sec
10. Create some negative space – this gives it an editorial feel, like something you’d see on the front of a magazine.

FUJIFILM X-T4 + XF16-55mmF2.8 R LM WR - F8, ISO 160, 1/125 sec
And of course, have fun!
Have you created some food images that you’re super proud of? If so, share them with us on social media using the #FujifilmFromHome hashtag so we can see your tasty treats!
Made something you want to show off? Why not make a print? Visit the FUJIFILM House of Photography online print store to explore the range of prints and photo gifts!