


>
 5 minute read
Using Focus Bracketing and Stacking
Getting pin-sharp results right across the frame is tricky when shooting close-up and macro images, but focus bracketing – followed by some stacking and blending in post-production – can give you superb results, with everything in focus.
With the focus bracketing option switched on, your X Series camera will shoot a number of frames, slightly varying the focusing distance for every shot.
The main use of focus bracketing mode is for focus stacking: a post-production technique where photos shot at slightly different focus distances are merged together to create a final image that’s completely sharp, from front to back. This is very useful when it’s not possible to create enough depth-of-field in-camera – for example, when shooting macro subjects.


Focus stacking is not difficult to do, though it can be fiddly and time-consuming. You’ll need to have your camera mounted firmly on a tripod so it doesn’t move about between frames, and you’ll need some software to merge (or ‘stack’) the images together – Adobe Photoshop can do this, but there are other options, too, such as Affinity Photo and Helicon Focus. Stacking is only really achievable with a static subject – if your subjects moves even slightly, it will create problems when blending the images.
Setting Up and Shooting
Focus bracketing can be found in your X Series camera’s SHOOTING SETTING menu. Follow these steps to activate it:

In the SHOOTING SETTING menu, go to DRIVE SETTING.

Then pick BKT SETTING.

Next choose FOCUS BKT.

Finally, you’ll see three options: FRAMES, STEP, and INTERVAL.
- FRAMES determines the number of frames captured between the starting focus point and infinity.
- STEP sets the amount of change in focus distance between each frame, with greater numbers representing more change.
- INTERVAL lets you set a delay between each frame, in seconds, should you need to.
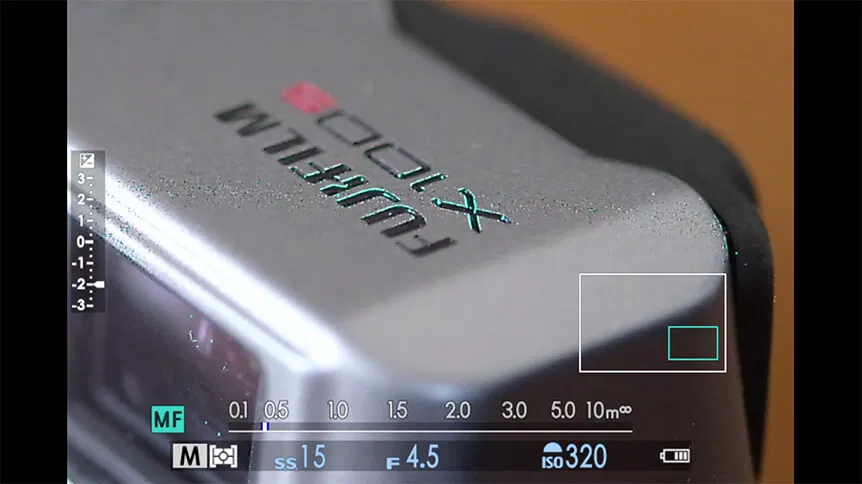
Focus bracketing moves the point of focus away from you, towards infinity. So, the first thing to do is focus on the nearest point you want to be sharp. It’s best to do this manually, with the Focus Peaking and Focus Check modes switched on to help.
It takes some experimentation to arrive at the perfect combination of settings, but the following considerations should help.
- When the step between frames decreases, the number of frames required increases.
- When the aperture gets smaller, the number of frames required decreases.
- When subject magnification increases, the number of frames required increases.
- When print/image size increases, the number of frames required increases.
- When photographing macro scenes, try the following combination as a starting point: FRAMES 50, STEP 5, INTERVAL 0.
With the camera’s drive dial or drive mode menu switched to BKT, and the BKT SETTING set to FOCUS BKT, you’re ready to go. To avoid camera shake, trigger the shutter either with the camera’s two-second self-timer, with a wired remote release, or using the FUJIFILM Camera Remote app. After the shutter is triggered, the camera automatically captures the required number of frames, varying the focus distance as you go.
Stacking the Results in Photoshop
To begin combining your captured images, you need to open them all up into Photoshop as different layers in a single document. Thankfully, there is a quick way to do this! Begin by transferring the images from your camera using your normal method. Then follow the steps below:

STEP 1 Open Photoshop and choose File > Scripts > Load Files into Stack. Then, in the dialogue box, find and select the images you want to import. Click Open and then OK. Photoshop will import each frame as a separate layer into a new document.

STEP 2 To focus stack the different layers, select them all by going to Select > All Layers, then select Edit > Auto-Align Layers. Choose the Auto option and click OK. Depending on the number of image files and the speed of your computer, this may take some time.

STEP 3 Now, go back to the Edit menu and choose Auto-Blend Layers. Choose the Stack Images option and click OK. Again, this may take a while depending on your computer and the number of images you’re working with.
You might notice a few little glitches caused by the merging process, but hopefully not too many. You can usually fix these by flattening the image (Layer > Flatten Image) and using the Clone Stamp Tool and Healing Brush.


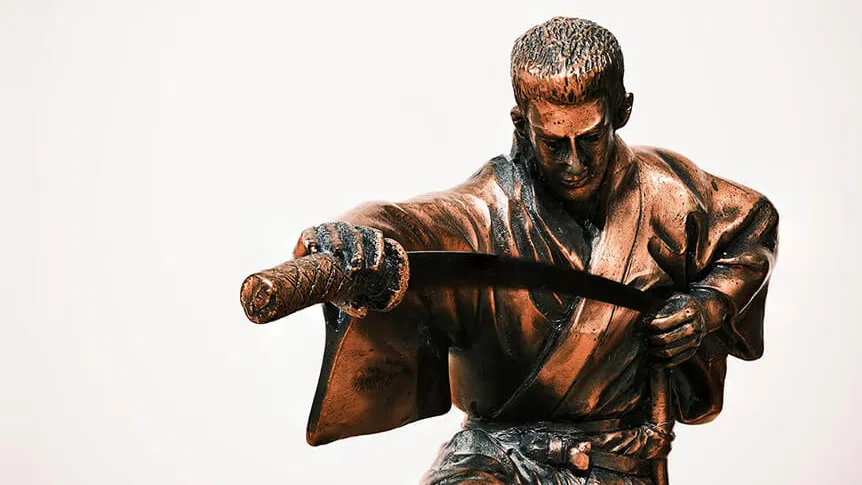
Without focusing stacking / Final stacked image.
Your Next Steps
- CHALLENGE Focus stacking can add a whole new dimension to your macro photography. Find an everyday object and photograph it up close, using focus stacking for pin-sharp results. Post your favourite image to social media with the hashtag #learnwithfujifilm. You can also submit your work here for a chance to be featured on our social media channels.
- WATCH Check out our video below to learn more about macro photography!


