 4 minute read
Using Low Key to Create High Drama
Create great impact in your pictures with some clever use of low-key lighting
Low-key lighting can be used in any situation. It could be a classic formal portrait with chiaroscuro lighting, a gritty environmental character study, a delicate still life dominated by shadow tones, a street figure framed in a pool of light between city skyscrapers, or even a lone tree lit by the setting sun against dark and broody clouds.
Whatever the subject you’re photographing, this lighting style is all about applying a sense of drama, impact, and a specific mood to your pictures. In short, controlling this lighting style in the right way can put you in full control of the story you’re trying to tell.
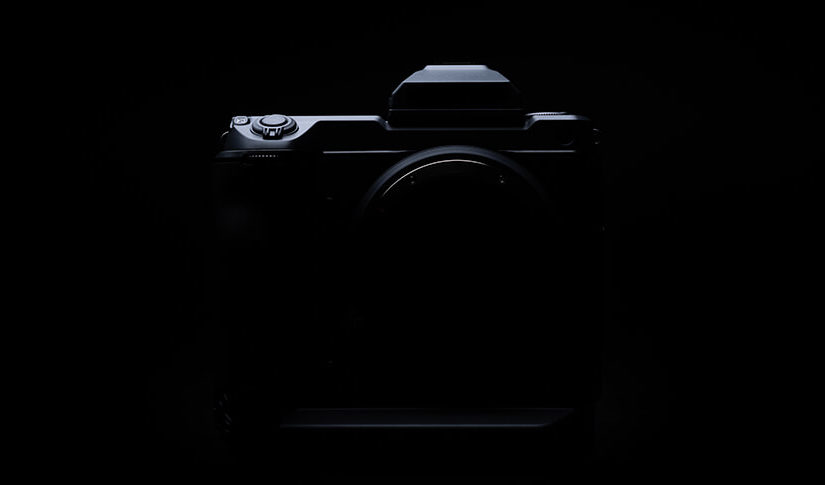
By its nature, low key means working with predominantly shadow tones in the image. Mixed with small areas of highlight, this can create strong contrast wherein the subject’s shape and texture is defined in a way that regular or high-key lighting doesn’t offer. In fact, low-key is the polar opposite to high-key lighting where highlights and midtones dominate and contrast tends to be lower. Low-key lighting accentuates shadows and revels in playing the subject off against them.
When adding light to a picture, a low-key effect can be achieved by making sure the lighting ratio is high. A lighting ratio tells us the difference in intensity between the main (key) light source that illuminates the subject and any fill light which illuminates the shadows in a scene. The lighting ratio also indicates to us how much contrast there is in the picture. In a high-key image, where you might find multiple light sources balancing the effect of a key light, the ratio could be close to 1:1, but in a low-key image, it’ll be more like 8:1.
Low Key as a Storytelling Tool
As always, the important thing in creative photography is matching the lighting to your intentions for the tone and mood of the image. Though it’s not impossible, low-key images are rarely humorous, light or airy. They’re moodier and more mysterious. It’s a style that’s better employed when you want pictures to have some gravitas or solemnity. It’s not one for kids’ parties and high school portraits. You can practice the differences in storytelling tone simply by photographing the same subject using both low- and high-key effects.
The high contrast found in low-key images makes them impactful, because bright highlights jump out of the deep shadows to catch the eye. Shadows area can also give a sense of unease. Combine this with negative space around the subject and the effect is even more unsettling. That’s why it’s so often used to heighten story elements in thriller and horror movies.
Low-key lighting can also be used to emphasise facial contours and textures, so if the story you’re going for is about deep character then it’s ideal. Of course, this gives a look that would be normally considered unflattering for portraits, but if that’s the tone of the image, so be it.
On the flipside, when appropriately filtered and directed, low-key lighting can offer simple, smooth, and elegant looks, which add definition in the subject and can give a three-dimensional look. Low key can even create silhouettes if the light source is in the right place and not too dominant. So, once you play with the effect, you’ll discover how many uses it has. It’s by no means a blunt or one-dimensional tool.

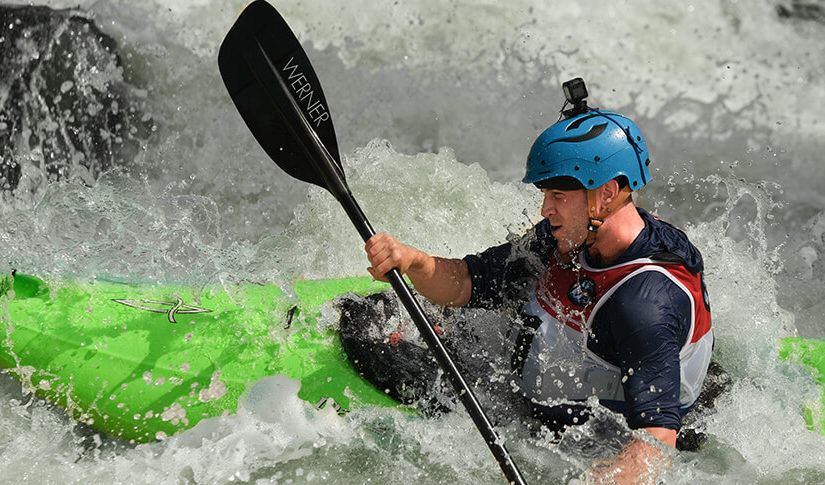
Photo © Bobbi Lane
How to Improve Your Low-Light Technique
To create better low-key images, you need to get comfortable in finding available light that’s highly directional and which creates shadows – or in setting up your own lights to produce the same effect. When working with your own illumination, for instance for a portrait or still-life image, low-key effects often use just a single light, possibly with a reflector or a very low-powered fill or hair light to help add definition. If it’s available light you’re dealing with, windows and doorways can do the trick, but any light sources that channel the illumination and produce strong areas of shadow will help.
To contrast with the subject, the background will tend to be in shadow, but just as high-key lighting isn’t necessarily reliant on a white backdrop, low-key pictures are not defined by having a black backdrop. With lights properly positioned, and without light falling on it, an unlit background should create enough contrast with a correctly lit subject to work. So, when adding light yourself, say with strobes or LEDs, modifiers like spill kills, barn doors, honeycombs or snoots can all help. When working with available light, it can be more about moving your subject within the light to perfect the look, but narrowing curtains or doors can help, too.
The position of the light, or the subject’s angle to it, is important in creating contrast. More oblique angles are used than in high-key lighting, making it easier to create shadows. If the subject is lit too broadly, contrast is harder to achieve, and you also risk lighting the background.
Whether it’s artificial or available light, try using the edges of the illumination, too. This keeps the light directional, but also softens it for a more attractive look, if that’s what your image needs.

Photo © Alison Conklin
Work on Your Low-Key Exposures
Finally, remember that low-key lighting is not to be confused with pictures that are simply dark or underexposed: a dim image isn’t low key – it’s just dim. What you need is that mix of shadow and highlight, even if the former vastly outweighs the latter.
Your X Series camera’s EVF or LCD screen is great for low light, because it shows exactly the exposure you’ll get in the final image. But try using features like the live histogram to check that the tones are bunched to the left – but that you have some highlights in the image, too.


