

We spoke to adventure wedding photographer, Cat Ekkelboom-White, on framing winter weddings. Read on to hear her essential advice to those who want to do the same.
Tell us about yourself as a wedding photographer.
I grew up in Suffolk in the UK, studied music at university in Leeds, then worked in the arts for a few years. I was given some money in my job for personal development and, since there was an indoor ski hall close by, I took a ‘Learn to snowboard in a day’ course. Learning to snowboard came at an emotionally low point in my life and it ignited a fire inside me. Before I knew it, I’d left my job and moved to the Alps to work for the winter season. I qualified as a ski and snowboard instructor and, while working in a ski school in Austria, I met my future husband. We decided to make Innsbruck our permanent home. It wasn’t until after our wedding that I picked up a camera for the first time and decided that I wanted to become a photographer.
FUJIFILM X-T3 + XF56mmF1.2 R – F3.2, ISO 80, 1/200 sec
What gear advice would you give to someone thinking of doing the same?
I first started creating images, as many photographers do, with a DSLR and kit lens. Then I began to add prime and zoom lenses and a second body. Afterwards, I progressed to full-frame bodies, as that’s what the industry tells you to use as a wedding photographer. Even before I photographed adventurous weddings, I felt the toll that the weight of all my gear took on my body.
After one of my first skiing elopements in 2018, I knew something had to change. The weight of the DSLR bodies, lenses and all the other stuff you need on a wedding day was so heavy that it didn’t feel safe skiing with a bag weighing close to 10kg on my back.
And in the summers when I wasn’t working, I would rarely take a camera out with me, because I didn’t want to carry the extra weight up the mountain when I was hiking or climbing.
FUJIFILM X-T3 + XF16-55mmF2.8 R LM WR – F2.8, ISO 400, 1/2500 sec
I toyed with the idea of getting a smaller camera for my personal adventures and, while I was at a conference, I had a look at the FUJIFILM system. I instantly felt comfortable with the X-T2 in my hands and was super impressed with its size and weight. Everything felt intuitive to me. I’d seen the image quality that other FUJIFILM photographers were producing at the time, and this meant I had no worries about moving from full-frame to APS-C, so I purchased one and later, a second camera, the FUJIFILM X-T3.
Your camera gear shouldn’t get in the way of your ability to make the types of images that your couples want. When I was shooting with a DSLR, the size and weight of that gear was borderline. I really don’t have that with FUJIFILM. – it doesn’t get in the way or hold me back.
I don’t think the FUJIFILM system can be beaten in terms of the image quality you get in such a small and lightweight body. And just because it’s small and light, don’t be fooled into thinking it can’t withstand the elements either. Mine has handled -15°C temperatures and snowstorms with aplomb.

FUJIFILM X-T3 + XF16mmF1.4 R WR – F2.8, ISO 1250, 1/125 sec
Tell us more about your methodology and approach, not just in terms of technique, but also how you work with clients to get the images you create.
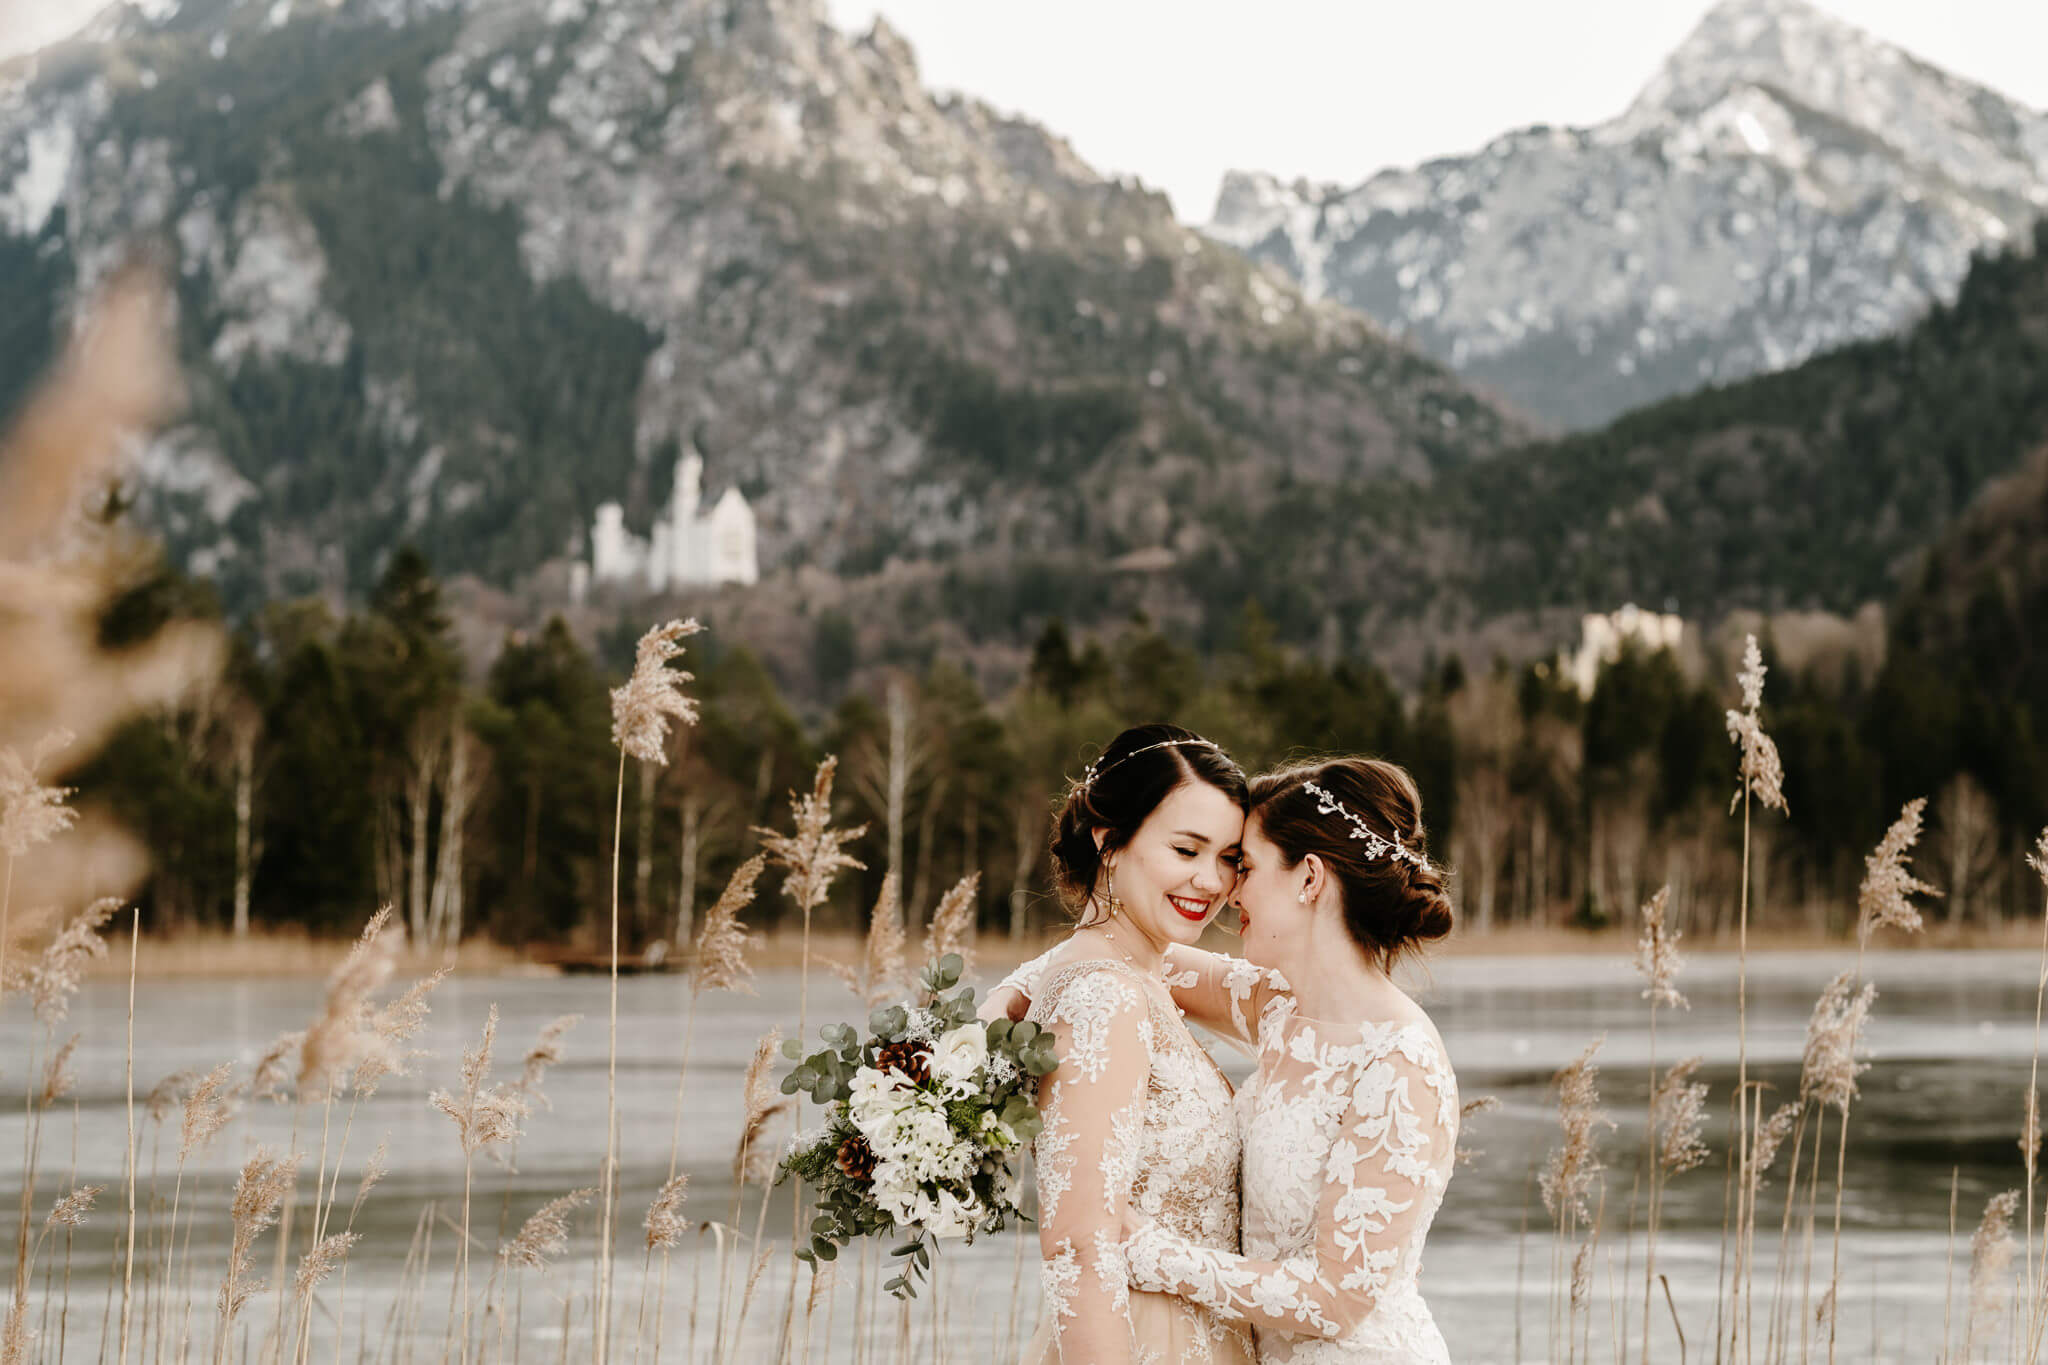
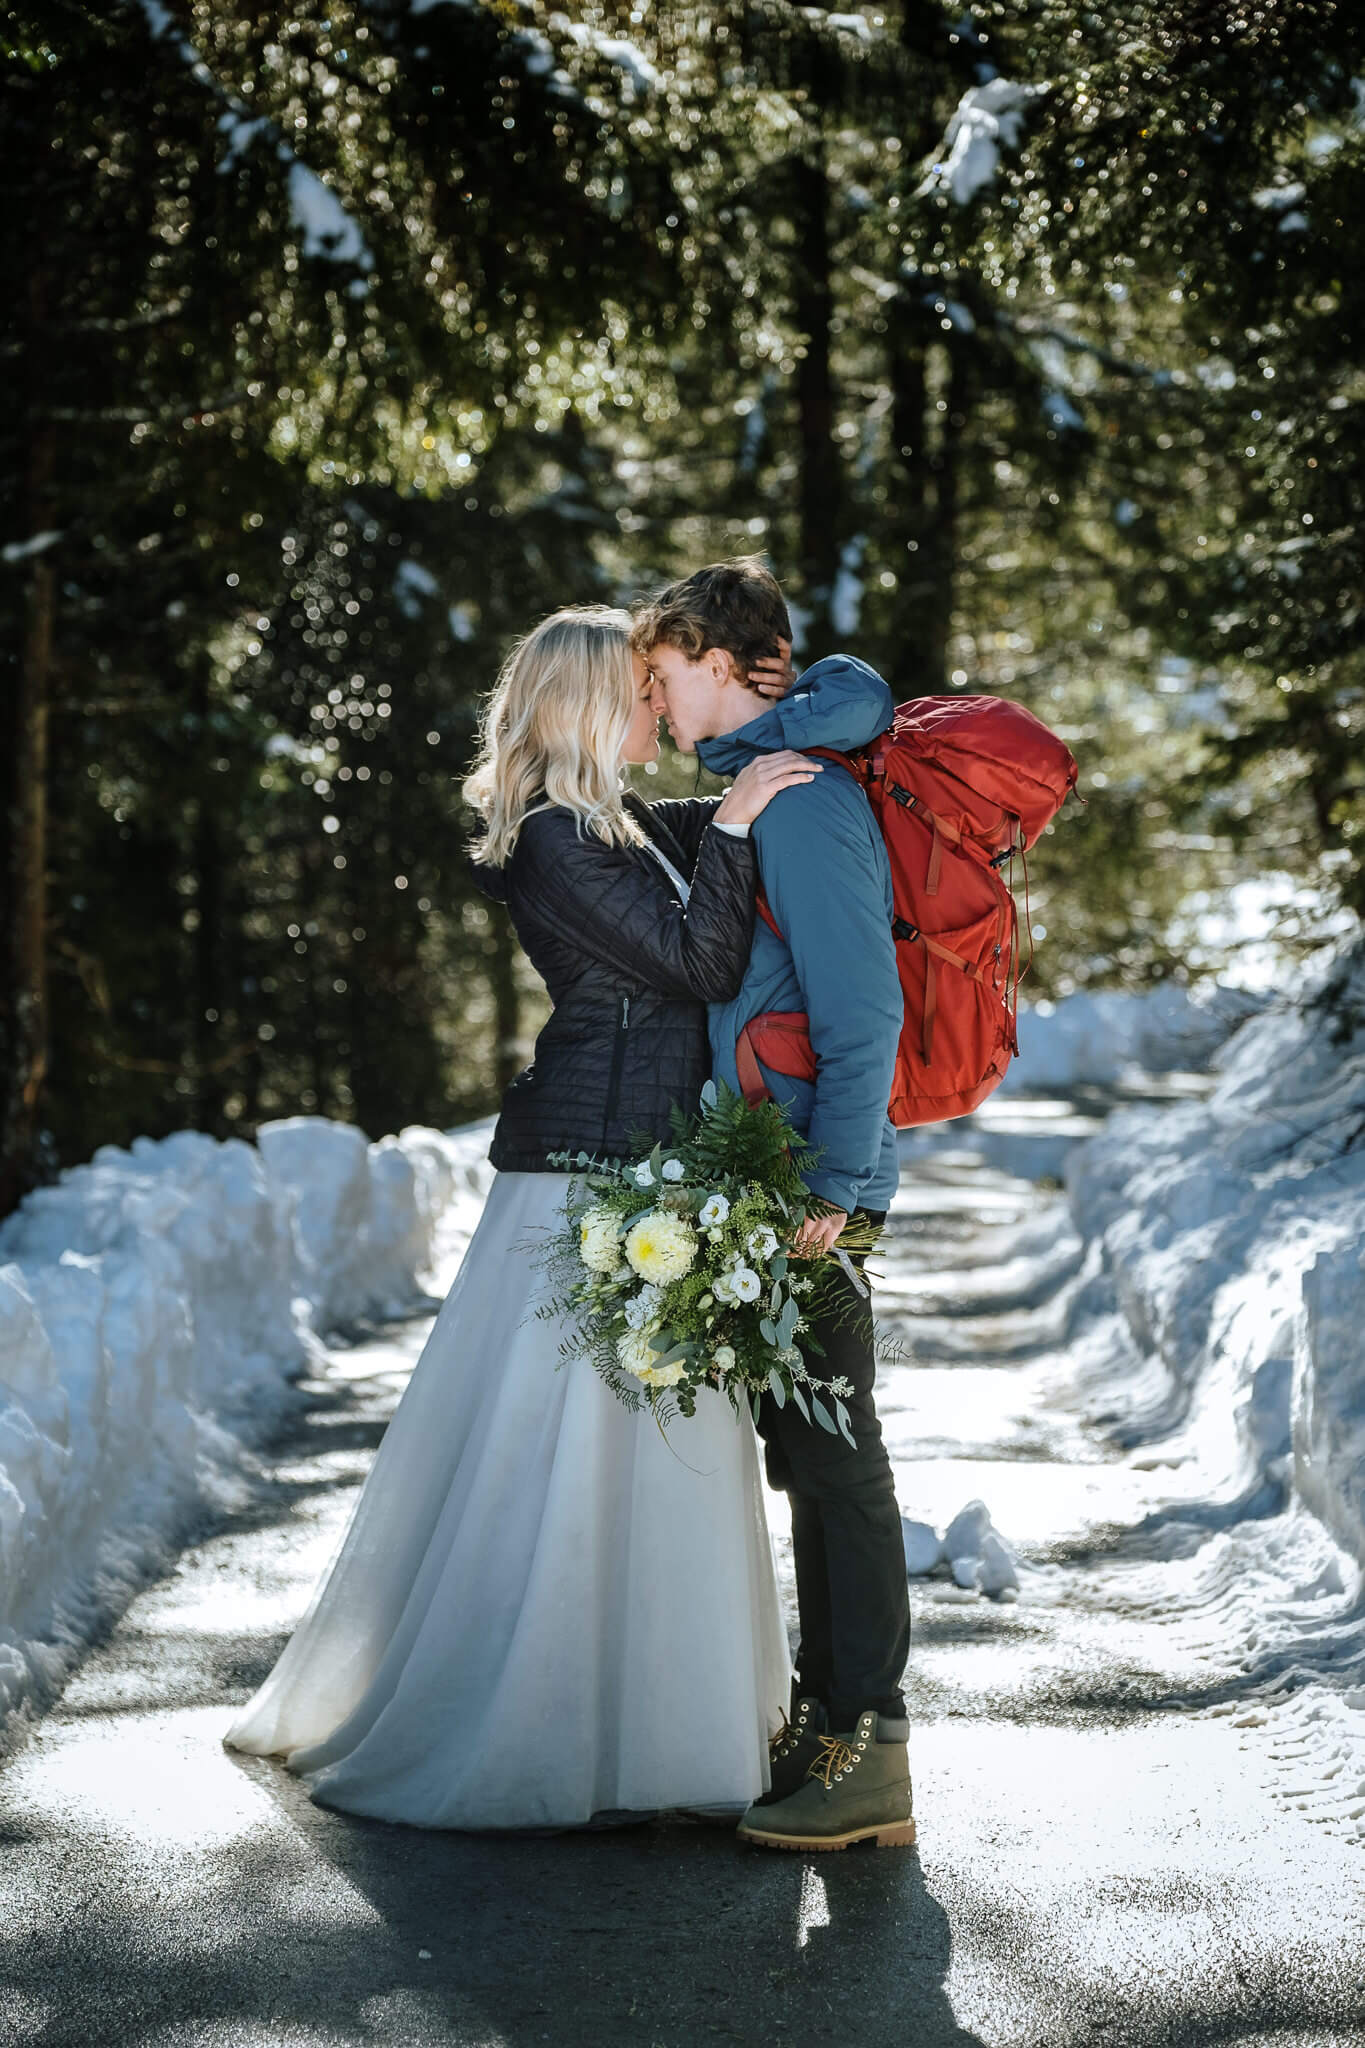
Even though I love to include my couples in a lot of wider, landscape-style photos, I like to create with a shallow depth-of-field for the majority of the wedding day. Generally, that’s because I prefer having more control over my shutter speeds and ISO, but it’s mostly because I like to create some separation between my subjects and the background. That can be exaggerated even more with some compression from a telephoto lens, too. I also really like the softness that you get with shallow depth-of-field. Although, there are some instances where I stop down to F5.6 or F8 if it’s a landscape where I want lots of it sharp in focus or there’s some action happening.
Working with my clients is very much a collaborative process. I try to get to know them in the months leading up to their wedding day, so they completely trust me and also feel comfortable enough to say when they don’t want to do something. I let them know that I’ll give them some directions when we start, but if things are going great, I’ll let them keep doing what they are doing. I usually give a lot of positive reinforcement from behind the camera, but not so much direction, and I chat away to relax my subjects. As the session progresses, I often move further away and just let them be.
FUJIFILM X-T3 + XF16-55mmF2.8 R LM WR – F2.8, ISO 80, 1/640 sec
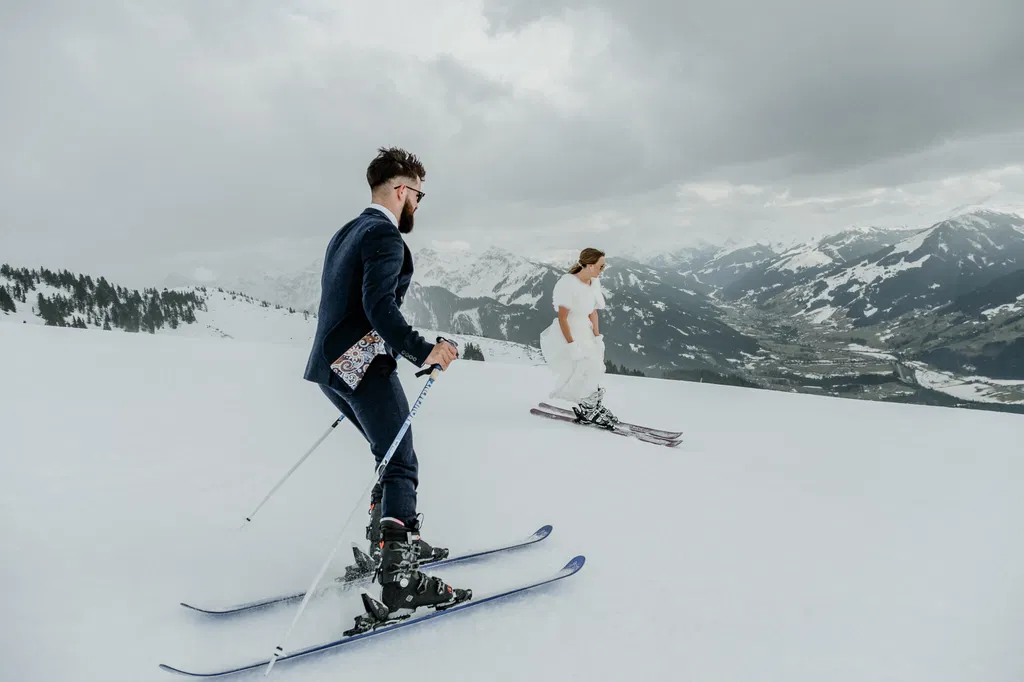
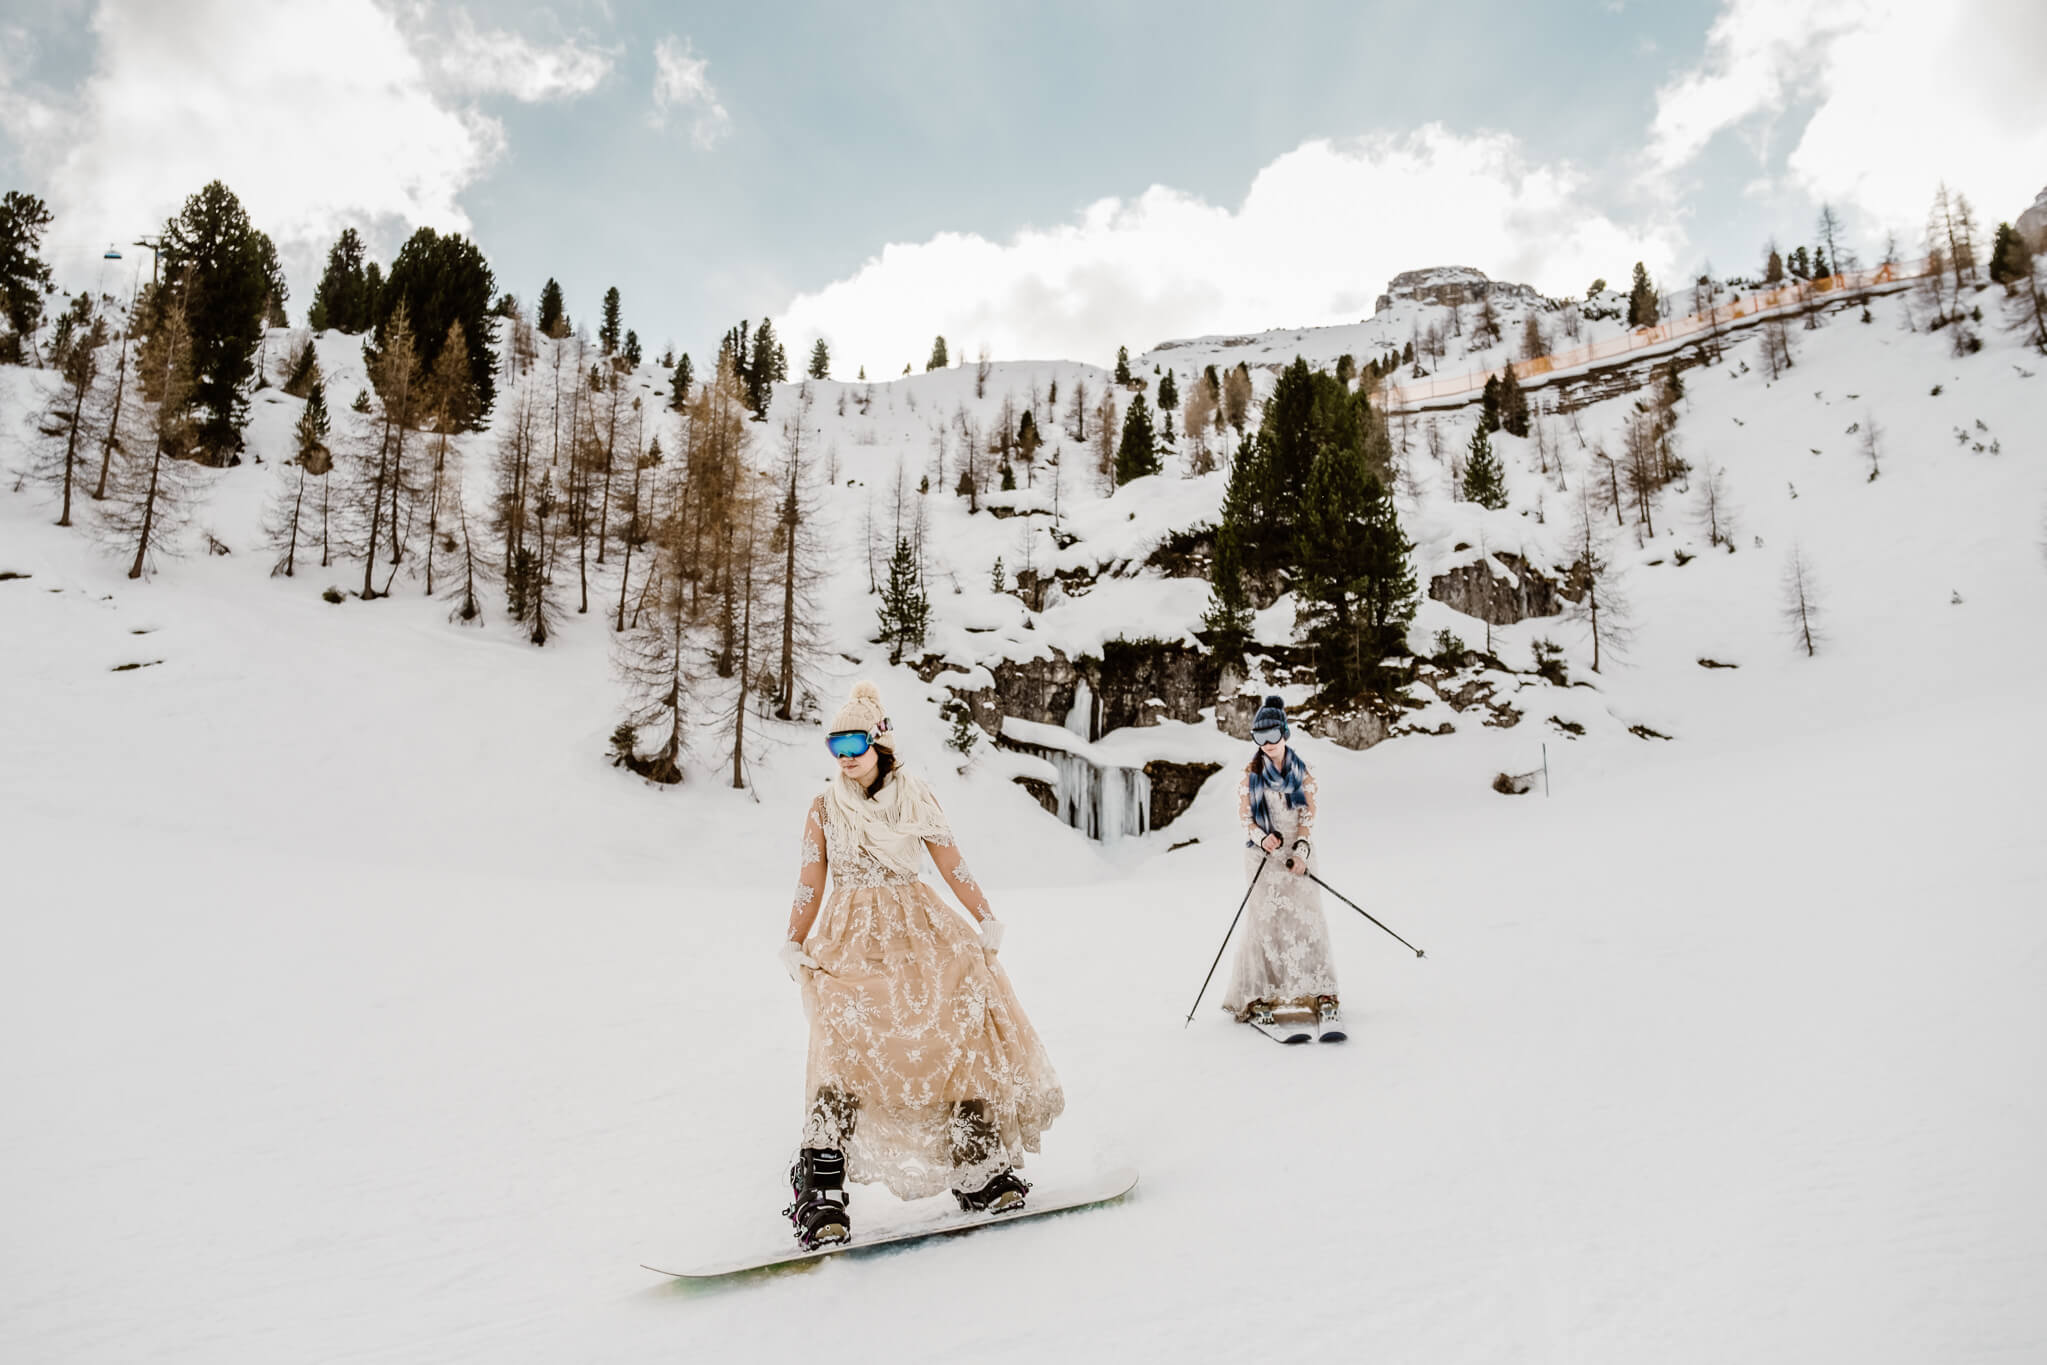
With the skiing and snowboarding shots, there’s a lot of stopping and starting. I understand what direction and what body positions I want them both in for the best images. I look at the light, the backdrop and the slope and give them directions. Usually, I get them to ski for a few turns, before stopping and repeating. A lot depends on the conditions! If it’s really cold or timings are tight, I might only have one chance.
I love that FUJIFILM cameras allow me to photograph weddings and adventures in the most epic places without holding me back. They are easy and intuitive to use, so even when I’m being pushed to my limits, I don’t need to worry about camera settings. I’m confident that I can take them anywhere and they won’t let me down.
FUJIFILM X-T3 + XF16-55mmF2.8 R LM WR – F2.8, ISO 160, 1/200 sec
What’s good and bad about photographing weddings in the winter months? What are the specific differences that photographers should be aware of?
I love winter weddings, and winter in general. There’s glistening frozen landscapes, the sun is low in the sky and there’s spectacular winter light – all of this can add real beauty to winter wedding images. But winter weddings come with their challenges, too.
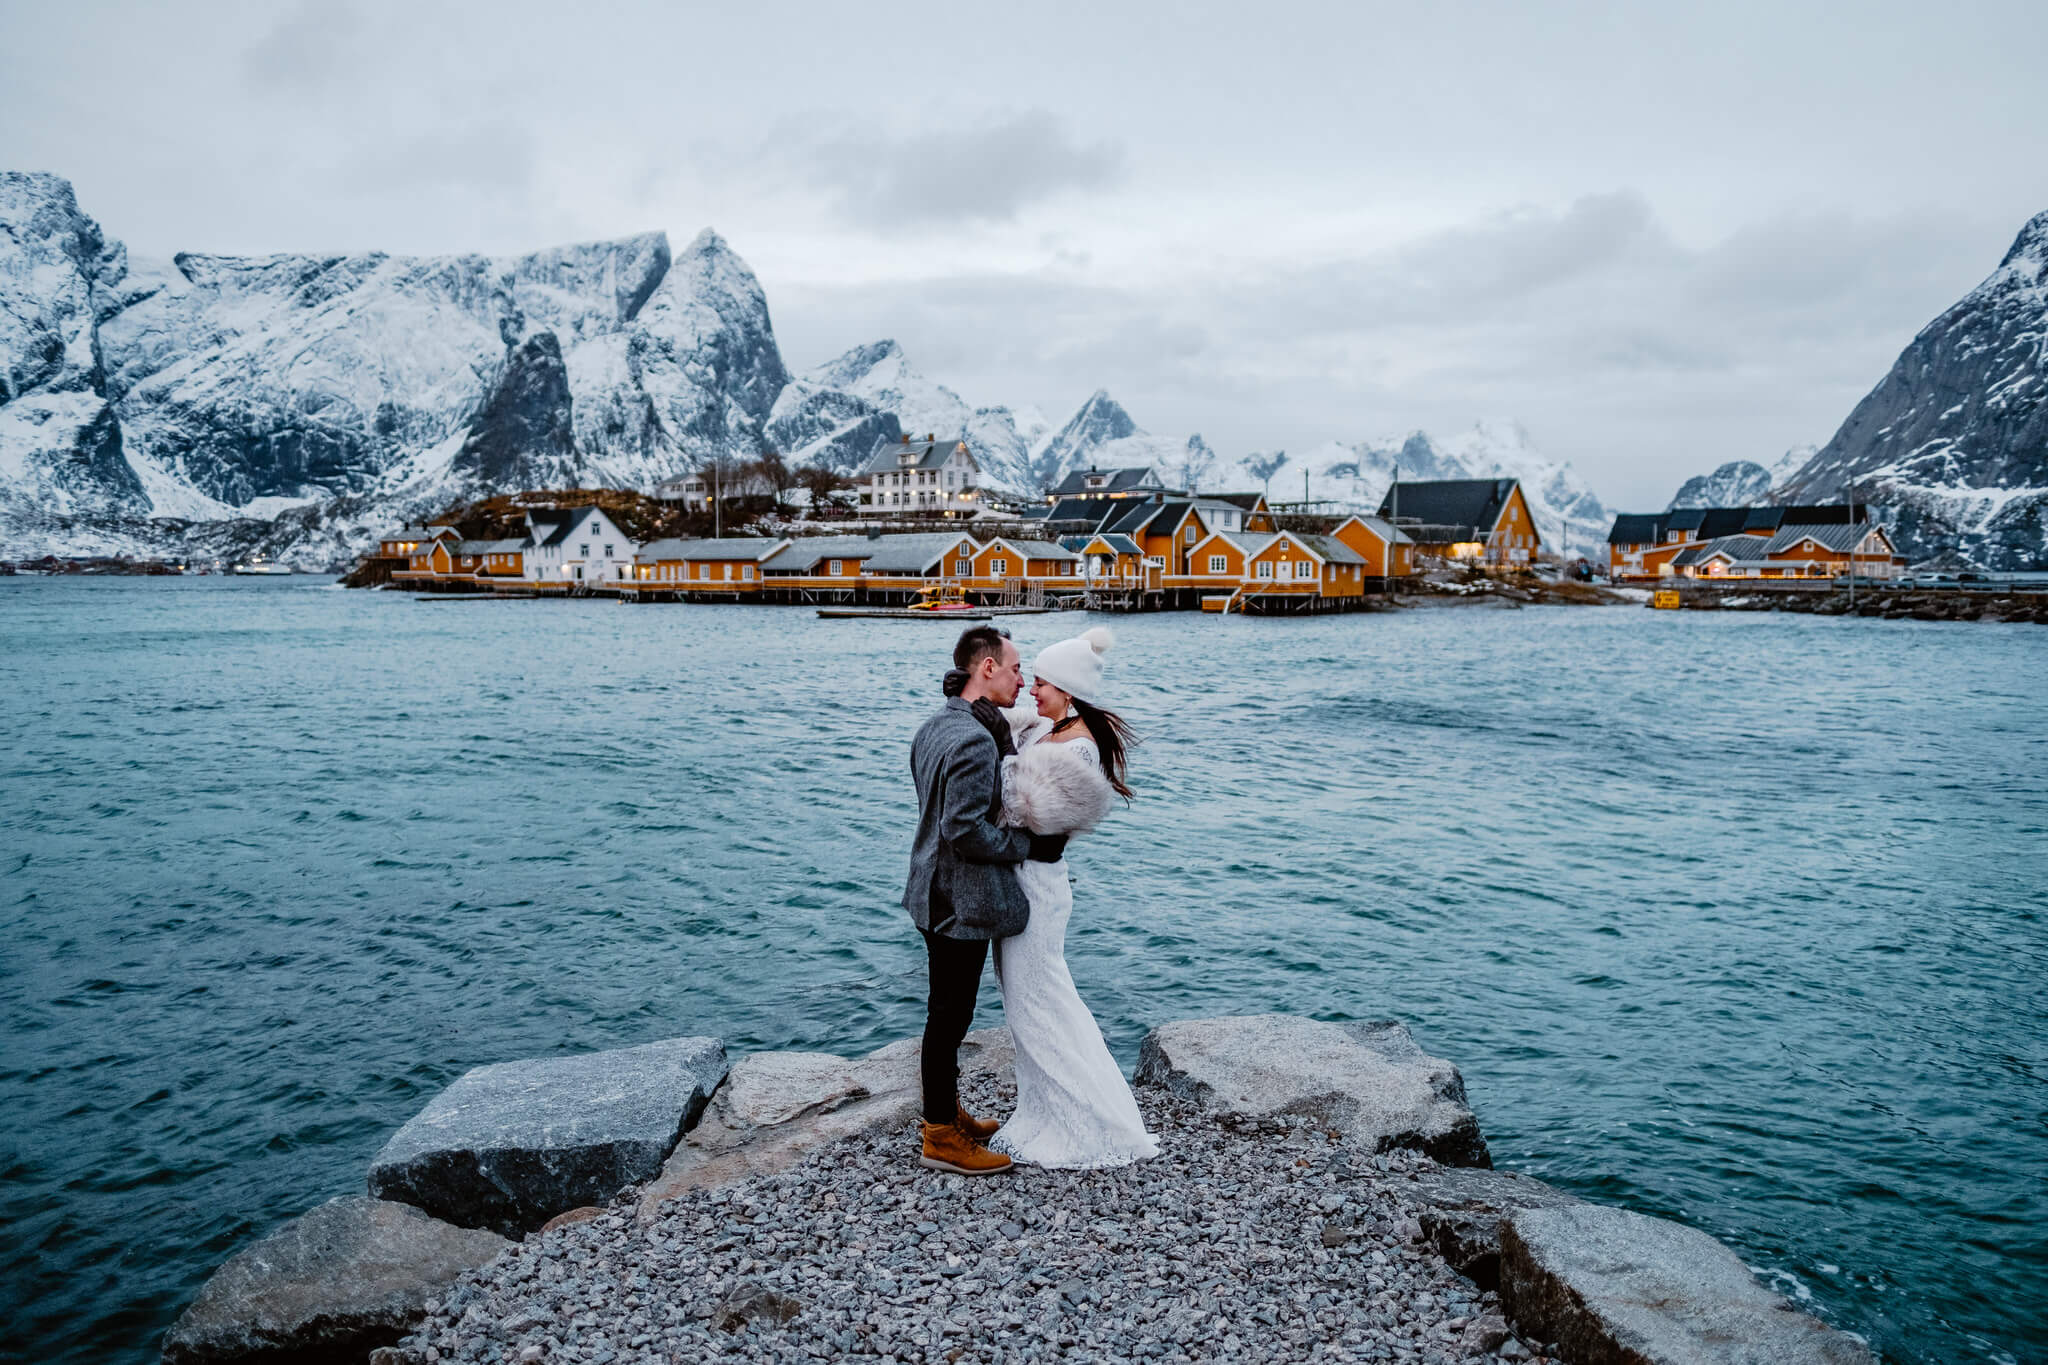
Light is the most obvious challenge. Working a wedding in northern Norway last December meant a polar night where the sun didn’t rise at all. I had about three hours of blue hour for a nine-hour booking! I was pretty nervous about how the images would turn out, because I don’t think I came below ISO 640 all day, but the couple loved them. As you lose light, you know that compromising on your settings is necessary, so it’s good to consider how you are going to deal with that. Ask yourself: ‘When should I start using flash?’ As long as you educate your couples on the limitations of the light and encourage them to prioritise their portraits in these daylight hours – I actually state this in my contract – photographing awesome winter weddings is completely possible.

FUJIFILM X-T3 + XF16-55mmF2.8 R LM WR – F5.6, ISO 640, 1/2500 sec
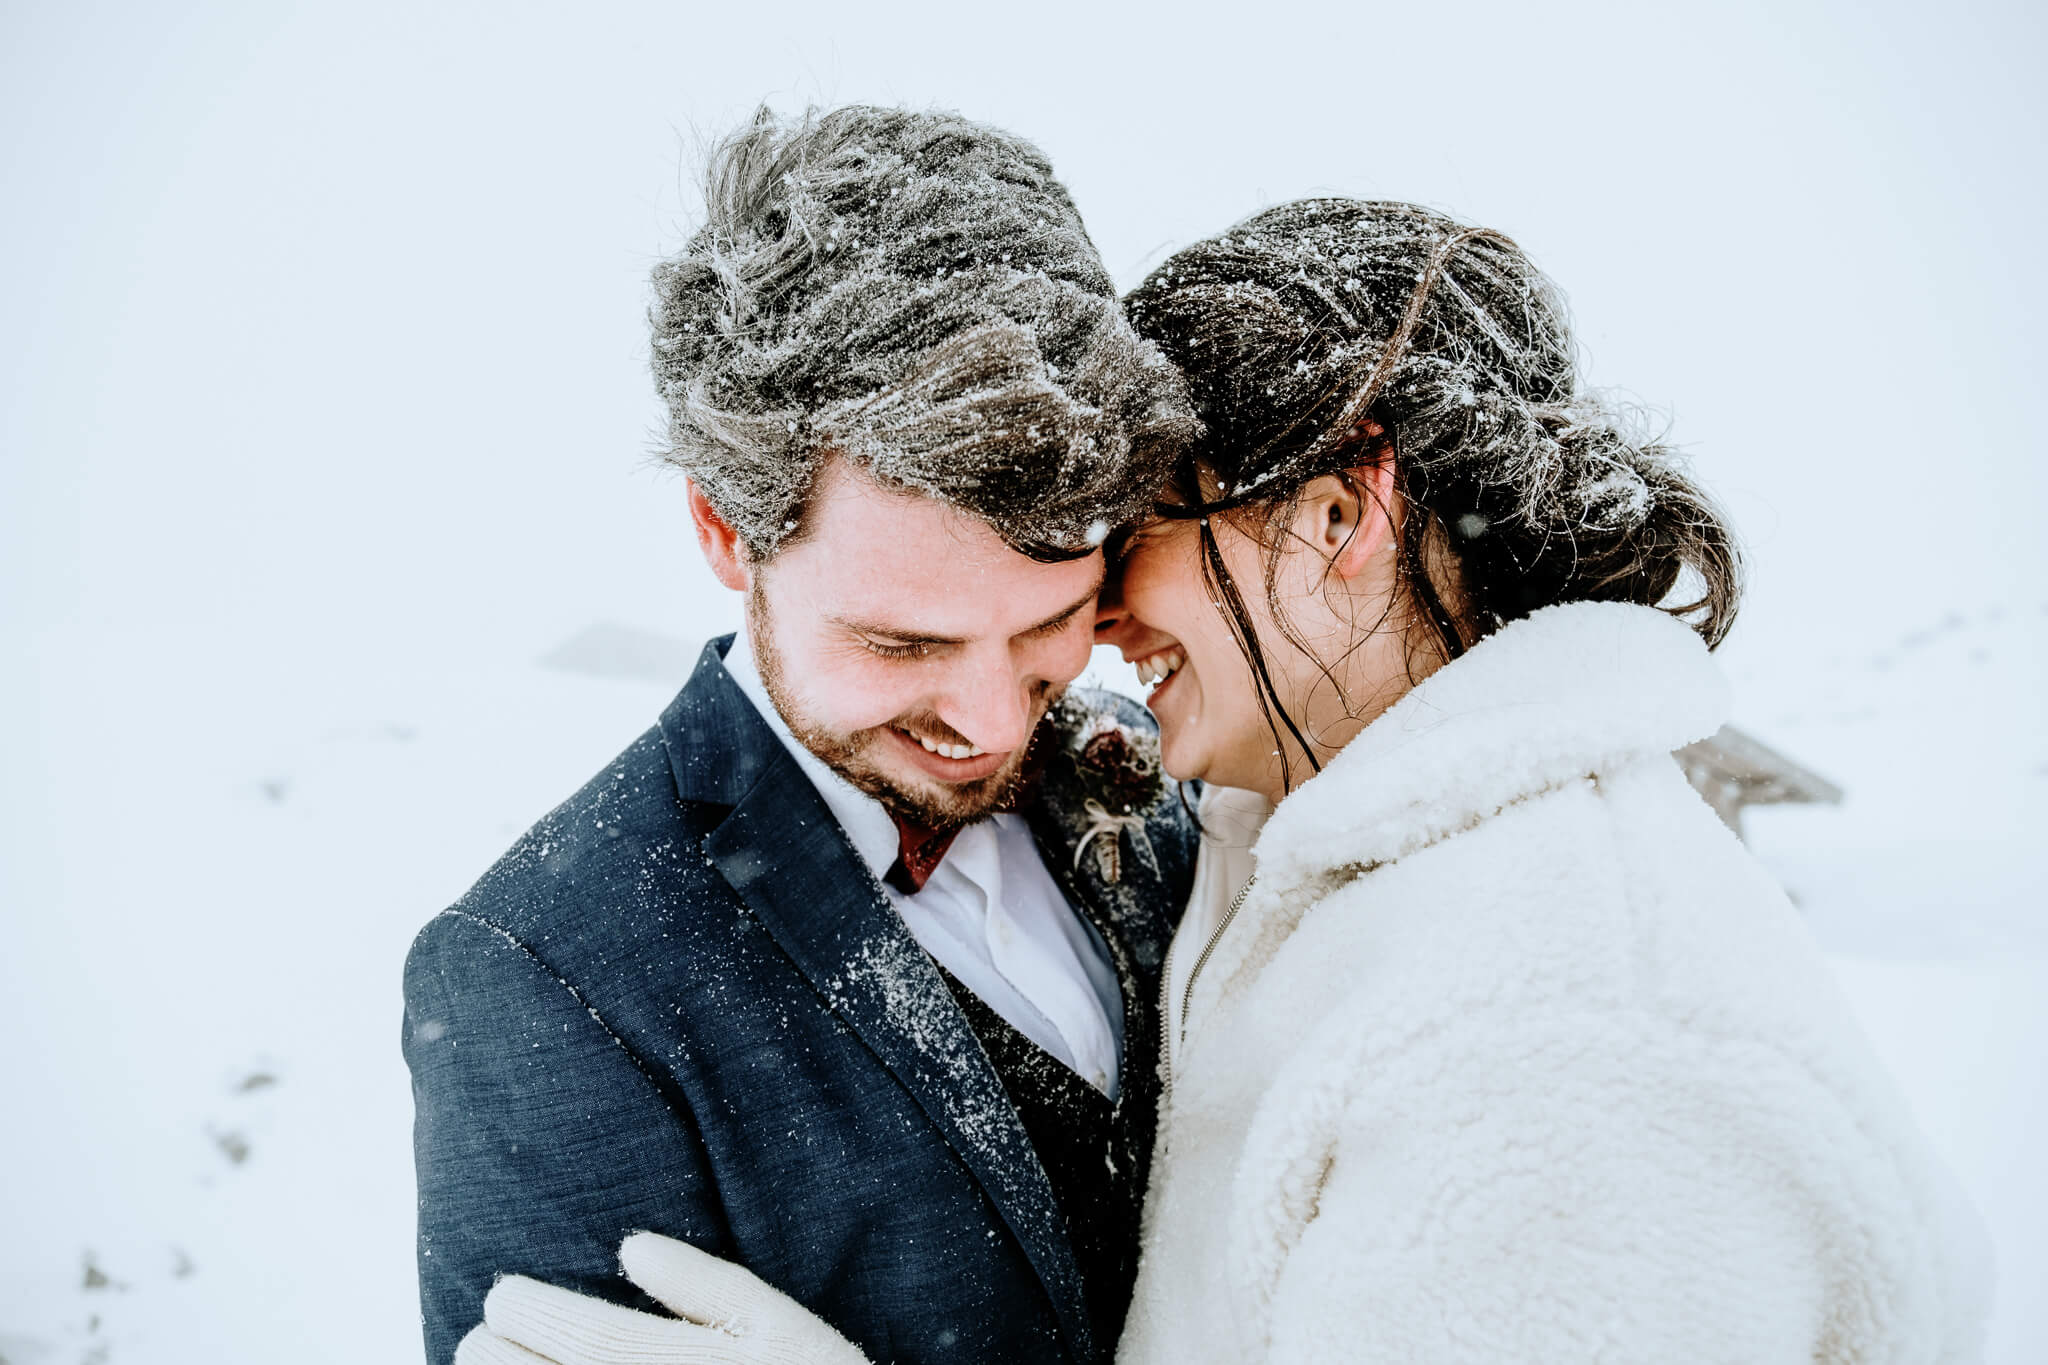
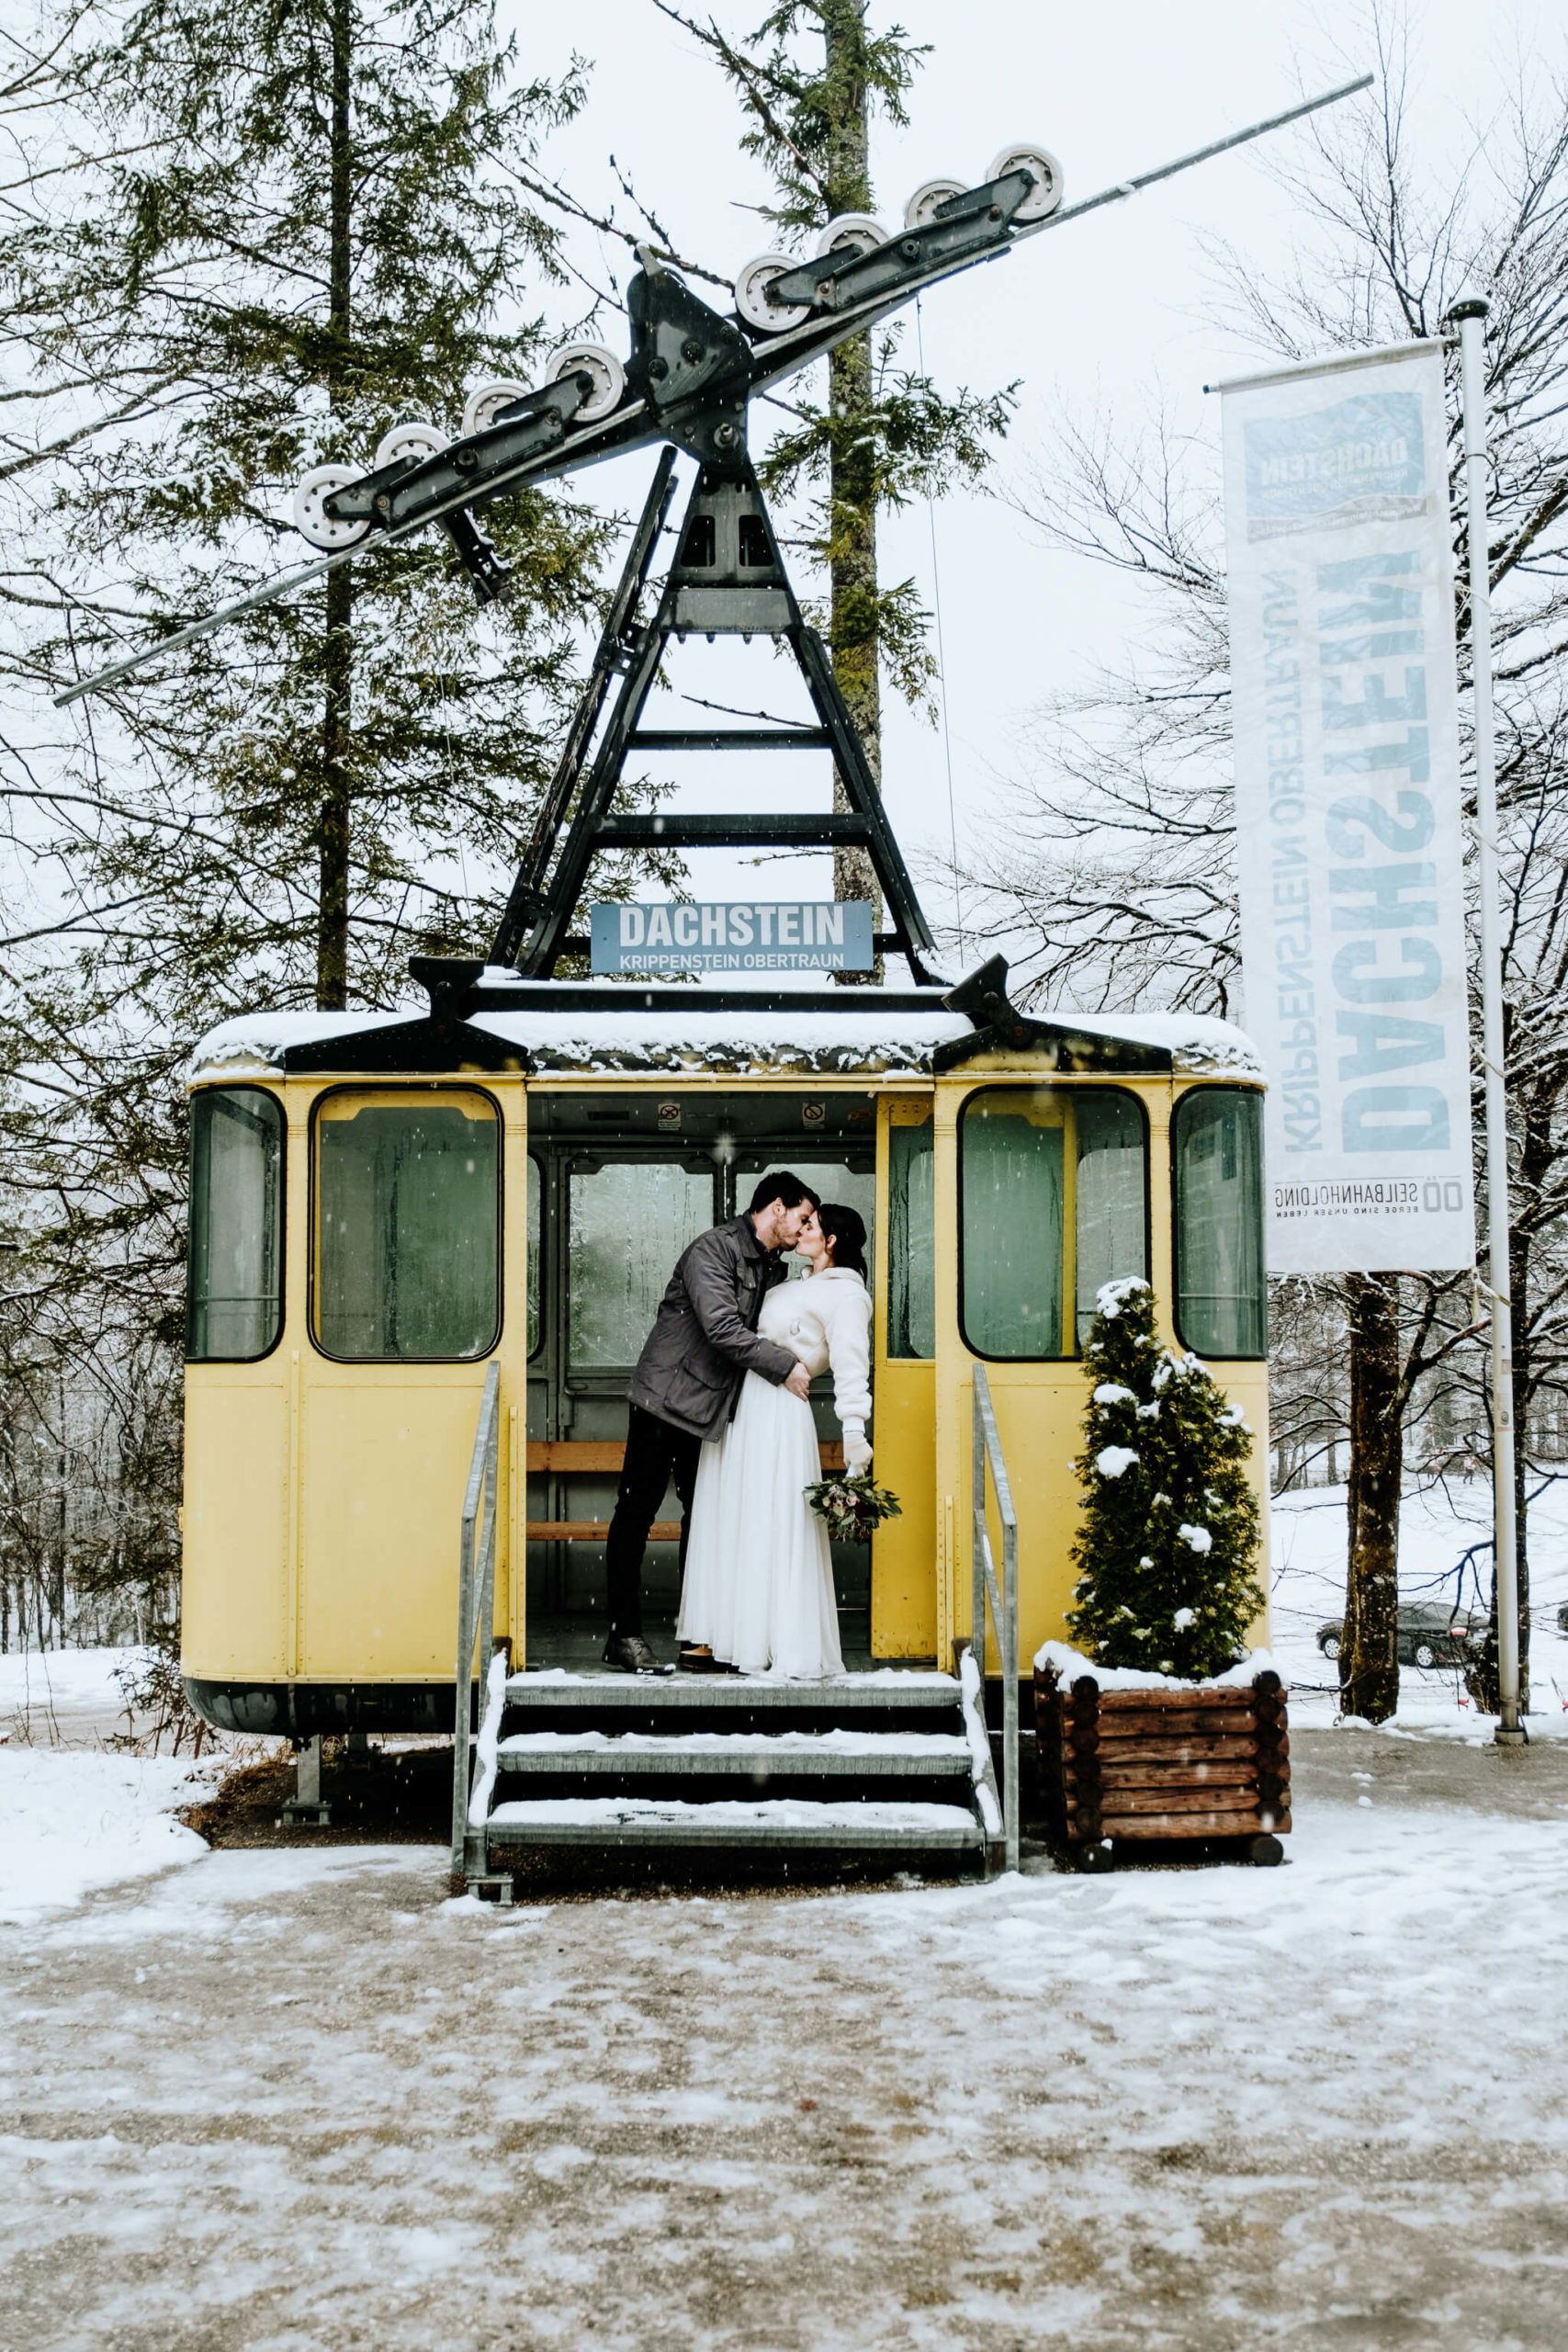
When it comes to winter weddings, the temperature is a challenge, too – for the couple and the photographer. Many couples have a very romantic view of winter weddings. They have an incredibly optimistic outlook on how long the bride can hold out in a wedding dress in low temperatures. I’ve lost count of the couples who say they can power through, but it’s clear that they’re uncomfortably cold from their body language. That doesn’t just apply to the Alps, where it can reach -20°C either; it’s happened in Ireland in March, too. Couples really want an outdoor ceremony and amazing portraits, but they don’t realise how cold standing still gets. I encourage my couples to wear fleece leggings and thermal underwear under their wedding clothes. A bag with jackets and gloves is also ideal, so we can take lots of warm-up breaks if necessary. It’s also important to plan time for this in the schedule. I often take a flask of tea or schnapps to warm everyone up afterwards. The clients love it, and of course, it makes for some cute photos, too.
FUJIFILM X-T3 + XF50-140mmF2.8 R LM OIS WR – F2.8, ISO 500, 1/1250 sec
We see you mentor wedding photographers. What mistakes do you think novice wedding photographers make and how would you suggest they avoid them?
Lots of new photographers follow trends rather than figuring out their brand, their photographic style, what market they are serving or who their ideal clients are. I believe in building a business and brand that aligns your values, because your clients value you a lot more for that.
With elopements becoming a big trend throughout Covid-19, lots of photographers want to get involved. As such, there’s been an increase in the number of people offering styled shoots, particularly among new photographers who want to build their portfolio. When you start out, it’s hard to attract clients without a portfolio, but without bookings, your portfolio also doesn’t grow much. This creates a Catch-22 situation.
Therefore, people attend organised styled shoots with other photographers and are able to photograph a staged ceremony. While this seems like a great idea, it can actually work against them. Potential clients want to see examples of real couples, which they don’t have, and images from the same styled shoot appear in the portfolios of other photographers too, some of which may well be their competition.
When I mentor photographers who have attended such styled shoots and still struggle to book real clients, I recommend that they start organising their own elopement-style couple sessions with real couples. They can do this by putting out model calls and crafting the day or experience as if it was a real wedding day. Even though it’s not an actual wedding day, the experience of organising it, corresponding with the couple beforehand and keeping them comfortable on the day is an experience you can convey to potential clients in a genuine way.
Want to create stunning wedding portraits? Here are some tips on how to make sure your camera isn’t getting in the way…
FUJIFILM X-T3 + XF16mmF1.4 R WR – F1.6, ISO 640, 1/250 sec
Framing wedding portraits
When creating portraits at weddings, it’s essential that you are fully engaged with the couple in the frame. Here are a few handy tips for selecting the correct settings to ensure you spend less time looking at your camera and more time interacting with your subjects. Aperture Using a wide aperture to create good bokeh is a great idea when creating portraits. It’s an approach that puts emphasis firmly where it should be – on the subjects in the foreground. For ease, we recommend using the Aperture Priority setting.
ISO
Set Auto ISO to raise the ISO sensitivity if shutter speeds drop below 1/100 sec. This is done in the camera’s main menu:
- Press MENU OK, scroll to the SHOOTING SETTING menu and choose ISO.
- Press OK to choose one of the AUTO presets (eg AUTO 1).
- Set the DEFAULT SENSITIVITY to the lowest setting (eg ISO 160 or ISO 200).
- Set the MAX. SENSITIVITY to ISO 1600, or whatever you feel comfortable with in terms of noise.
- Set the MIN. SHUTTER SPEED to 1/100 sec.
- Half press the shutter release button to get back to shooting mode.
AF
Face/Eye Detection AF takes care of positioning the AF point for you, which is very handy. You can switch this on from the camera’s Q Menu or main menu. When this is combined with Continuous AF mode, you shouldn’t have to give focusing a second thought.
Dealing with cold temperatures
“The temperature poses multiple challenges,” says Cat. “Firstly, there’s the challenge of reduced battery life, which is really exacerbated by the cold. To make sure my spares remain warm, I keep them in an inside pocket close to my body, with just one in an easy-to-reach outer pocket, in case a change is required while photographing. But cold and humidity also has an effect on the lens, especially when you’re moving from outside to inside.
“Early in my photography career, I was caught out several times following a couple from outside into a venue, with my lens completely fogging up,” she continues. “On occasions where this is a distinct possibility, I place a camera inside the venue ready to go if possible. Alternatively, I carry the spare with me in a closed bag for warmth, so I can switch cameras and keep creating while the other camera comes up to temperature.”


