

FUJIFILM product specialist Nathan Wake shows you how to stay creative at home by learning a new technique – focus stacking!
What is focus stacking?
Focus stacking or focus bracketing, as it is also known, is where you shoot multiple images of one subject with a slight change in focus point. These images can then be ‘stacked’ to create an image that keeps the key elements in focus, even though it had to be shot with a shallow depth of field.
It’s really handy when shooting macro photography where, even at smaller apertures, depth-of-field can be very limited. Focus bracketing can also be very effective when shooting landscapes to ensure your scene is pin-sharp from front to back.
Get set up
To start shooting, first set up the focus bracketing function, if you have it on your camera. To do this, navigate to the Shooting Setting menu, select Drive Setting, then select BKT Setting. Next, scroll down to Focus BKT and press Menu OK. You’ll now see three settings: Frames, Step and Interval.
Frames is the number of images that you want to capture – this can be anything between 1 and 999. Step is the amount the focus will change for each shot, with 1 being the smallest change in focus and 10 being the largest. The final setting, Interval, is the time between each shot – you can choose between one and ten seconds. Once you have selected numbers for each, hit Menu OK.
Now navigate back to the BKT Select setting and choose Focus BKT, then set your camera’s drive mode to BKT. Ensure that your ISO, aperture and shutter speed are set for your exposure, then focus and press the shutter release. The camera will now start shooting the bracketing sequence, while automatically adjusting the focus step and counting down the remaining number of shots on the back of the screen.
If you are using the FUJIFILM X-Pro3, X-T4 or X100V, you can use the new Auto setting in the menu. Here, all you need to do is select the points you would like to start and finish the focus bracket, and the camera will then calculate the step and the number of shots required.
Not every camera has a Focus Bracket setting, but don’t worry if yours doesn’t. You can still make a focus stack by simply switching your camera into manual focus and adjusting the focus for each shot by hand.
The gear
While you don’t need any specialist gear for focus stacking, a tripod is essential to keep your camera in the same position for the duration of the bracketing process. You’ll also need some editing software to stack the image – for the examples here, Capture One 20 and Helicon Focus were used.

I chose a 3 Legged Thing tripod, the FUJIFILM X-T4 and an RR-100 remote release, but your camera’s Self-Timer setting also works well. For these particular subjects, the lighting equipment used included a Profoto B2, OCF Beauty Dish White 2’, a small reflector and a diffuser, but you don’t need all this additional lighting to give it a try.
Shoot: example one
For example 1, I used a FUJINON XF60mmF2.4 R Macro lens. In this first, single shot, the focus point is on the pencil nearest to the camera. Ideally, I wanted both of the pencils to be in focus, but at an aperture of F9, the depth-of-field is too shallow.
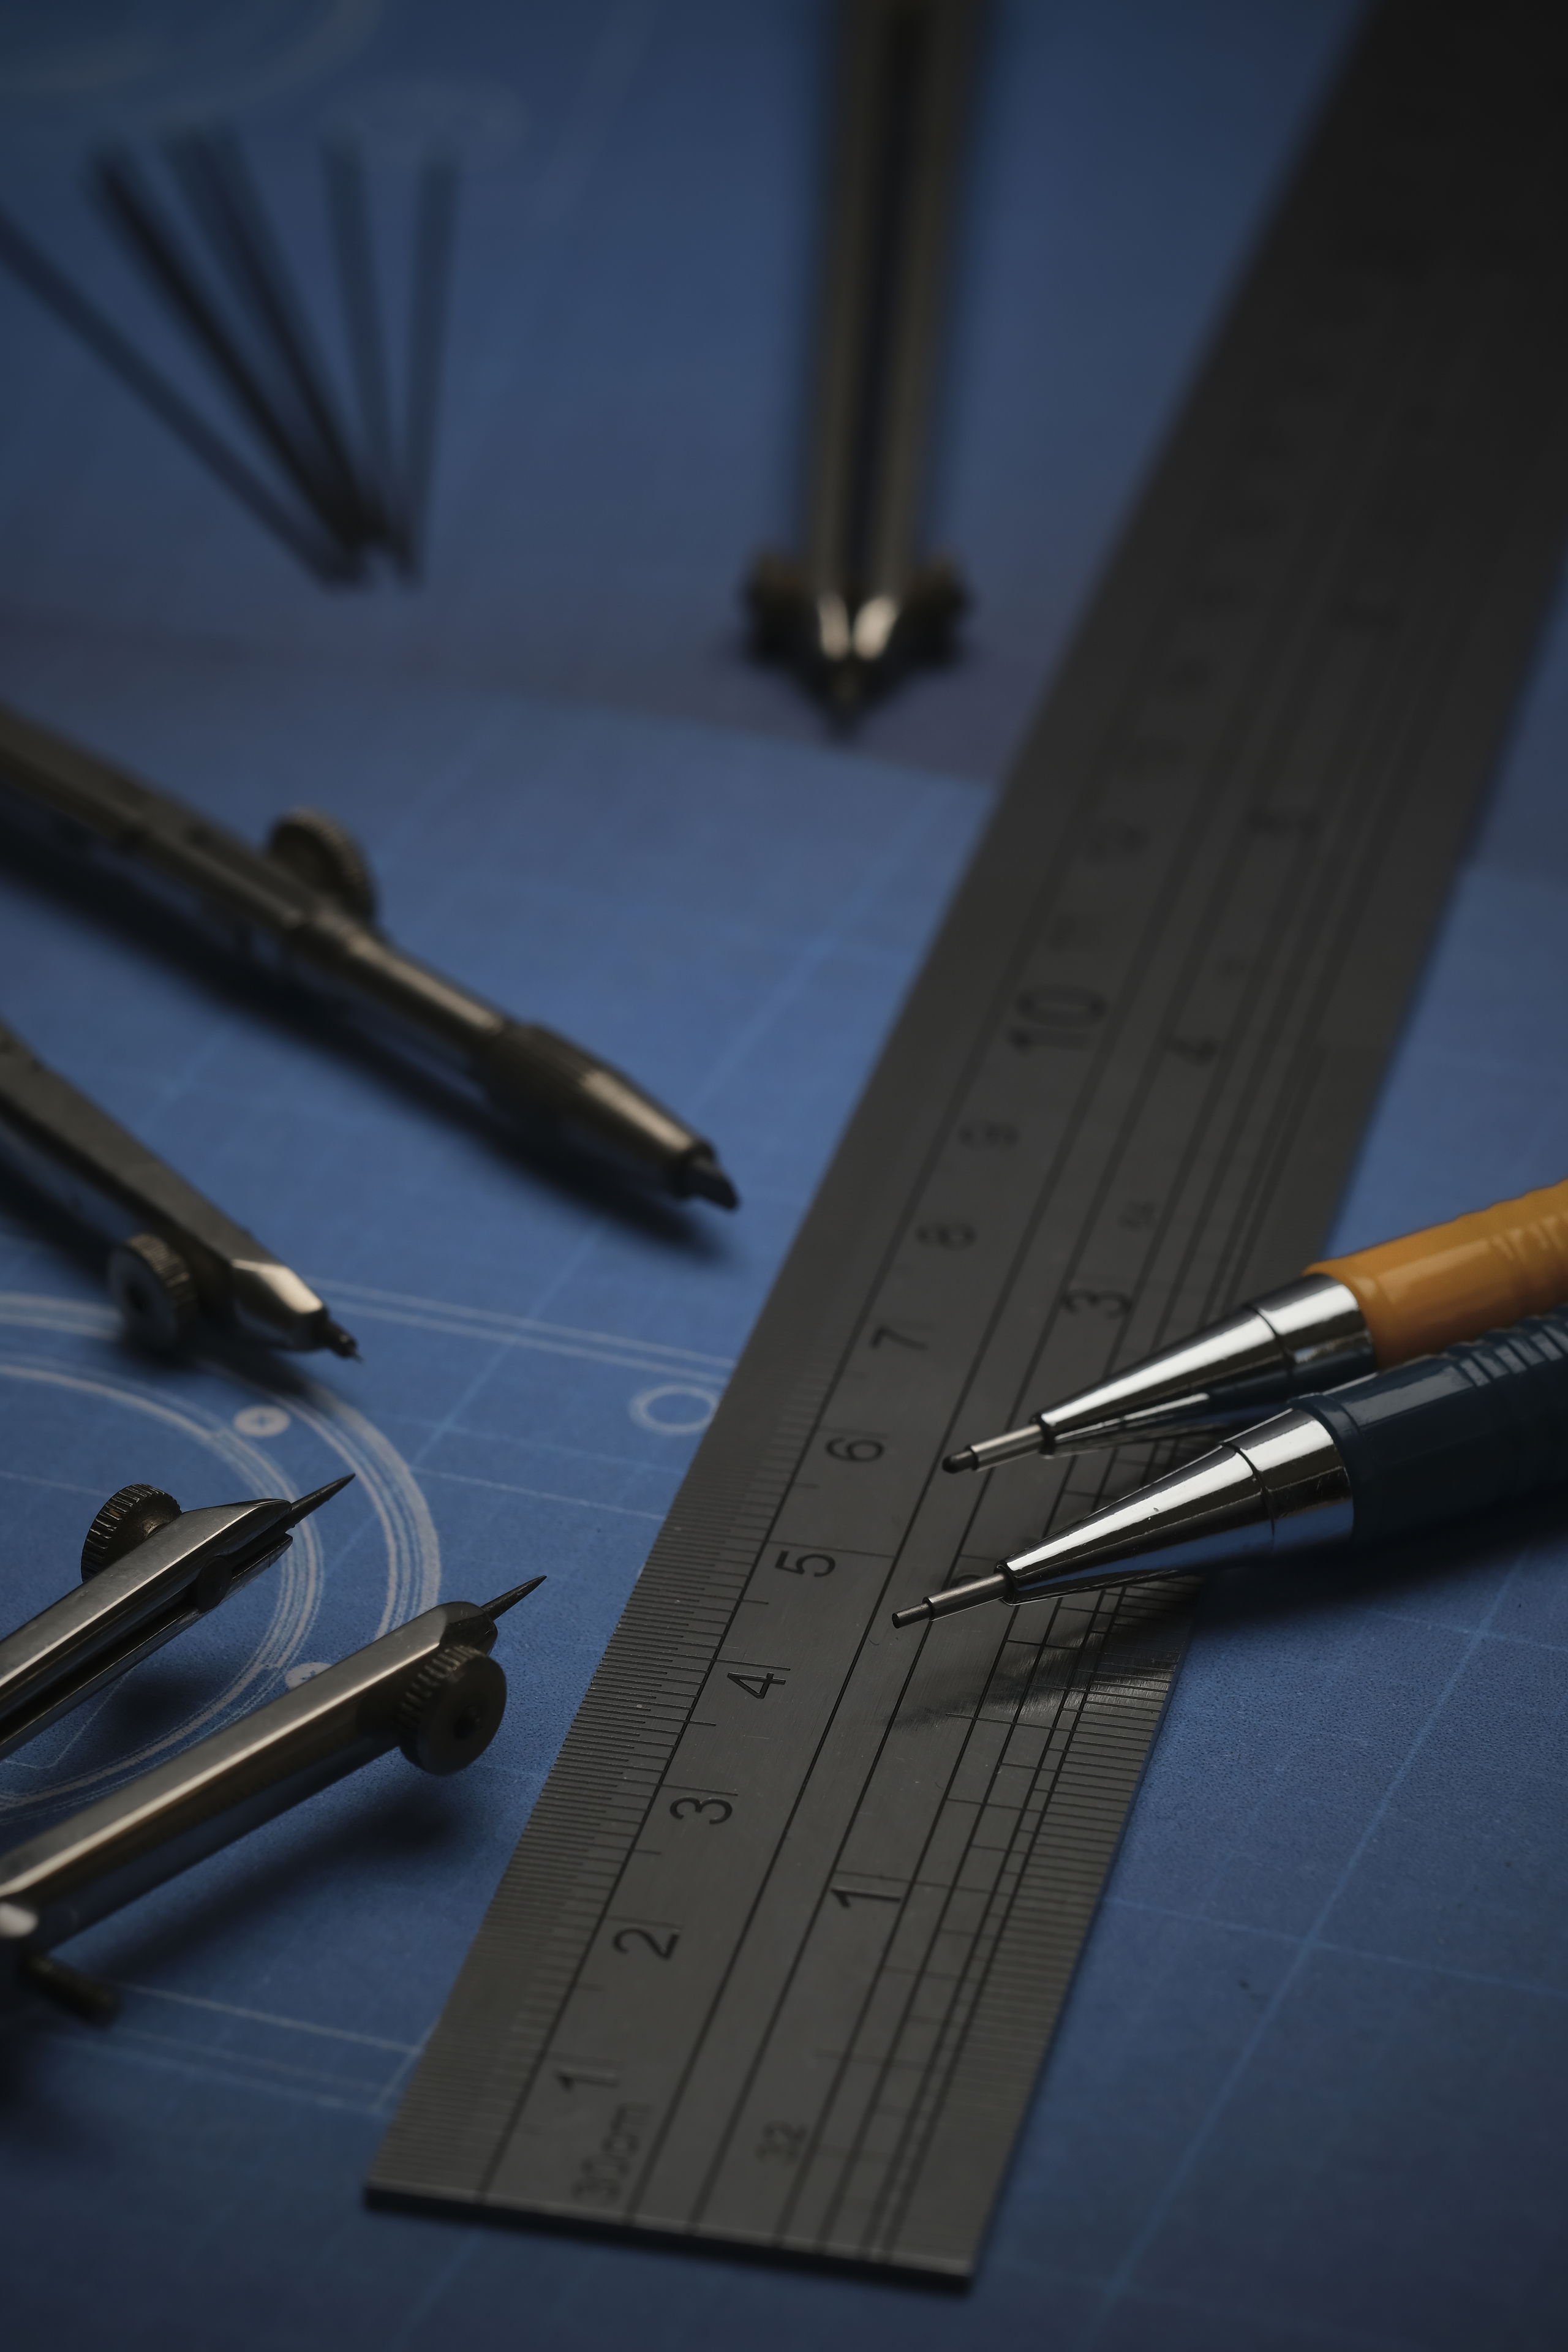
FUJIFILM X-T4 + XF60mmF2.4 R Macro – F9, ISO 160, 1/250 sec
I therefore set up a bracket where ten images were taken using the tip of the pencil in the foreground as the starting point, with Step set to 5 and a two-second Interval to give the flash time to recycle.
The ten images were then combined into one stacked image using Helicon Focus. As you can see below, the pencils are now in focus and nice and sharp.

FUJIFILM X-T4 + XF60mmF2.4 R Macro – F9, ISO 160, 1/250 sec
Next, the number of frames in the focus bracket was increased to 30. The resulting file below is now sharp to the tip of the compass.
Out of the three examples shown, I prefer this shot as the key items in the foreground are now all in focus, but it still drifts out of focus nicely towards the background.
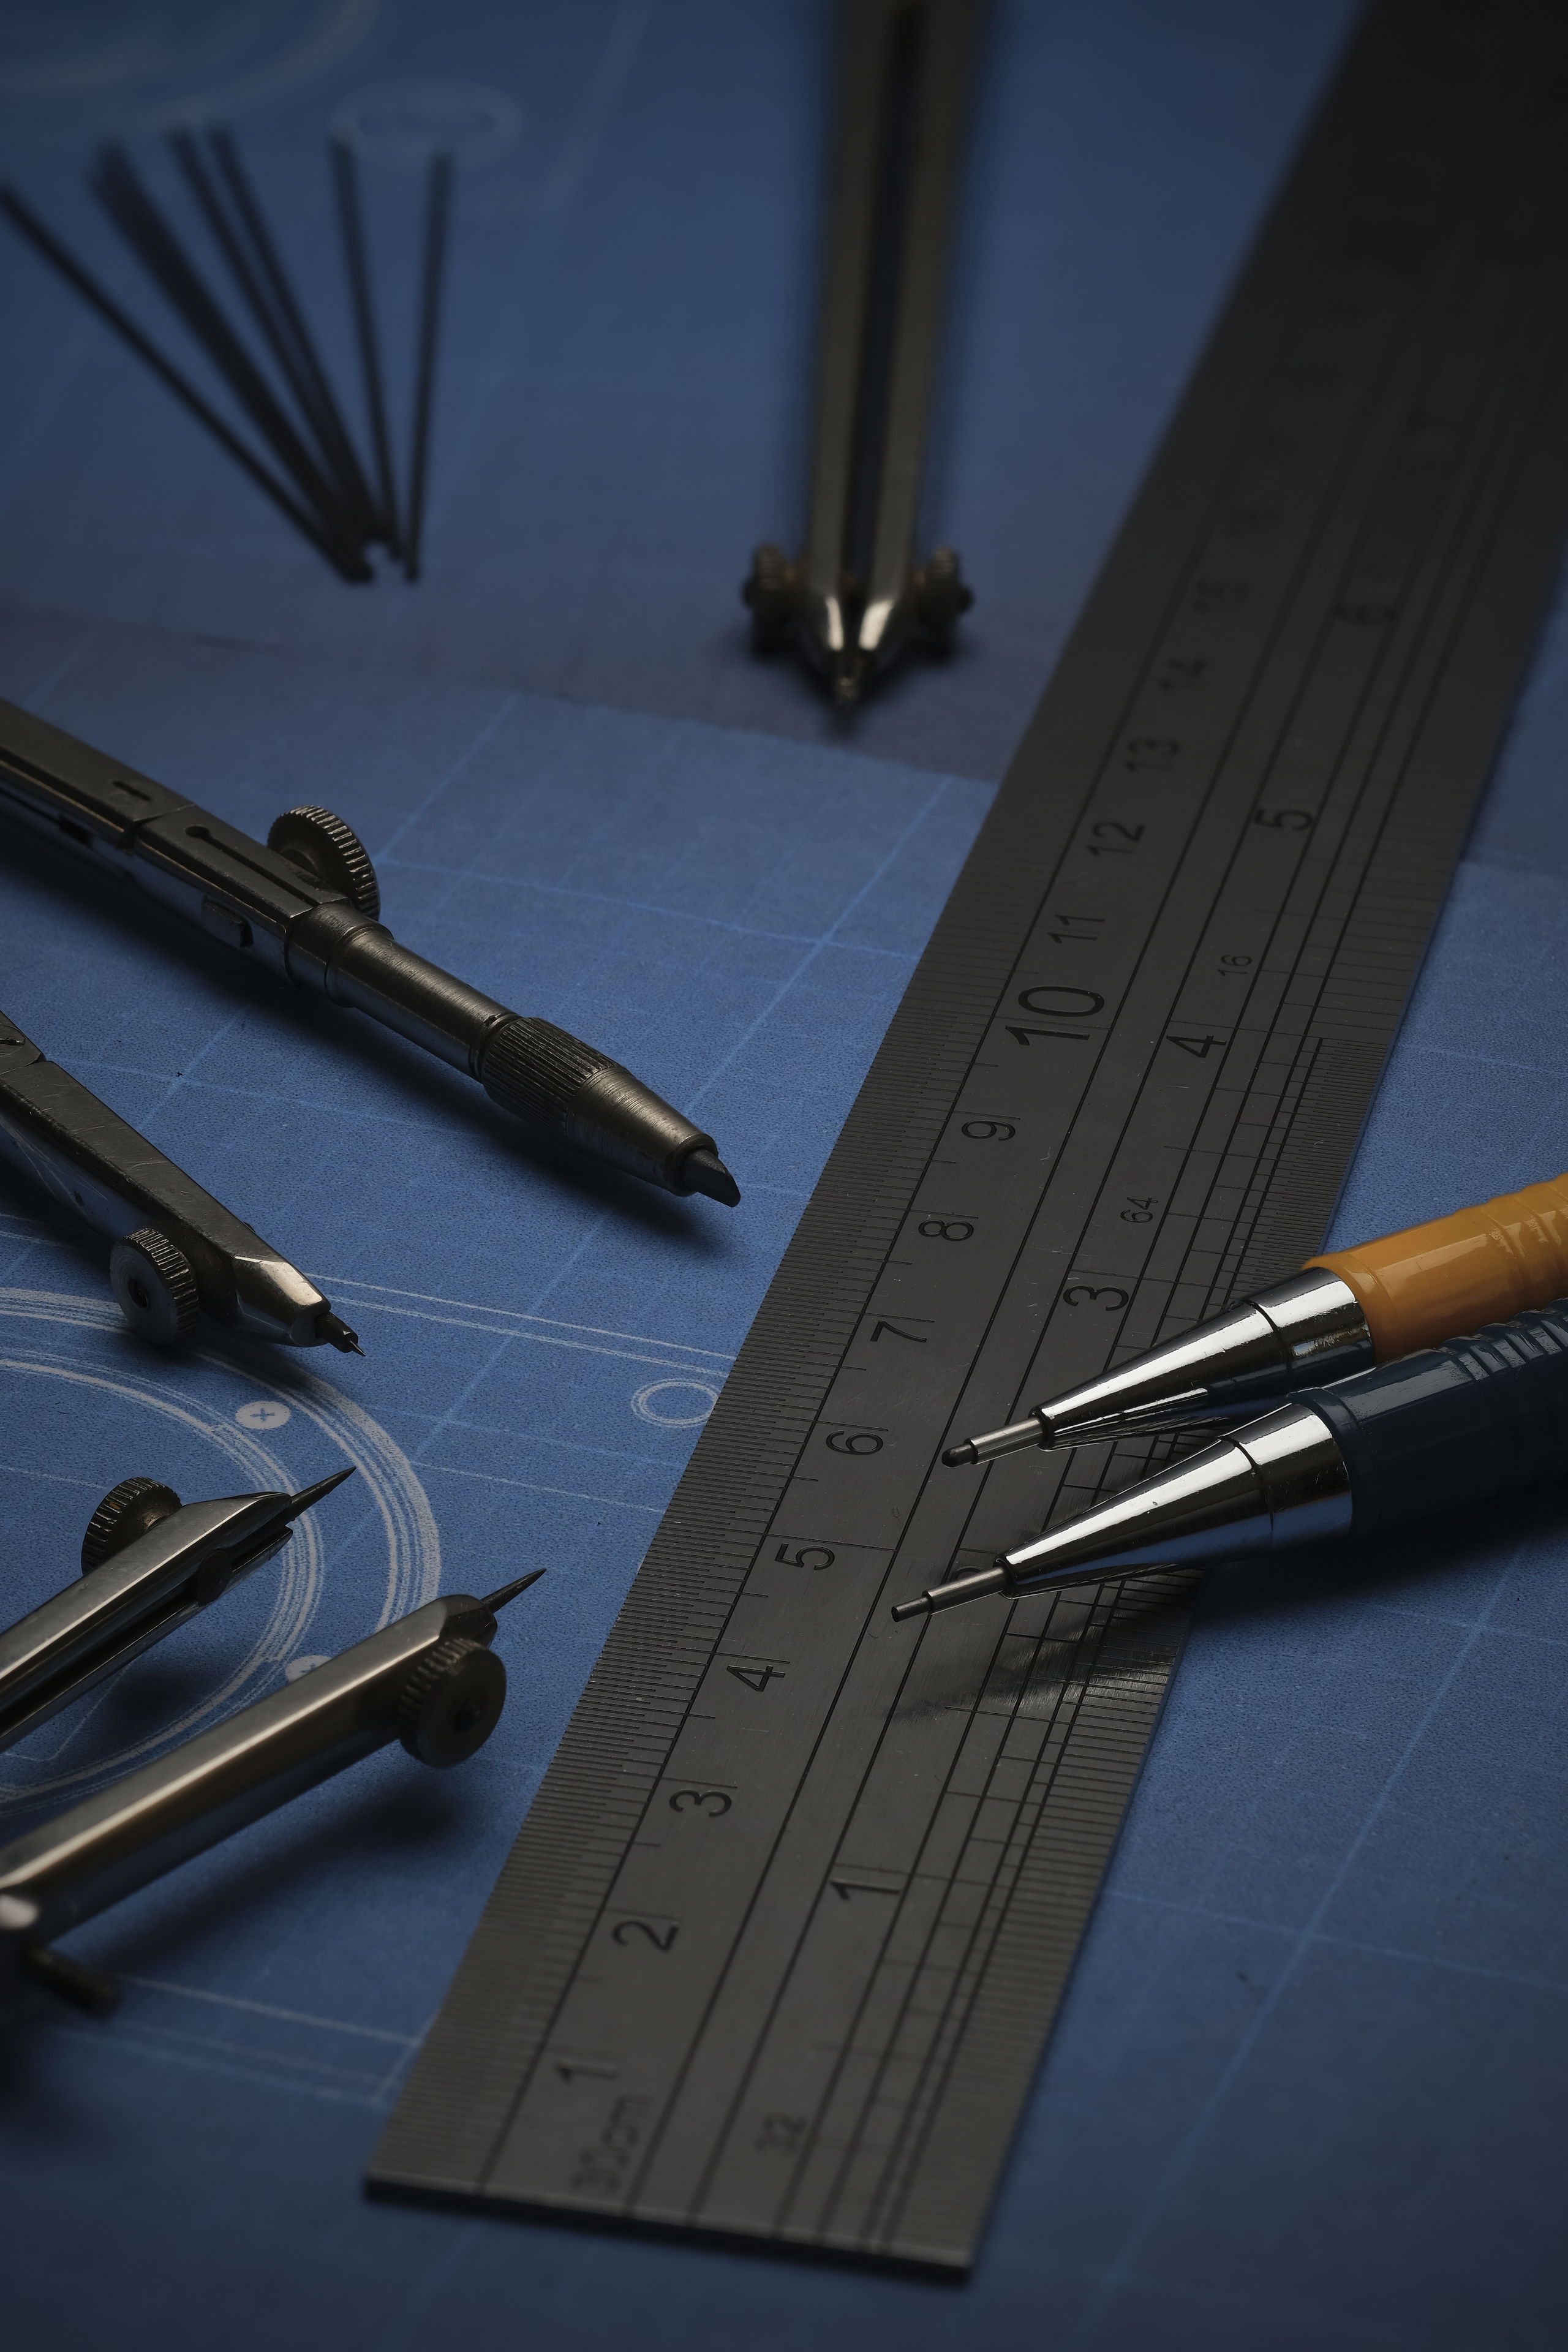
FUJIFILM X-T4 + XF60mmF2.4 R Macro – F9, ISO 160, 1/250 sec
For the final shot below, I pushed things a little further. This is a stack of 100 shots using five Steps at two-second Intervals, with the corner of the ruler as the starting point for the focus.
The resulting image is sharp from the foreground to the very back.
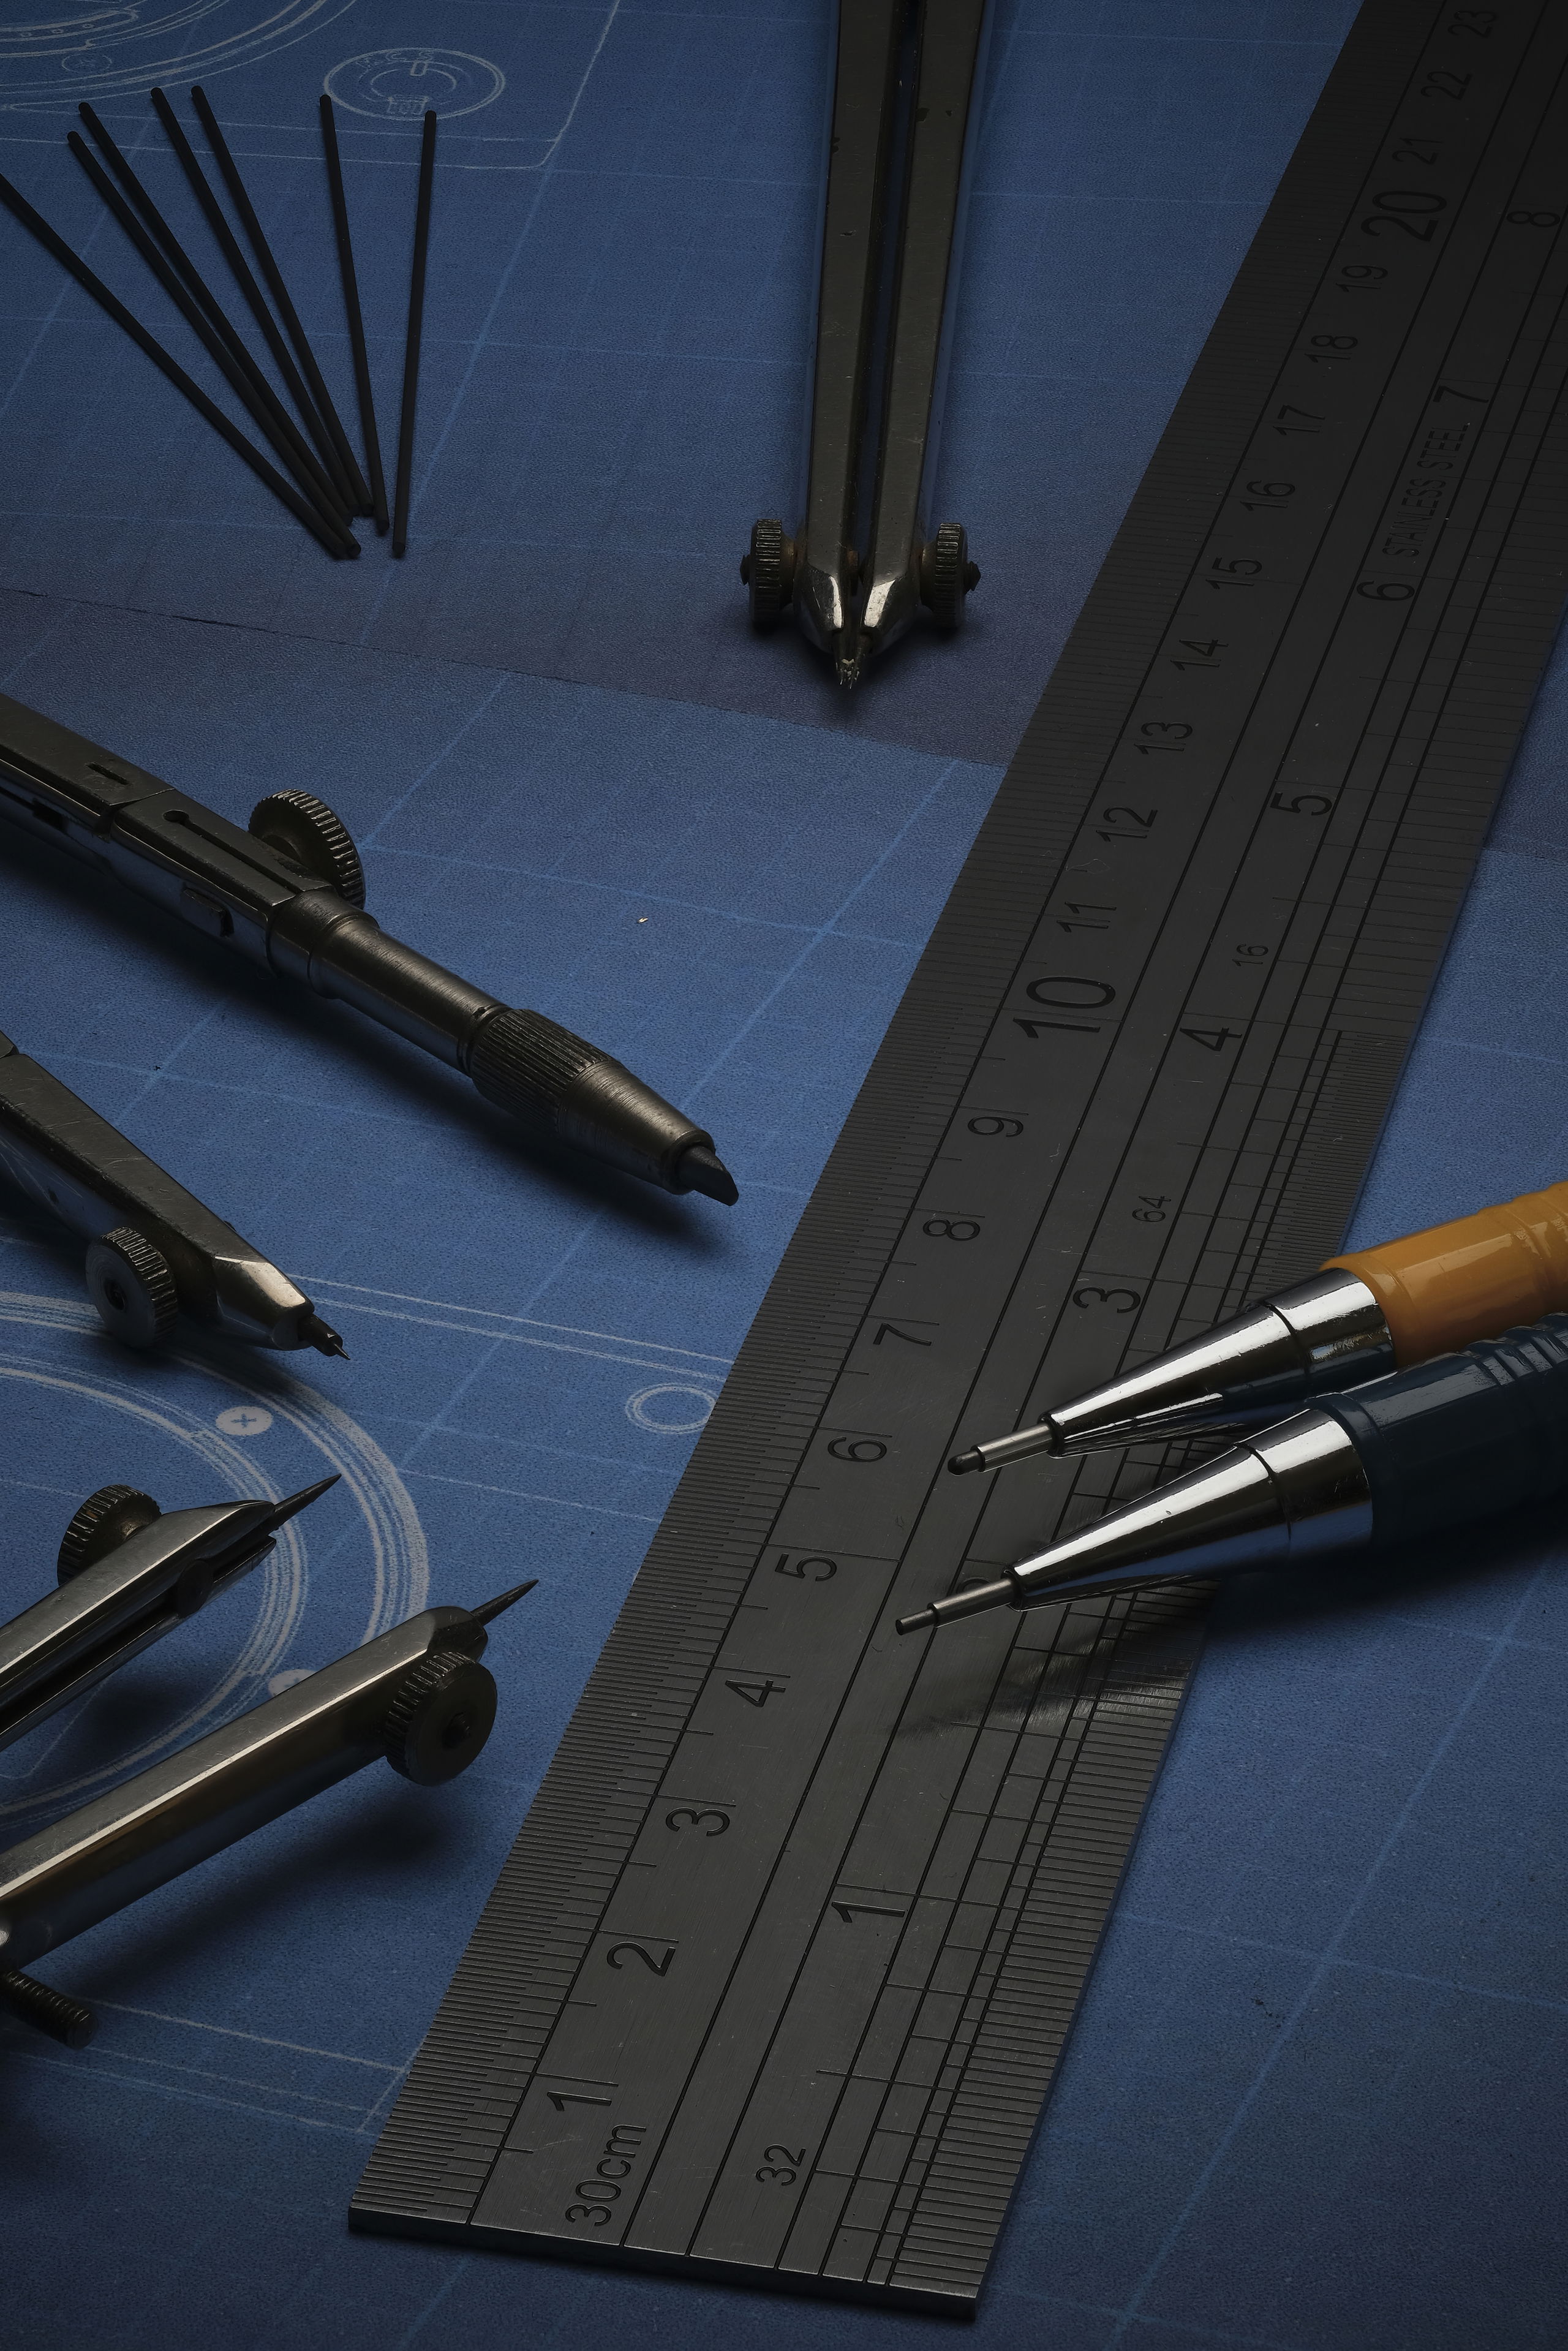
FUJIFILM X-T4 + XF60mmF2.4 R Macro – F9, ISO 160, 1/250 sec
Shoot: example two
For the second example, I used the FUJINON XF80mmF2.8 R LM OIS WR Macro lens with a Lee polarising filter.
When photographing this Seagull 1963 38mm pilots’ watch I wanted to ensure all the tiny details were sharp, however, at this proximity focusing on the centre of the dial at F11 didn’t allow the whole face of the watch to be in focus – this is where focus bracketing is really useful.
I set the focus bracketing to 15 Frames, five Steps and a two-second Interval. I then selected just above the right lug of the watch as the starting point for the focus, and as you can see, the end result is sharp right across the dial.

FUJIFILM X-T4 + XF80mmF2.8 R LM OIS WR Macro – F11, ISO 160, 1/250 sec
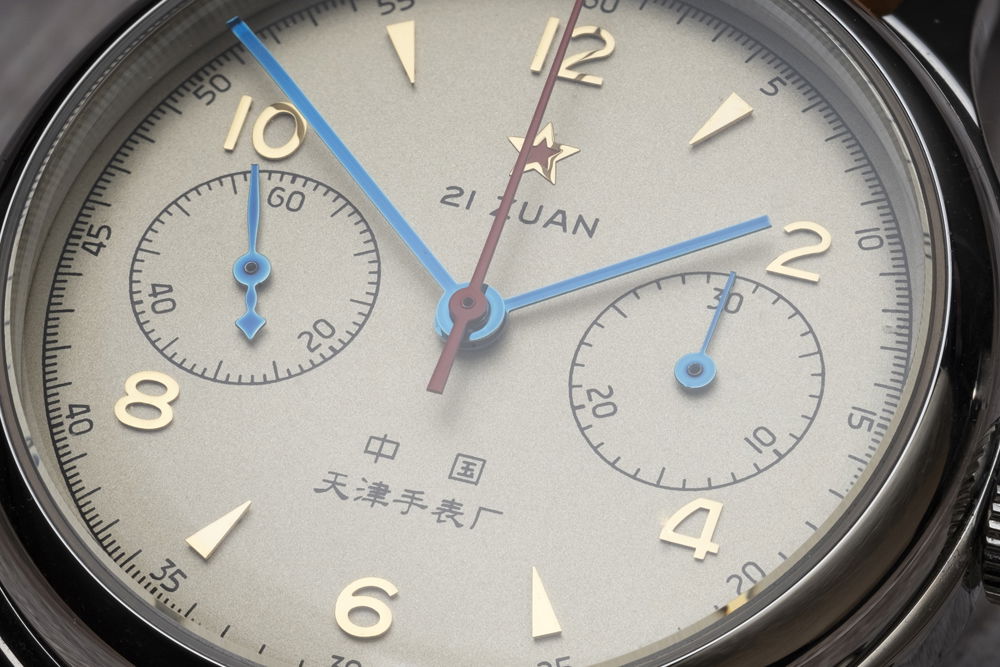
FUJIFILM X-T4 + XF80mmF2.8 R LM OIS WR Macro – F11 ISO 160, 1/250 sec
In these challenging times, we want to spread joy and inspiration, so don’t forget to share your creations with us on social media using the #FujifilmFromHome hashtag.
Made something you’re really proud of? Why not make a print or photobook and have it delivered straight to your door, or gift it to a friend? Visit the FUJIFILM House of Photography online print store to explore the range of prints and photo gifts, and for a limited period of time, get 20% off photobooks!


